Pick a cabinet whose height (84‑96 in) and width (31.7 in) fit your entryway or pantry aisle (18‑36 in) and leave a 3‑4 in door overhang for secure attachment. Choose hardwood frames for durability, match the rattan‑cane mesh to your décor—light for minimalist, dark for traditional—and confirm the load rating meets your items’ weight. Install the back panel before the top, align all panels to avoid gaps, tighten fasteners, and check shelf‑clip placement. Follow humidity and cleaning guidelines to keep the cane supple, then you’ll uncover more placement ideas and final checks.
Choose the Right Size and Style for Your Cane Cabinet
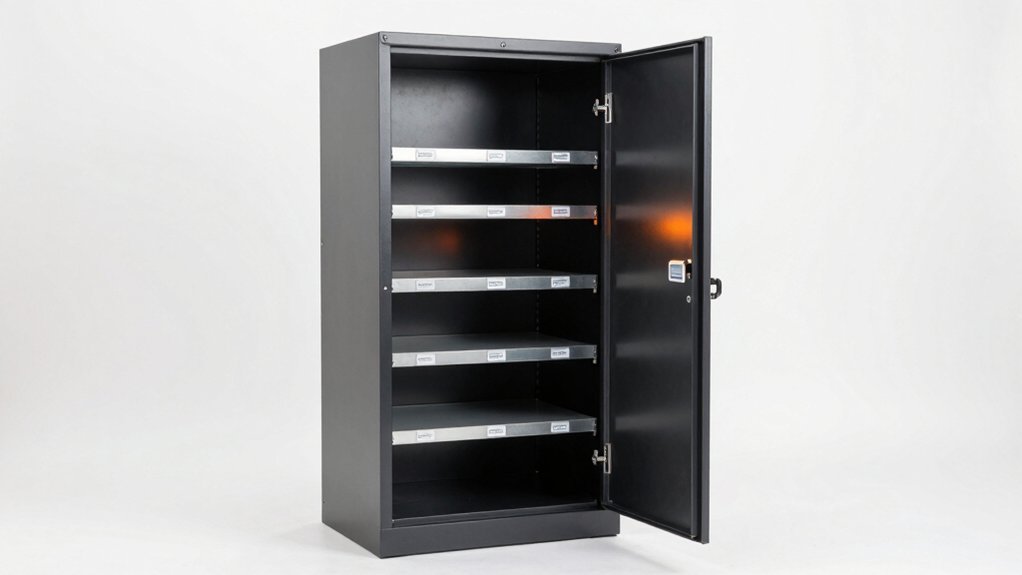
When you’re picking a cane storage cabinet, start by matching its dimensions to the space you have. Measure height, depth, and width; tall cabinets run 84‑96 inches high, 31.7 inches wide and 15.6 inches deep, while base units sit 34.5 inches tall (36 inches with countertop) and 24 inches deep. Choose a width between 18‑36 inches to fit entryways or pantry aisles. For material selection, prioritize hardwood frames such as mahogany, Meranti, or engineered wood for durability, then source rattan‑cane webbing in 24‑inch‑wide rolls. Guarantee the webbing mesh (e.g., ½‑inch open) aligns with your aesthetic and functional needs. Verify that the cabinet’s finish is fully cured before installing the cane, and confirm that the door overhang (3‑4 inches) accommodates secure attachment. This structured approach guarantees a well‑fitted, long‑lasting storage solution. Consider the load capacity to ensure the cabinet can safely hold your intended items. Also, reference the standard depth guidelines to avoid obstructing nearby traffic flow. Keep an eye on the door lock mechanism for added security and convenience.
Match Your Cane Cabinet to Your Home Décor
By aligning your cane cabinet’s finish and hue with the existing palette, you instantly create a cohesive look. Choose a natural finish for warm earth tones or neutral walls, letting the cane texture soften the space. If your décor leans toward minimalist or Scandinavian, opt for light‑colored synthetic caning that blends seamlessly. Darker stained cane works in mid‑century modern or traditional rooms, adding depth without clashing. Pair geometric patterns with linear architecture, or use fine mesh webbing for subtle texture in a sleek setting. Contrast the cabinet’s wood with a painted surface to highlight the cane texture and achieve décor harmony. Position the piece near windows to let natural light accentuate its pattern, and let it serve as a visual anchor in open layouts. The cabinets were refreshed using chalk paint and rattan cane, which provides a durable, stylish finish. Consider the adjustable shelf feature for flexible storage that adapts to changing needs. Incorporate cable management solutions to keep electronics organized and maintain a clean aesthetic.
Install and Finish Your Cane Cabinet Doors
Matching your cabinet’s finish to your décor sets the stage, but the real work begins when you install and finish the doors. First, measure the frame opening and cut the cane webbing slightly larger. Soak the cane 30‑45 minutes, drain, then stretch it over the assembled frame. Apply the staple technique: start at the corners, pull gently, and staple every edge with 1/4‑inch staples into the inner lip or groove. Trim excess cane, then let it dry overnight; the fibers shrink, tightening the webbing. Allow the webbing to dry for about one minute after soaking before attachment to avoid excess moisture. Next, prime the wood and observe paint timing—paint after the cane dries but before attaching hardware. Drill pilot holes, hang the doors on the hinges, and finish by installing knobs or pulls. This sequence guarantees a secure, polished door ready for daily use. If a hinge becomes loose, tighten the screws promptly to maintain alignment. Check floor level before installing the cabinet to ensure the base sits evenly. Proper surface cleaning dust removal is essential for a smooth, durable finish.
Maintain Your Cane Cabinet’s Durability and Freshness
If you keep the cabinet in a stable environment, its cane components stay supple and resilient. First, practice humidity control: keep indoor humidity around 45‑55 %. In dry climates, run a humidifier or place a water bowl nearby; in humid zones, use a dehumidifier. Mist the backs and undersides of cane surfaces monthly with a diluted oil or glycerin‑based soap mixture, then wipe lightly with a soft cloth. Second, enforce sunlight protection. Position the cabinet away from direct sunlight, use blinds or awnings, and rotate the piece every few weeks to guarantee even fading. Dust regularly with a microfiber cloth, vacuum with a soft brush, and wipe with a damp cloth and mild soap—avoid oversaturation. Apply a thin coat of boiled linseed oil annually to prevent cracks and maintain freshness. Regularly inspect hinges and hardware for tightness to avoid loose screws that could compromise stability. Consider the room dimensions when deciding where to place the cabinet for optimal airflow. Proper ventilation also helps to prevent mold growth by reducing moisture accumulation inside the cabinet.
Cane Cabinet Placement Ideas for Function & Style
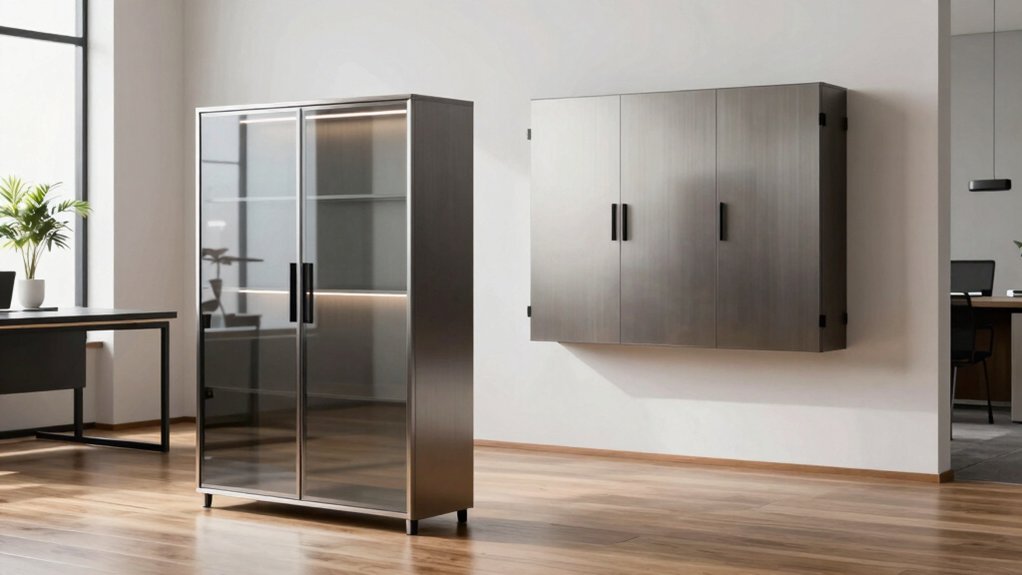
Where can you place a cane cabinet to boost both utility and aesthetics? In entryways, position a glass‑door cabinet against a smooth wall to guide spatial flow while ambient lighting highlights its texture. In living rooms, set an accent piece with cane webbing near a sofa to create a focal point without clutter. On kitchen islands or peninsulas, install a light‑wood Shaker‑style cabinet; pendant or ambient lighting above it defines zones for dining, homework, or serving. For U‑shaped kitchens, use glass‑front upper cabinets with cane inserts to keep the area airy. In hallways, choose a narrow, tall cabinet that maximizes vertical storage and maintains clean spatial flow. Bedroom corners benefit from a single‑door cane insert, paired with complementary accessories for balanced design. Open cabinets often provide easier access, but closed cabinets offer better protection against dust and damage. Open vs closed storage options each have distinct advantages depending on the room’s traffic and the items stored. Incorporating a space‑saving design ensures the cabinet fits seamlessly into tight areas while maximizing storage capacity.
Final Checks Before You Celebrate Your New Cabinet
Even after the cabinet is in place, you still need to run a quick, systematic inspection before you celebrate. Begin with a final inspection of the exterior: look for shipping dents, verify the front sides and bottoms are level, and confirm walls are flat. Check leveling and alignment by placing shims where the floor or wall is uneven, then tighten all installation screws. Guarantee doors and drawers sit flush, and realign any side‑mounted components. Verify hardware: confirm bolts are fully tightened, handles are secure, and shelf clips sit on the mullion’s backside. Examine cane panel work—trim overhangs to one inch, staple tightly, and apply lattice trim away from hinges. Finally, test stability with two people, confirm clear access, and guarantee the unit meets your specifications for celebration readiness. Insert the back panel before securing the top panel to ensure proper alignment. Follow the safety lock procedure described in the safety guide to prevent accidental injury while tightening the final screws. Also, assess the cabinet’s load capacity to ensure it can safely support the intended weight of stored items. Consider the material durability when evaluating long‑term performance.