Pick a dry, moderate‑temperature window—ideally winter or early spring—when indoor humidity stays between 40 % and 50 % and the temperature hovers around 68 °F. Keep the space well ventilated, run a dehumidifier if needed, and maintain 68‑72 °F with AC or a heater. Use a high‑adhesion primer matched to the cabinet material, apply ultra‑thin coats, and allow 12‑24 h between each. Follow these steps and you’ll get a smooth, durable finish, plus the next sections reveal how to control humidity, schedule coats, and care for the paint after curing.
Season Selection for Cabinet Painting
When you choose a season for painting a storage cabinet, prioritize indoor temperature stability and humidity control over the calendar date. Winter offers the most reliable environment: heating keeps humidity at 30‑40 % and temperature near 70 °F, ensuring paint adherence and uniform drying. Spring follows closely, with low humidity and mild warmth that prevent wood shrinkage. Summer’s high humidity expands wood and forces dehumidifier use, while fall mirrors winter’s dry conditions but may conflict with holiday scheduling. Align your timing with seasonal color trends to match market expectations and streamline budget planning; off‑season painter availability reduces labor costs. By selecting the optimal window, you eliminate moisture‑related defects, accelerate curing, and keep expenses predictable. Using a dehumidifier during humid periods prevents wood shrinkage and visible gaps. Consider the load capacity of the cabinet when choosing a finish, as heavier paints may affect the overall weight and structural integrity. Properly assessing weight capacity ensures the cabinet can support the added paint weight without compromising safety. Regularly inspect hardware to catch loose hinges before painting, which helps maintain alignment and prevents paint splatter on moving parts.

PROTECT YOUR INVESTMENTS: Don't let moisture & condensation take a toll on your arms and valuable belongings any longer. Introducing the Zarpax gun safe dehumidifier rod, the compact yet formidable solution to keep your enclosed storage spaces moisture-free. Whether it's your prized gun locker, cherished heirlooms, or essential documents, our humidity absorber rod ensures your arms and other possessions stay safe, dry, and in pristine condition.

Specialized for Electric Boxes,Cabinet,Closet,Tiny Small Space Designed to fit seamlessly in tight spaces, this small dehumidifier protects your electric equipment from moisture damage.

PROTECT YOUR INVESTMENTS: Don't let moisture & condensation take a toll on your arms and valuable belongings any longer. Introducing the Zarpax gun safe dehumidifier rod, the compact yet formidable solution to keep your enclosed storage spaces moisture-free. Whether it's your prized gun locker, cherished heirlooms, or essential documents, our humidity absorber rod ensures your arms and other possessions stay safe, dry, and in pristine condition.
Humidity Impact on Wood and Paint Curing
If you paint a storage cabinet in high humidity, the moisture in the air slows solvent evaporation, prolonging drying time and increasing the risk of runs, sagging, and dust contamination. High humidity also drives moisture infiltration into the wood, weakening adhesion and prompting blistering or delamination. Water‑based paints rely on vapor release; saturated air blocks this, so curing stalls and surfactant leaching creates white spots. Oil‑based coatings oxidize slower when humidity exceeds 70 %, yielding uneven finishes. Mitigate by maintaining 40‑70 % relative humidity, using a dehumidifier, and keeping temperature between 50‑85 °F. Apply a vapor barrier on exposed wood surfaces before priming, and schedule work on days with stable, low‑moisture conditions to guarantee a durable, uniform finish. Powder‑coated steel offers superior resistance to moisture and UV damage, making it an ideal finish for high‑traffic storage cabinets. Proper ventilation and air circulation further accelerate drying and improve film formation. Secure anchoring prevents cabinet tipping when stacked under varying humidity conditions.
Pre‑Installation vs. Post‑Installation Cabinet Painting
Ever wondered whether to paint your cabinets before or after installing countertops? Pre‑installation painting lets you spray off‑site, cut assembly time, and avoid post‑installation logistics that delay the project. However, exposed surfaces risk scratches, dust, and adhesive damage, often requiring touch‑ups. Post‑installation painting offers post‑installation safety: you protect stone, adjust color to match final countertops, and repair minor wall or cabinet flaws after structural work. This method also prevents damage during precise countertop placement and simplifies coordination with backsplash. Choose pre‑installation when you have a long gap before countertops or a full refinishing job; select post‑installation for most replacement projects to maintain integrity and reduce rework. Proper surface preparation, such as sanding before priming, ensures the paint adheres smoothly and lasts longer. Self‑supporting design allows easy placement without wall mounting, adding flexibility to the renovation timeline. Incorporating vertical storage solutions can further optimize space usage in the newly painted cabinet room.

Quick Proficiency for Newbies: A clear scale for mixing and a 1200ml translucent container for quick checks allow for a swift start. The POWERFUL motor (15.8 GPH max flow) delivers smooth, even atomization every time and over time. InoKraft's powerful motor guarantees 90% of your paint with no thinning needed; clogging and overspraying are minimized.
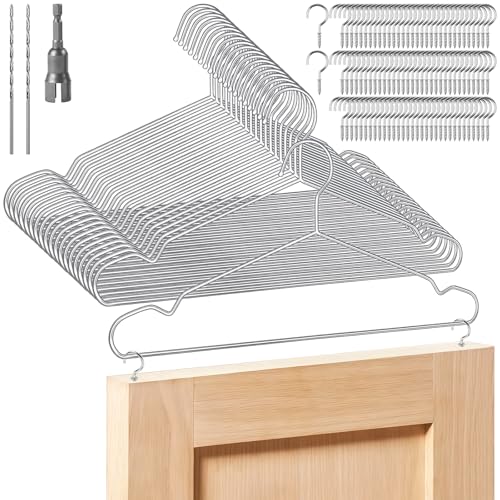
CABINET DOOR HANGER KIT FOR PAINTING AND DRYING: Includes 20 stainless steel hangers (15.75" x 7.64"), 100 screw-in cup hooks (1.47" x 0.75"), 2 drill bits, 1 wing nut driver bit, and a user manual—perfect for tackling multiple cabinet doors, drawers, or shelves at once.

Complete Kit for Cabinet Painting & Paint Drying: This 20 pack cabinet door hangers for spray painting kit includes 20 stainless steel hangers, 100 screw-in cup hooks, 2 drill bits, 1 wing nut bit, measuring tape, gloves, user manual,and fasteners. Designed for cabinet door painting, paint drying, staining, sealing, clear coating, refinishing, and repainting projects
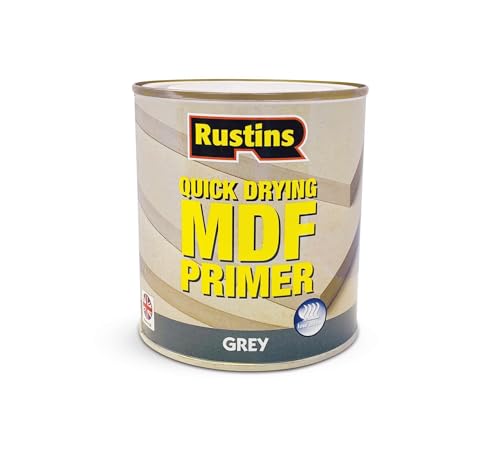
Cabinet‑Specific Primer Guide: Wood vs. MDF
Because MDF and solid wood react differently to paint, you’ll need distinct priming strategies for each. For MDF, choose a shellac‑based or oil‑based MDF‑specific primer that seals pores and blocks moisture absorption. Apply two thin coats, sanding lightly between layers, and seal cut edges with wood putty before priming. This prevents blotchy finish and guarantees grain concealment on the smooth surface. For solid wood, select an oil‑based primer that locks tannins and avoids bleed‑through. One coat usually suffices after 220‑grit sanding, but knots or oak may require a second. Match the primer’s base to your topcoat for best adhesion and durability. Proper ventilation is essential when using chemical strippers, especially in enclosed spaces, to avoid inhaling hazardous fumes. Safety gear should include gloves, goggles, and a respirator. Use a spirit level to confirm the cabinet sits evenly on the floor before starting. Consider the fire resistance of the material when selecting a primer, as some formulations can affect the cabinet’s overall safety rating.


As The Original, Shellac-Base Primer-Sealer, Nothing Is Better At Permanently Blocking Stains, Odors And Wood Knots
Primer/Undercoat Paints & Sprays
10‑Day Cabinet Painting Timeline
When you schedule a cabinet‑painting project, expect the entire process to span 5‑7 business days, covering preparation, priming, painting, and curing. Day 1 focuses on disassembly, surface cleaning, and sanding; allocate 2–4 hours in the morning and 3–4 hours in the afternoon. Day 2 applies a high‑adhesion primer, then lets it cure for 24 hours. Days 3–5 handle the first and second paint coats, each requiring 2–4 hours of spray application and a 12–24‑hour dry period. Day 6 allows a final coat or touch‑ups, followed by a 24‑hour cure. Day 7 reserves time for reassembly, hardware reinstall, and a quick quality check. Align budget selection with color trends early, ensuring the chosen pigment matches market preferences while staying within project constraints. Properly sand the surface before priming to improve adhesion and prevent flaking. Regularly dust the wood to avoid grit scratching the finish during the painting process. Using a rust‑inhibiting primer helps protect the metal from corrosion and extends the life of the finish.
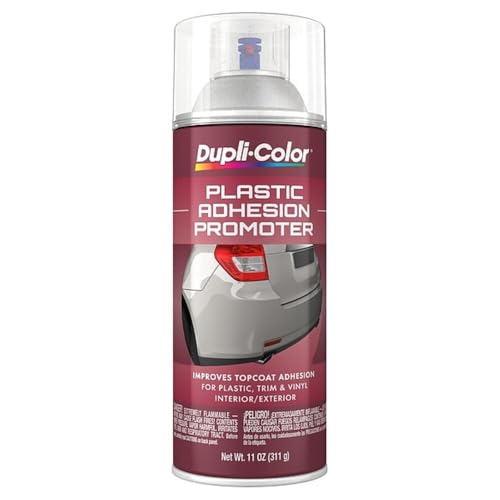
SPRAY PAINT PRIMER - Dupli-Color Adhesion Promoter improves adhesion of enamel and lacquer top coats to all surfaces, including plastic, chrome, fiberglass bumpers and aluminum trim molding.
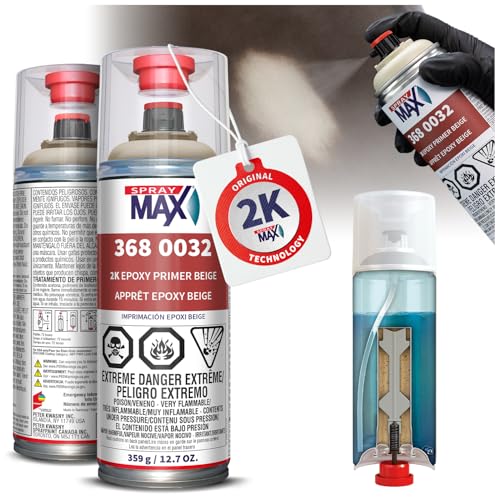
SUPERIOR CORROSION PROTECTION: This epoxy primer automotive coating provides excellent adhesion and rust protection on steel, aluminum, and galvanized metal surfaces – ideal for cars, motorcycles, and restorations.

SUPERIOR CORROSION PROTECTION: This epoxy primer automotive coating provides excellent adhesion and rust protection on steel, aluminum, and galvanized metal surfaces – ideal for cars, motorcycles, and restorations.
Applying Thin Coats: Dry Time, Count, and Finish Quality
After cleaning and sanding the cabinet surfaces on Day 1, you’ll start applying thin coats to achieve a uniform, high‑quality finish. Use a high‑quality brush or roller to lay a coat no thicker than the paint’s film thickness; this promotes even drying and prevents runs. For latex, wait 2–4 hours before the next coat; oil‑based requires 24 hours, and chalk paint needs 1–2 hours. Maintain the recommended drying intervals, especially if ambient temperature stays between 65–75 °F and humidity stays under 50 %. Plan a coat count of three to four thin coats; each adds a layer of protection and refines the finish quality. Skipping intervals or applying thick layers traps solvents, reduces adhesion, and compromises the final appearance. Cure period is essential for durability. Plastic storage cabinets are often chosen for their moisture resistance and lightweight design, making them ideal for environments where paint may be applied. Selecting the appropriate magnet holding strength ensures the cabinet doors remain securely closed after painting. For outdoor installations, consider cabinets with rust‑proof hardware to prevent corrosion over time.
Controlling Summer Humidity and Heat While Painting Cabinets
How can you keep summer humidity and heat from ruining your cabinet finish? Start by establishing a ventilation strategy that exchanges indoor air at least six times per hour; use exhaust fans and open windows to pull moisture away. Run a dehumidifier to hold relative humidity between 40‑50 % RH, preventing wood expansion and paint tackiness. Implement temperature stabilization with an air‑conditioner or space heater set to maintain a steady 68‑72 °F (20‑22 °C) environment, avoiding rapid spikes that cause blistering. Monitor a digital thermostat and hygrometer, adjusting settings gradually to keep conditions within the ideal range for latex paint. Work early in the day, before peak sun raises surface temperature, and keep the cabinet shaded while wet paint cures. This controlled environment guarantees even flow, proper adhesion, and a crack‑free finish. Proper ventilation also moisture buildup that can lead to mold and corrosion. Organizing supplies in clear containers simplifies inventory checks and reduces the time spent searching for tools.
What to Do When Humidity Can’t Be Controlled?
If you can’t bring humidity into the 40‑50 % range, focus on mitigating its effects: apply ultra‑thin coats, work in small sections, and switch to quick‑dry or humidity‑resistant paint formulations that cure faster and resist blistering. Use humidity hacks like pre‑conditioning the cabinet with a dehumidifier for a few hours before you start, then keep a portable hygrometer nearby to verify real‑time levels. Employ ventilation tricks: set up high‑velocity fans to pull moist air away, open windows, and position an air mover to create cross‑flow across the surface. Choose a day when the forecast predicts a slight dip below the daily average, and begin in the late morning when temperature peaks and humidity begins to fall. Apply each layer in a film no thicker than 0.1 mm, allowing the solvent to evaporate before the next coat. This disciplined approach minimizes bubbling, wrinkling, and adhesion loss even when you can’t control ambient humidity.
Post‑Paint Care: Curing, Re‑assembly, and Long‑Term Maintenance
Since the paint surface feels dry, you still need to protect it for the next 7‑14 days while the cure continues; keep the cabinet in a well‑ventilated area, avoid closing doors or drawers forcefully, and use temporary felt pads to prevent dents and sticking until full strength is achieved. Wear safety gear—gloves and a mask—when handling solvents or applying a clear coat. Re‑install doors and hardware after 2–3 days, using thin, even coats to aid curing. Check color matching before final assembly; any shade shift can be corrected now. Maintain ventilation with fans or open windows, and keep temperature stable. After 7‑14 days, resume light use; full daily use begins at 7‑14 days, with deep cleaning only after 21‑30 days. Perform weekly light cleaning, add heat shields near appliances, and apply a polyurethane topcoat after full cure for long‑term durability.

