Pick a compatible stripper—gel for solid wood, spray for metal/laminate, or fast‑acting liquid for flat surfaces—test a hidden spot, then work in ≤1 ft² sections. Wear nitrile gloves, vented goggles, and a respirator; apply a thick, even coat, let it bubble 15‑30 minutes, and cover with plastic if it dries early. Scrape softened finish with a stiff scraper, follow with mineral‑spirit‑dampened steel wool, and wipe clean. Sand progressively from 120 to 180 grit, vacuum, tack‑cloth, and let dry 24 hours before sealant; the next steps will show you how to finish and inspect the cabinet.
Pick the Best Cabinet‑Stripping Method
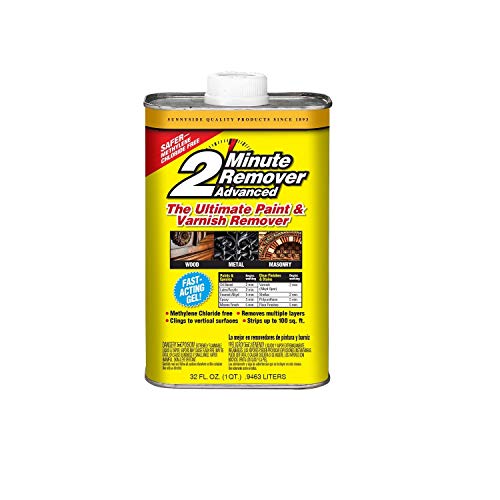
Which method suits your cabinet’s material and layout? Choose an eco selection that matches the finish type and surface geometry. For solid wood with broad planes, apply Citri‑strip thick gel using a brush; the gel clings, minimizes drips, and stays wet up to 24 hours. Let it bubble 15 minutes, then scrape with a plastic scraper to avoid scratches. For metal or laminate corners, spray QCS Finish Remover in light coats, wait 30 minutes per layer, and follow with a stiff narrow scraper for tight grooves. When speed matters, Max Strip works within 30 minutes on flat areas, but you must wear safety gear—gloves, goggles, and a respirator—to protect against fumes and splatter. Always test a hidden spot first to verify compatibility. Allow 30‑minute dwell before applying the second coat to ensure the chemical fully softens the finish. Consider the cabinet’s load capacity when selecting a stripping method to avoid damaging the structure. Proper ventilation is essential to prevent inhalation of chemical fumes during the stripping process. Proper sanding before stripping can improve adhesion of the new finish.
Collect Cabinet‑Stripping Tools and Safety Gear
Because the chemicals you’ll use are hazardous, you must gather all required safety gear and tools before you start stripping. Begin with a Gear checklist: chemical‑resistant rubber gloves (4 mil nitrile or butyl for NMP), protective eyewear (vented goggles plus optional face shield), a NIOSH‑certified respirator with organic vapor cartridges, and disposable coveralls with slip‑resistant footwear. For body coverage, lay protective sheeting over the work area and guarantee ventilation. Then move to Tool selection. Pack a shave‑hook scraper for cabinet grooves, stiff wide and narrow scrapers for bulk residue, and a Marshalltown steel scraper for stubborn layers. Include a palm sander with appropriate grit for final surface prep. Verify each item is present before proceeding. Regularly check for loose hinges to prevent damage during the stripping process. Maintaining a stable indoor humidity level helps reduce wood movement that can cause cracks. Choosing the right cabinet size based on standard dimensions ensures a proper fit in your space.

These Inspire gloves are designed for BOTH medical and industrial use. Both exam-grade and durable 6-mil thickness, they are ideal for medical and industrial applications. These gloves are suitable for healthcare settings, laboratories, industrial environments, and household tasks.

𝗥𝗨𝗚𝗚𝗘𝗗 𝟭𝟬 𝗠𝗜𝗟 𝗡𝗜𝗧𝗥𝗜𝗟𝗘, 𝗧𝗘𝗔𝗥-𝗥𝗘𝗦𝗜𝗦𝗧𝗔𝗡𝗧- Are you still searching for durable nitrile gloves? With a thickness of 10 mil, these gloves are 2-3 times thicker than standard disposable nitrile gloves and offer 50% greater puncture resistance. The diamond texture on these nitrile gloves ensures a secure grip surfaces
These Inspire gloves are designed for BOTH medical and industrial use. Both exam-grade and durable 6-mil thickness, they are ideal for medical and industrial applications. These gloves are suitable for healthcare settings, laboratories, industrial environments, and household tasks.
Apply Your Chosen Stripper Correctly
Now that your safety gear and tools are ready, you can focus on applying the stripper correctly. Begin by selecting a disposable paintbrush for flat surfaces or a soft cloth for veneer, ensuring Stripping safety throughout. Apply a thick, even coat; a generous layer maintains wetness and prevents premature drying. Work in sections no larger than a foot square, spreading the product liberally with a chip brush or spray applicator to reach nooks. Observe application timing: most formulations require 15‑30 minutes before bubbling appears, while gel‑based strippers may stay wet up to 24 hours on deep grooves. If any area dries early, reapply immediately. Cover the workpiece with plastic wrap to retain moisture, then proceed to the next segment once the dwell period ends. Use a solvent‑proof scraper to remove lifted finish before reapplying if needed.

ALWAYS TEST BEFORE USE: Removes acrylic, latex, oil, & water-based paints, varnishes, & stains, typically in only a single application! TEST for compatibility with your coating before full removal!
New, safer formula is methylene chloride free
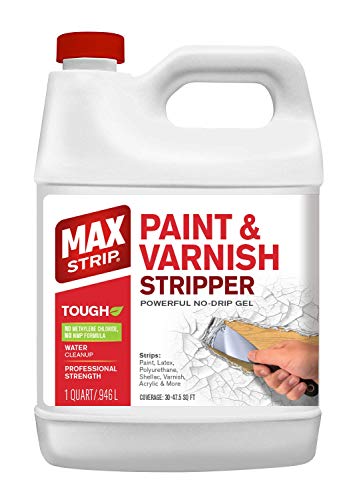
DESIGNED TO REMOVE PAINT AND VARNISH FROM MULTIPLE SURFACES - Remove Aftermarket Paints, Latex, Polyurethane, Shellac, Varnish, Acrylic, Oil Based Coatings and More in usually a Single Application!
Scrape and Clean After Cabinet Stripping
After the stripper has done its work, you’ll need to scrape and clean the softened finish method. Begin by donning a respirator, gloves, and safety glasses; guarantee vent safety by working in a well‑ventilated garage or outdoors. Use a putty knife, following the wood grain, to lift softened paint. If residue clings, reapply a thin coat of stripper, let it reactivate, then scrape again. For residue removal, dampen fine steel wool with mineral spirits and rub along the grain, avoiding excessive pressure that could gouge the wood. Wipe the surface with a clean rag soaked in mineral spirits, then follow with a water‑damp rag to remove solvent traces. Inspect the wood for any tacky spots; repeat the mineral‑spirit wipe if needed. The result should be a bare, residue‑free surface ready for the next phase. Reactivated stripper softens tacky varnish finish, allowing easier scraping. Most standard storage cabinets can be assembled in 30 minutes to two hours depending on complexity. Apply a clear coat to protect the newly painted surface and enhance durability.

Cleans up interior jobs

PROFESSIONAL-GRADE OIL PAINT THINNER: Our odorless mineral spirits is made from high-quality, pure, odorless mineral oil, free of aromatic solvents. This premium formula effectively thins oil paints, colorants, and varnishes, ensuring a smooth mix without affecting color or finish

Cleans up interior jobs
Sand and Prep the Cabinet After Stripping
With the softened finish removed and the wood surface clean, you move on to sanding and preparing the cabinet. Begin by applying cleaning methods: mix dish soap with warm water, wipe each panel with a microfiber rag, then spray TSP in a ventilated area for greasy spots, wearing gloves. Rinse and dry thoroughly. Next, follow sanding techniques. Start with an orbital sander fitted with 120‑grit paper, sanding with the grain to scuff the surface without exposing bare wood. Progress to 150‑grit on cabinet boxes, then 180‑grit on edges and reveals using a sanding block. Use a palm sander lightly on non‑wood shelves and sanding sponges for crevices. Finally, wipe dust off with a tack cloth and vacuum the area before priming. Keep the sander flat to avoid dish‑shaped surfaces. Proper cabinet material selection can affect how the wood responds to sanding and finishing. Ensure the cabinet is level and stable before beginning any sanding work. For quick repairs, you can also tighten loose screws to prevent misalignment.

120 Grits: Includes 8 sanding blocks (120 grit, medium), our sanding sponge is reusable, washable, and suitable for all your sanding needs
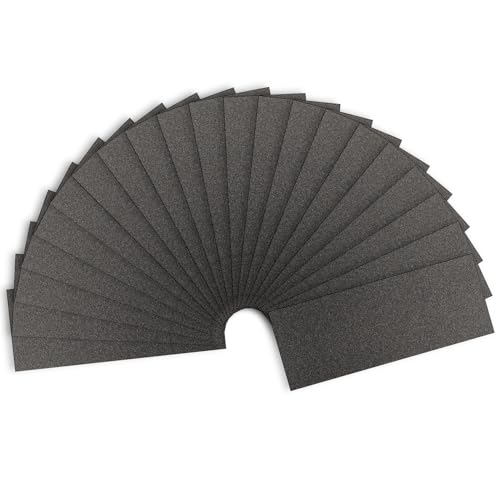
【PREMIUM MATERIAL】: Sandpapers Made Made from aluminium oxide for longer life; electro coated technology make grit distributed evenly; Will not fall apart, tear or crumble off during using。

*Designed for Efficient Work: Includes 20 pieces 120 Girt mouse sanding papers each measuring 5.55" x 3.9". Designed with easy-to-attach velcro backing for fast and convenient sheet changes. Keeps your sanding tool stable and prevents slipping for a precision finish. We comes in various grit sizes for you to choose from, easily matching the requirements of your specific projects.
Let It Dry, Inspect, and Add Final Touch‑Ups
If you let the cabinets dry for at least 24 hours in a well‑ventilated, temperature‑controlled space, the wood will release any trapped moisture and the stripped surface will stabilize, preventing later sanding problems. Maintain consistent ventilation timing; keep fans running and humidity below 50 % to accelerate moisture loss. After drying, conduct a thorough residue inspection. Use a damp cloth to wipe each panel, paying special attention to grooves and detailed areas where stripper residue often hides. Follow visual inspection with a metal wire brush to dislodge any remaining particles. When the surface feels dry and clean, perform a final touch‑up: lightly sand any rough spots with 220‑grit paper, wipe again, and verify under bright light that no dust or residue remains before proceeding to topcoat application. Use a metal wire brush to clean detailed areas after drying. For optimal moisture resistance, apply a protective sealant after the final inspection. Gentle dust removal helps prevent scratches before the final coating. Consider using a pH‑balanced cleaner to safely remove any lingering grime without damaging the metal finish.

