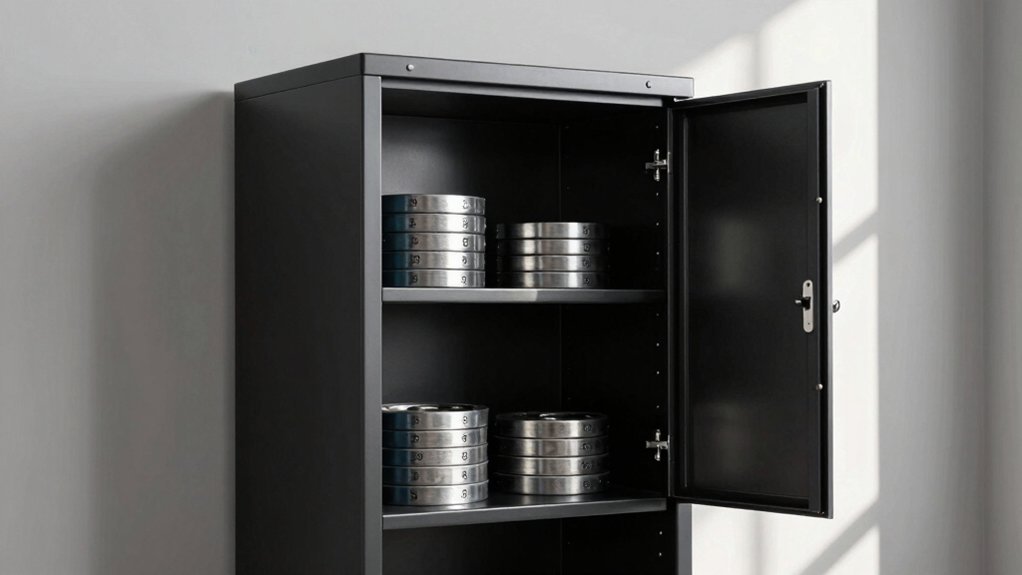
You’ll almost always need to assemble a storage cabinet—whether it arrives flat‑packed as an RTA unit, partially built for wall mounting, or as a custom piece that requires panel and hardware installation. Start by measuring and leveling the space, then use a cordless drill, level, and appropriate screws to attach side panels, top flanges, and bottom shelves, keeping bolts loose until everything aligns. Tighten all connections, add doors or drawers, and check for square and stability. Follow the steps and tools guide for a smooth build, and the next sections will show you how to speed up the process and avoid common pitfalls.
Do Storage Cabinets Need Assembly?
If you’re wondering whether a storage cabinet needs assembly, the answer depends on the cabinet type you choose. RTA units arrive flat‑packed, so you’ll spend 15‑45 minutes tightening bolts, aligning panels, and installing shelves—an effort that cuts budget cost compared to pre‑assembled models. Vertical file cabinets usually need little to no construction, while industrial cabinets demand step‑by‑step panel attachment and hardware fastening. Wall‑mounted pieces may be pre‑built but still require rail installation and mounting. Gather a screwdriver, hammer, level, and tape measure; follow the included instructions, then tighten all bolts after the frame is complete. Final touches—leveling feet, door hinges, and handles—ensure proper aesthetic appeal and stable placement. Use a nut driver to adjust the leveling feet after the cabinet is upright. Consider the load capacity of each model to ensure it meets your storage needs. Most standard cabinets can be assembled in 30 minutes when you have a clean workspace and the right tools. It’s also helpful to check the tool checklist before you start to avoid interruptions.
Choosing Between Pre‑Assembled, RTA, and Custom
Which option fits your budget, timeline, and space constraints? If you need speed and minimal effort, choose pre‑assembled cabinets; they arrive ready to install, but cost more and rely on professional setup, so check warranty coverage for factory defects. For tighter budget selection, RTA (ready‑to‑assemble) units ship flat, save 30‑50 % versus pre‑assembled, and let you handle simple assembly with basic tools—just verify the included warranty covers hardware. If your space is irregular or you want premium features like pull‑outs, custom cabinets deliver exact dimensions and high‑end materials, though they require longer production, professional installation, and higher expense; guarantee the custom maker provides thorough warranty coverage. Balance cost, timeline, and installation effort to pick the right solution. Consider the material durability of each option to ensure long‑term performance. Properly bolting panels during assembly can significantly increase structural stability. Assess the weight capacity of the cabinet to match your intended load and prevent structural failure.

Dimensions & Size: Exterior measures 25 5/8" x 18 7/8" x 69 3/8", with interior shelf dimensions of 17.65" width x 13.31" depth, providing ample storage space for various items.

Sturdy and Long-lasting: The shaker kitchen cabinet's main structure is made of high-quality particle board, and the drawers are made of MDF. Designed for heavy load-bearing, it delivers strong support with all edges sealed for extended service life

SPECS: Solid wood shaker doors with soft-close, 6-way adjustable, fully concealed hinges. Full overlay with solid wood rails & stiles. Painted finish
Essential Tools for Storage Cabinet Assembly
Choosing the right tools makes assembling a storage cabinet far smoother than relying on the budget‑friendly RTA option alone. Start with a 25‑foot tape measure and stud finder to locate studs and mark precise locations; a 4‑foot level or laser level guarantees plumb placement, while a torpedo level handles tight spaces. For power, a cordless 18V drill with 1/2‑inch chuck and impact driver will drive pilot holes and mounting screws quickly; keep drill bits (1/8‑in, 3/16‑in, countersink) handy for accuracy. Use #8 or #10 washer‑head screws, pocket‑hole jig, and cam‑lock screwdriver for strong joints. Bar clamps, quick‑grip clamps, and shims keep parts aligned and level. Prioritize tool safety—wear goggles, secure workpieces, and stay within budget constraints by choosing multi‑use tools over single‑purpose, costly items. The Milwaukee cordless table saw adds versatility for precise cuts on the job site. Properly sealing the cabinet after assembly ensures a moisture‑resistant finish and prolongs its lifespan, especially when using weather‑proof sealant on exposed surfaces. Checking floor flatness before placement helps prevent future wobble.

Stens replacement parts have become a favorite among lawn and landscape professionals thanks to exceptional performance.

Variable speed (0-2,900 RPM & 0-3,500 IPM) and 1,460 in.lbs. of torque for a wide range of fastening applications

Compact and ergonomic design at only 5-1/4"
Step‑by‑Step Storage Cabinet Assembly Guide
Where to start? Lay the back panel on a protected flat surface, flanges up, then bolt the left side panel, making sure the material material fits snugly around the back and the lances point up. Position the 3/8‑inch bolt and nut over the rear flange, then repeat on the right side, keeping panel alignment tight but don’t fully tighten yet. Next, place the top outer flanges around the back and side panels, thread the studs through the side holes, and bolt loosely. Slide sill ends into side slots, insert the bottom shelf flanges, and bolt through the bottom and sill, keeping the shelf square. Stand the unit upright, tighten all loose bolts, check panel alignment, and adjust leveling feet. Finally, attach the door frame, lock rods, cam bracket, and handle, then verify stability before adding shelves. Use the 3/8 in nut driver to finger‑tighten each knob for a secure hold. Locate studs before drilling to ensure the cabinet is anchored to solid wood for maximum stability. Loose screws can be quickly fixed by tightening them with a screwdriver, preventing misalignment. Choose appropriate fasteners to match the material thickness and load requirements.
Speed‑Up Tips: When to Get a Helper
Need a hand when you flip a heavy cabinet upright? If the unit feels like a small car, call a helper. Two people provide parallel lifting, splitting the load and keeping the cabinet balanced. You each grip opposite corners, communicate “steady” before you raise, and maintain a low stance to protect your backs. Helper safety means wearing non‑slip shoes, using gloves for better grip, and standing clear of the path as the cabinet pivots. While one steadies the base, the other aligns pre‑drilled holes and checks that the door hinges stay level. This coordinated effort prevents tipping, reduces strain, and speeds the conversion from flat pack to upright, ready‑to‑install piece. The pocket‑hole method offers a strong, hidden fastener that simplifies alignment during assembly. Properly tightening screw torque ensures the handles stay secure and the cabinet remains stable.
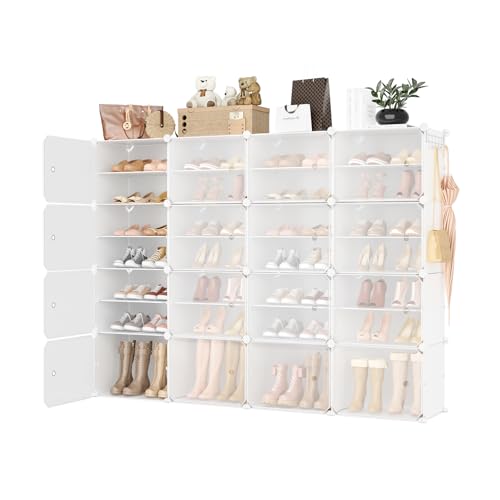
【SPACIOUS STORAGE】Dimensions: 64"(W) x 12"(D) x 48"(H). The entryway modern shoe storage rack helps you easily locate the shoes. The large shoe rack organizer for entryway can accommodate both mens and womens shoes, from loafers and boots to heels and flip-flops and is perfect in your home, office or dorm room. The pure white design cheers up the style of the cabinet with a black and white curly pattern.
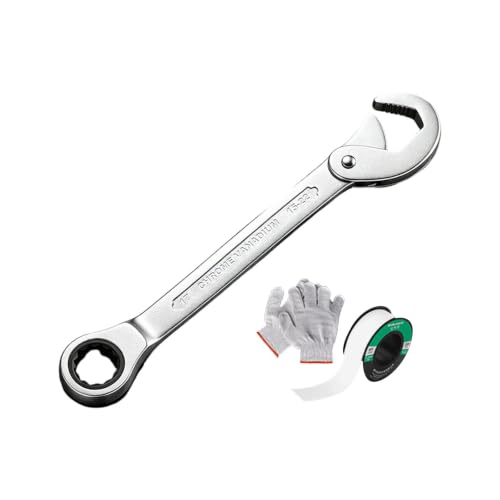
Grip For Mixed Hardware: The serrated clamping face is built to hold different fastener shapes, making routine plumbing, assembly, and upkeep jobs easier to manage

【SPACIOUS STORAGE】Dimensions: 64"(W) x 12"(D) x 60"(H). The entryway modern shoe storage rack helps you easily locate the shoes. The large shoe rack organizer for entryway can accommodate both mens and womens shoes, from loafers and boots to heels and flip-flops and is perfect in your home, office or dorm room. The pure white design cheers up the style of the cabinet with a black and white curly pattern.
Common Assembly Problems & Quick Fixes
Even after you’ve got a helper to lift and position the cabinet, the real headache often starts when you begin tightening screws and aligning panels. First, read the manual; skipping it leads to misreading instructions and missing dowels, which multiplies errors. Use a low‑torque drill or a manual screwdriver with a gentle quarter‑turn to avoid over‑tightening that dents particle board. Check panel orientation before you fix anything; a wrong side creates misaligned doors and uneven seams. For leveling, place shims under the base on uneven floors and verify with a spirit level; this prevents wobbly countertops and gaps. When you spot missing hardware, pause for budget materialuring, then replace parts before proceeding. Finally, tighten all screws evenly, use jigs for hardware alignment, and perform installation troubleshooting step‑by‑step to catch loose screws or shifting gaps early. Shelf thickness also plays a crucial role in load‑bearing capacity, as thicker shelves distribute weight more evenly and reduce sagging. Selecting the proper slide type ensures smooth drawer operation and matches the cabinet’s design requirements.

Cam locks for furniture are crafted from durable alloy steel with nickel plating, ensuring rust and corrosion resistance for long-term use in humid or high-temperature environments. Before purchasing, measure your pre-drilled hole’s diameter, depth, and connecting hole length to ensure compatibility

Complete 3-In-1 Furniture Fastener Kit: This 150-piece assortment includes cam lock nuts, connecting screws, and wood dowel pins – everything you need for assembling or repairing flat-pack furniture. Whether fixing a wobbly cabinet or building a new dresser, this kit has the right hardware for the job.

Premium Material: Crafted from durable carbon steel with a zinc-plated finish that helps improve wear performance and maintain appearance over time. Known for its strength under pressure, making it suitable for repeat tightening and long-term tasks
How to Decide Which Cabinet Type Fits Your Needs
What type of cabinet best serves your space depends on the room’s purpose, the items you’ll store, and the space you have available. First, define the room’s function—office, bedroom, playroom, or warehouse—to guide budget style selection and space planning. Measure each item’s dimensions and weight; choose drawer heights (1″, 2‑1/4″, 3‑3/8″) or shelf depths that fit. Sketch the floor plan, noting ceiling height, windows, and traffic paths, and the cabinet’s footprint and depth (≈14.25″) won’t block walkways. Decide on configuration: doors for security, drawers for frequent access, shelves for open visibility, or a mix for versatility. Finally, match material—metal for heavy loads, wood or modular for lighter items—to your workflow and aesthetic preferences. This systematic approach guarantees the cabinet fits your needs without waste. Consider the typical standard cabinet dimensions to ensure your selection aligns with common size ranges. Understanding door style options helps you balance accessibility and visual appeal. Heavy‑duty cabinets also provide enhanced durability that protects valuable equipment and reduces damage.

【High quality metal materials】Our metal storage cabinet is meticulously crafted with high-quality 0.8mm steel plates. We reinforce each cabinet shelf with additional steel bars to prevent the partitions from deforming and getting dents. It's scratch-resistant, easy to clean and can prolong the service life of the garage cabinet during frequent use.

[Heavy-Duty Mobile Storage] Move your heavy equipment effortlessly across the garage or office. Equipped with four 360-degree swivel casters—including locking mechanisms—that roll safely on all floors and keep the cabinet firmly in place.

Massive Capacity, Universal Use: Offers exceptionally spacious storage for your garage, office, gym, or workshop, keeping all your items secure and organized in one place. It boasts ample inner space and reasonable layered layout, capable of holding various hand tools, hardware parts, daily sundries and working supplies. Suitable for indoor and outdoor daily storage, it helps you sort out messy goods efficiently and bring neat and orderly storage experience to your daily work and life