Inspect the door for stalls, rubbing, and uneven gaps, then clean any dust or grease from the tracks. Use a Phillips screwdriver to turn the BLUM side‑to‑side screw clockwise on the side with a larger gap to pull the door inward, counter‑clockwise to push it outward; repeat on the opposite screw for tilt. Adjust the height screws by loosening them, raising or lowering the door, and retightening in a clockwise sequence. Tighten any loose latch hardware, and test the soft‑close action; the next steps will show you how to repair stripped threads, splits, and warped panels.
Identify the Specific Cabinet‑Door Problem You’re Facing
Where’s the problem? You first inspect the door’s movement, then isolate the cause. If the door stalls or jerks, check the tracks for dust, grease, or debris; a quick vacuum and a damp rag will handle most track cleaning needs. Notice any resistance when you swing the door—this points to misaligned rollers or hinges, which you can test by gently lifting the door and feeling for tilt. Examine the frame for warping or uneven settling, especially after humidity spikes. If the latch feels loose or the knob wobbles, the hardware likely needs tightening. Finally, assess paint selection: a glossy finish can hide surface grime, while a matte coat reveals dust that may be clogging the tracks. Identify the exact symptom before proceeding to repairs. Adjust the hinge’s horizontal position using the side screw to correct door alignment. For stubborn screws, consider using a longer fastener to ensure a secure hold. Selecting a cabinet with a high load capacity helps prevent future door sagging.
Gather the Tools and Materials Needed for Cabinet‑Door Repair
When you’re ready to fix a cabinet door, start by gathering a compact, well‑organized toolkit: a rubber‑mallet and a cloth to protect the finish, a set of Phillips and flat‑head screwdrivers in multiple sizes, strong adhesives such as epoxy or JB Weld for split wood, a small sander (preferably a 6‑inch random orbital) with a razor blade for glue removal, and safety gear like gloves and eye protection. Your tool selection must include a hammer for gentle taps and a multi‑bit screwdriver for varied hardware. Add a material checklist: epoxy, JB Weld, CA glue, sanding paper, and a razor blade. Verify each item is within reach, inspect for wear, and guarantee safety gear is on before you begin. Use a medium‑viscosity glue to ensure the adhesive flows into tight cracks. Cabinet door hinges should be installed with precise spacing to maintain proper clearance and alignment. Magnetic cabinet locks require careful alignment of the metal plate and the magnetic catch to function properly.

【High Quality Stainless Steel】Cabinet Hinges Repair Plate is made by high quality brushed stainless steel material which is rust resistant, attractive and durable.The items can help repair damaged hinges on the surface and convert the original fixed stress point into a force-bearing area to make it stronger.

1.【Combination List】6 pcs cabinet hinge repair plate set includes: 4 pcs large hinge repair plates (3.54*3.54 inches), 2 pcs small hinge repair plates (3.54*2 inches), 36 pcs self-tapping fixing screws.

New Upgrade for Better Use:Widen the gap at the opening of the hinge wrench to make it easier to put the wrench on the hinge; lengthen the length of the hinge wrench joint to make adjusting the door gap easier;4 sizes of hinge
Diagnose Common Cabinet‑Door Issues: Rubbing, Gaps, and Misalignment
If you notice a cabinet door scraping against its neighbor, widening unevenly, or appearing tilted, the problem usually stems from hinge positioning rather than a faulty door. Begin with a rubbing diagnosis: open both doors fully, then close them slowly while watching the clearance. Measure the gap at the top, middle, and bottom with a ruler or feeler gauge; uneven readings indicate misalignment. A larger gap on one side signals that the hinge screw on that side needs a clockwise turn to pull the door closer to the cabinet body. Adjust the opposite door if the first change re‑creates collision. Check for levelness of the cabinet box; uneven floors or warped panels cause persistent gaps and visual tilt. Re‑measure after each tweak until all three points read consistently. Both hinge types feature three adjustment screws to fine‑tune height, left‑right, and front‑back positioning. Using a torque screwdriver ensures precise screw adjustments without stripping. For older hinges, you can also use a paper shim to temporarily fill gaps while testing the new alignment. European cabinet hinges often incorporate a built‑in tension adjustment that lets you balance door weight for smoother operation.
Adjust a Misaligned Cabinet Door Side‑To‑Side With BLUM Hinge Screws
Even though the door may appear tilted, you can correct its side‑to‑side position quickly by turning the dedicated adjustment screw on the Blum hinge body with a Phillips screwdriver. Locate the screw closest to the door edge; a clockwise turn pulls the door inward, counter‑clockwise pushes it outward. Use the second left‑right screw to fine‑tune the tilt, coordinating both adjustments to eliminate gaps. If the hinge plate is bound, loosen the mounting‑plate screws just enough to let the plate slide in its elongated slots, then re‑tighten after alignment. Apply a thin layer of hinge lubrication to the screw threads and the soft‑close mechanism to guarantee smooth operation and a soft finish. Test the swing after each quarter‑turn, then secure all screws firmly. In‑out adjustment allows compensation for drilling errors and bumper thickness. Selecting the correct hinge size ensures proper torque and long‑lasting alignment. Understanding the soft‑close mechanism helps prevent premature wear and maintain quiet operation.

Number Of Items: 1


3-Way Adjustable In and Out Cam Adjustment: +/- 1/16" side, +/- 1/8" height, +3/32" - 1/32" depth
Raise or Lower a Cabinet Door Using Height Screws for Vertical Alignment
Although the door may sit a few millimeters too high or low, you can correct its vertical position quickly by adjusting the height screws on each hinge. First, remove any hinge covers using a hinge cover removal tool; this exposes the s screw on the main hinge plate. Loosen the s screw on both the top and bottom of each hinge just enough to let the door move without sagging. With a helper holding the door steady, raise it to increase the gap or press it down to decrease it, keeping the level against the edge to verify plumbness. Once the door aligns with adjacent panels, tighten the s screw snugly in a clockwise sequence, avoiding overtightening. Finally, push the door gently to confirm there’s no play and the adjustment holds. Check for uneven gaps between doors. Use a level for precise vertical alignment. Inspect the hinge screws to ensure they are not stripped before tightening. Adjust the hinge plates to fine‑tune the door’s alignment.

8mm Diameter Plastic Dowel Inserts for Cabinet Hinges

GRASS TEC 864 SELF-CLOSE Cabinet Hinge "DOOR WILL SLAM SHUT"; MADE IN THE USA.

Soft Close Hinges for Cabinet Doors – Enjoy peaceful, no-slam cabinets with our reliable 1 1/4" overlay soft close hinges. They deliver premium performance at a fraction of the price you'd pay at big box stores.
Repair Stripped Screw Holes With Toothpicks or Epoxy
When a cabinet‑door screw hole is stripped, you can restore a solid grip quickly with either the toothpick‑and‑glue method or an epoxy filler. First, remove the screw and clean the hole with a utility knife, discarding loose fibers. For toothpick reinforcement, dip three to four wooden toothpicks in wood glue, tap them into the hole with a hammer, wipe excess glue, and let them cure for about one hour. Score the protruding tips flush, sand lightly, then re‑drill or re‑insert the screw. For epoxy filling, clean the cavity, apply a two‑part epoxy filler directly, level it with a plastic card, allow it to harden, then sand smooth. Both techniques yield a durable, re‑grippable thread suitable for hinges and hardware. The worn‑out threads can be effectively restored using these simple methods. Over‑loading the cabinet can cause similar damage, so consider weight distribution when reinstalling the door. Adding metal brackets to the interior can further reinforce the shelf and prevent future stripping.

Gorilla tough: Gorilla Wood Filler is the go-to product for strong water resistant repairs on cracks, gouges and holes
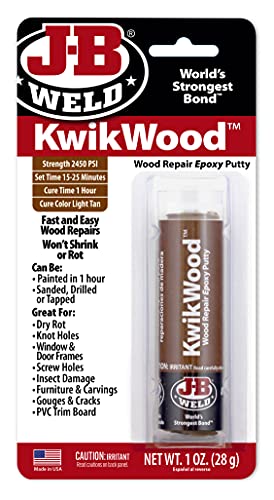
J-B WELD KWIKWOOD: A hand mixable two part epoxy putty stick that is formulated to repair and rebuild wood. J-B Weld KwikWood is designed for all wood household DIY repairs!
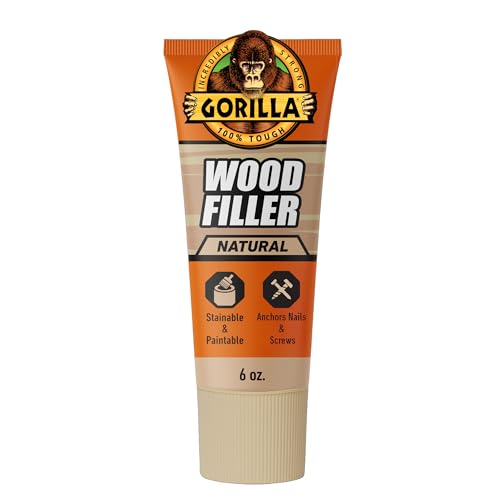
Gorilla tough: Gorilla Wood Filler is the go-to product for strong water resistant repairs on cracks, gouges and holes
Repair Splits and Cracks With Glue, Clamps, and Finishing Nails
After fixing stripped holes with toothpicks or epoxy, the next step is to address any splits or cracks in the cabinet door. First, clean the fissure, remove old glue with a chisel, and sand the edges lightly. Choose a high‑quality woodworking adhesive for glue selection; Gorilla Glue or a similar product works well. Thin the glue with a few water dashes, spread it evenly on both sides of the split, and wipe excess with a wet paper towel. Position three orange‑style clamps evenly—clamp positioning should pull the surfaces into direct contact and eliminate air gaps. Keep clamps in place until the glue cures, then pre‑drill pilot holes and drive finishing nails for added strength. Finally, sand smooth and refinish. Ensure that excess old glue is fully removed before applying new adhesive to prevent weak joints. Selecting the right drawer pull style can also enhance the overall repair aesthetic. Properly controlling humidity in the storage area helps prevent future warping of cabinet doors. For a secure installation, consider using a drill guide to keep holes perfectly aligned.

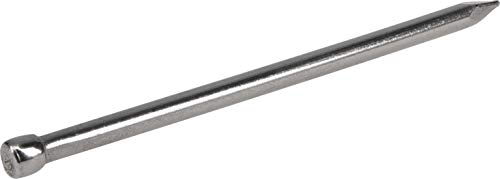
Versatile Finish Nails: Ideal for trim, millwork, cabinets, paneling, and small nails for picture hanging, these 1-1/4-inch finish nails are essential for fine finishing work

MULTIPLE SIZE OPTIONS - This hanging nails assortment kit contians high-quality picture nails in multiple sizes, including 1" Finish Nails and 3/4", 1", 1.2", 1-1/2" and 2" Frame Nails. In each compartment of the organizer box, the various sizes of nails are organized in an orderly fashion, help you hang various wall decorations in living room and bedroom.
FINISHING NAILS FOR INTERIOR TRIM AND CARPENTRY WORK: 2 in. bright finish nails are designed for interior trim, molding, baseboards, door casings, and cabinetry where a clean, professional appearance is required in finish carpentry.
Fix Warped CAbinet Doors With Weight, Sanding, and CA Glue
Three simple steps—weight, sanding, and CA glue—can restore a warped cabinet door without replacing it. First, detach the door, lay it flat with the warped side up, and apply weight balancing by placing heavy objects across the highest points. Leave the weights for several days, checking daily until the wood flattens. Next, if the warp is minor and the door is solid wood, sand using an 80‑grit belt, then progress to 120‑grit and higher for a smooth surface, avoiding plywood veneers. Finally, apply two‑part CA glue with activator to any loose panels, then clamp the door over a 1.5‑inch block for at least 24 hours. The glue reinforcement locks the panels in place, allowing you to refinish the door confidently. The back‑side cuts relieve internal pressure, helping the door to straighten as the cuts are made. Proper floor stability ensures the cabinet remains level during the repair process. Additionally, you can use a hinge template to verify correct door swing direction before re‑installing the hardware. Understanding moisture impact is essential for preventing future warping.
Test the Cabinet Door After Each Adjustment to Ensure Smooth, Flush Closing
Even if you’ve just tightened a hinge screw, you must immediately test the door’s movement to verify that it closes smoothly, sits flush, and maintains consistent gaps. Begin with a door inspection: close the door and measure the gap on all sides, comparing it to neighboring doors. If gaps vary, adjust the vertical or horizontal screws before proceeding. Perform a sound test by opening the door halfway, releasing it, and listening for grinding or rubbing; any noise indicates frame contact and requires depth‑screw correction. Observe the soft‑close action for smooth deceleration and ensure the door doesn’t bounce. Repeat the visual and auditory checks after each tweak, documenting screw rotations, to guarantee a consistently flush, quiet closing mechanism. Loosen the center screw to allow the door to slide back and forth for fine‑tuning its position.

