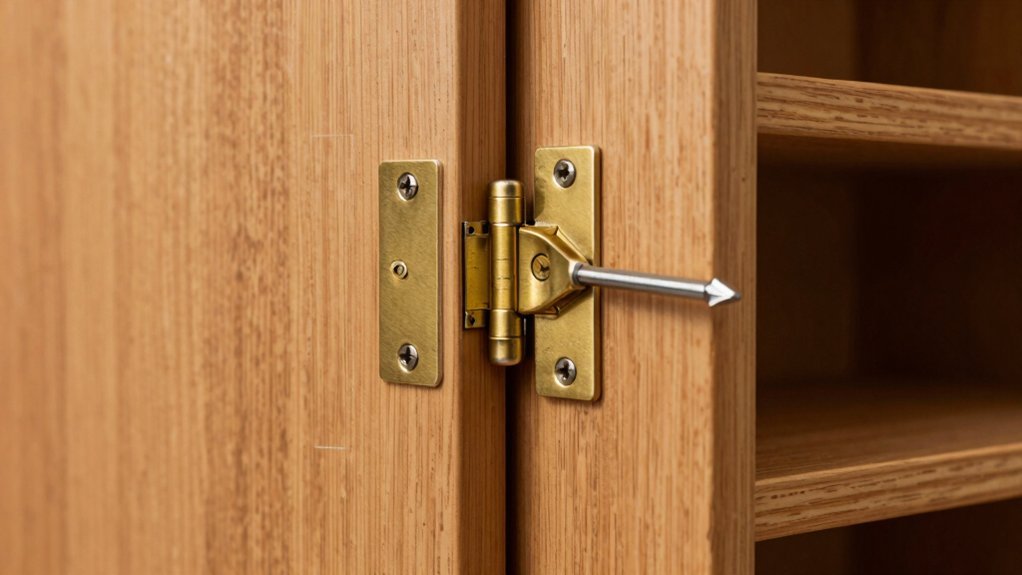
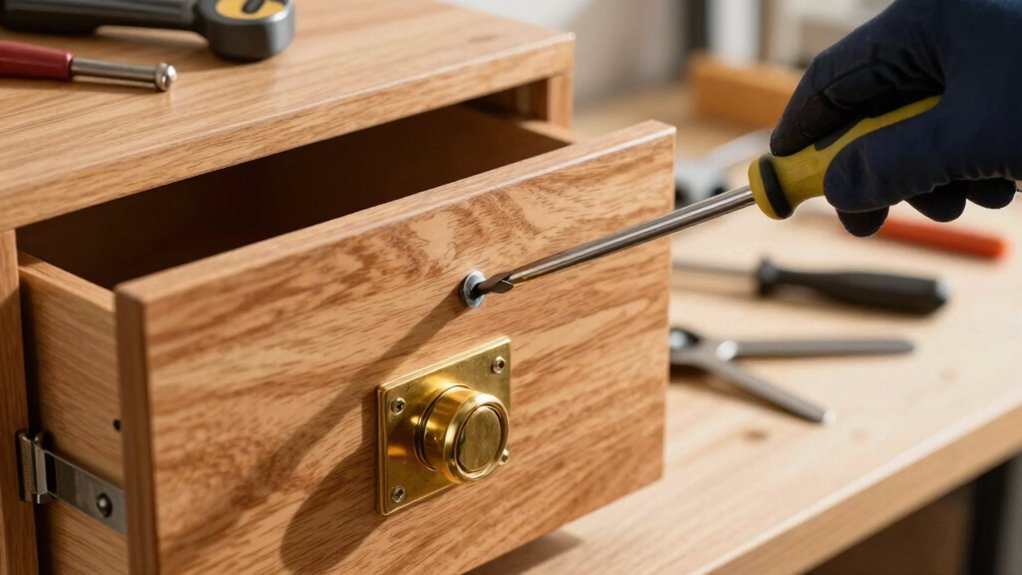
First, open the door fully and check each hinge screw; tighten any that feel loose with a matching screwdriver, but stop if the screw spins without resistance. If it spins, fill the stripped hole with a few toothpicks coated in wood glue, tap them flush, let the glue cure, then re‑drill a pilot hole and reinstall the screw. For larger damage, use wood filler or a dowel plug for permanent strength, then adjust the hinge screws to realign the door and test the gap. Keep the hinges lubricated and inspect them regularly to avoid future looseness, and you’ll uncover more detailed tips ahead.
Identify a Loose Kitchen Cabinet Hinge
You’ll notice a loose hinge the moment the cabinet door rattles or doesn’t sit flush. First, feel the hinge material; metal or polymer parts should be solid, not cracked. Then, check the mounting plate: clip‑on hinges detach easily, while slide‑on hinges stay fixed with screws. Use a screwdriver to verify that each screw holds the specified installation torque—usually a firm, but not overtight,,. If a screw spins without resistance, the thread is stripped or the hinge is misaligned. Next, measure the cup hole diameter (26 mm, 35 mm, or 40 mm) to guarantee the hinge fits the existing opening. Finally, confirm the opening angle (95°–110° for standard cabinets) matches the hinge’s design; an incorrect angle often signals a loose or mismatched hinge. Overlay measurement should be taken before selecting a replacement hinge. Consider the cabinet’s load capacity when choosing a new hinge to ensure it can support the door’s weight. For faster repairs, you can use a quick‑release hinge kit that allows easy adjustment without removing the door. Follow the step‑by‑step safety guidelines when handling the lock to avoid injury.
Spot the Signs of a Stripped Hinge Screw
A loose hinge you’ve already spotted often means the screw threads are stripped, so the door won’t stay flush and will rattle whenever you open or close it. First, look for uneven gaps between door and frame; a wide gap usually means the screw can’t hold the hinge in place. Feel the door at the hinges—if it wiggles or pulls away easily, the wood fibers around the screw are damaged. Turn the screw with a screwdriver; if it spins freely without gaining resistance, the hole is stripped. Check hinge alignment with a level; a door that hangs unevenly signals a weak screw. Finally, inspect paint or finish near the hinge for cracks or chips, another clue that the screw has lost its bite. The top hinge is often the most common point of loosening due to the door’s weight. For a more permanent fix, consider using a threaded insert to reinforce the stripped hole. Choosing a lock with high tensile strength can further prevent future loosening.
Tighten Loose Hinge Screws Safely
A few careful steps will let you tighten those loose hinge screws without damaging the cabinet. First, open the door fully and support it with one hand. Clear any obstacles, then grab a screwdriver that matches the screw head. Insert it into the first screw and apply steady screw torque, turning clockwise until you feel resistance. Move sequentially across the hinge plates, checking hinge alignment after each turn. Stop once the screw feels snug; over‑tightening can strip the wood. If the original screws are short, replace them with ones ¼‑½ inch longer, driving them perpendicular to the plate. Wear safety glasses, avoid slamming the door, and test the swing several times to confirm stability. Additionally, if the wood around the screw is stripped, you can fill the hole with toothpicks before reinserting the screw. For wider doors, consider adding a third hinge to ensure even weight distribution and prevent sagging. Properly spaced hinges also help maintain door alignment over time. Understanding the different cabinet door latch types can further improve hardware selection for optimal durability.
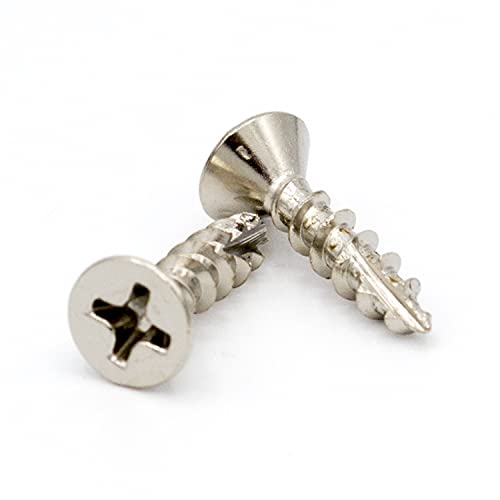
【For European Hinges & More】Ideal Screw for European concealed hinges. Sits and matches perfectly for most common brands of hinges

6×14mm Short Expansion Screw Set: They effectively repair worn, loose, or stripped screw holes, preventing hinges from sagging, wobbling, or falling off. Built to last, they ensure long-term stability even in high-use areas like kitchens and bathrooms

1.【Combination List】8 pcs cabinet hinge repair plate set includes: 4 pcs large hinge repair plates (3.54*3.54 inches), 4 pcs small hinge repair plates (3.54*2 inches), 48 pcs self-tapping fixing screws. If you have any questions with product, please contact us freely.
Repair Small Stripped Hinge Holes With Toothpicks & Wood Glue
Ever wonder how to fix a stripped hinge hole without buying a new cabinet? Grab a few wooden toothpicks, a bottle of wood glue, a hammer, and nippers. Dip the toothpicks so the glue coats the bottom, then pack them tightly into the hole. Tap gently with the hammer until they sit flush or slightly below the surface. Trim excess with nippers, wipe away stray glue, and let the glue curing run at least 1‑2 hours before testing the screw. For full strength, wait 24 hours. After curing, sand the toothpick texture smooth, using a multi‑tool or sandpaper, and reinstall the hinge screw. The reinforced plug restores grip and aligns the door perfectly. The door was placed on its side and supported against a dining room table during the repair. Properly aligning the door prevents uneven stress on the hinge screw cabinet door alignment. Choosing the right drawer pull material can also enhance the overall look and durability of your cabinets. Using concealed hardware helps maintain a clean aesthetic while providing strong support.

Industry Standard Wood Glue: Trusted by professionals and hobbyists alike, Titebond Original provides strong initial tack and fast set time to reduce clamp time and speed up woodworking projects.
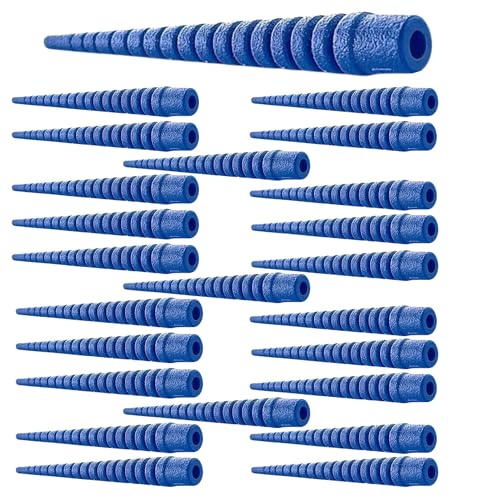
FIX STRIPPED SCREW HOLES FAST - Restore grip in damaged screw holes so screws tighten like new. Perfect for repairing stripped wood screw holes in cabinet hinges, doors, furniture, drawer slides, handles, and loose hardware without replacing the entire piece.

🌲 Seamless Wood Bonding: Designed for wood projects, this wood glue penetrates fine cracks and forms strong bonds between wood, metal, or other materials. Perfect for restoring furniture, repairing cracks, and achieving seamless finishes with minimal traces.
When Toothpicks Won’T Work: Fill Larger Damage With Wood Filler & Re‑Drill
If the toothpick‑and‑glue plug can’t hold the hinge screw, it’s time to replace the damaged area with a strong wood filler and drill new pilot holes. Remove the door, clean the stripped hole, and enlarge it to accept a dowel if the damage is extensive. Knead JB Weld KwikWood or PL Premium until uniform, then press it into the hole, over‑filling slightly. Let the filler cure—at least one hour for KwikWood, overnight for PL Premium. Sand the surface smooth, then apply paint and paint finish to match the cabinet. Mark the original hinge location, drill fresh pilot holes into the hardened filler, and reinstall the hinge. Test for stability before closing the door. Use a lever to free the hinge piece attached to the door arm. Consider the material durability when choosing a filler to ensure long‑lasting repair. Plastic cabinets are known for their impact resistance, making them a reliable choice for high‑traffic kitchen environments. Solid hardwood such as oak offers exceptional structural strength that can further extend the repair’s lifespan.

J-B WELD KWIKWOOD: A hand mixable two part epoxy putty stick that is formulated to repair and rebuild wood. J-B Weld KwikWood is designed for all wood household DIY repairs!

Package Includes: you will receive 8 pieces of wooden hinge repair plates and 16 pieces of double sided tapes in a package, which can be applied for you to use, easy and convenient

Fix Stripped Wood Screw Holes in Seconds: wood anchor for screws is designed to quickly and easily repair stripped screw holes in wood, door hinge, fittings, fixtures, modern and antique furniture, door locks, anywhere a wood screw hole need repair
Insert a Dowel Plug for Permanent Strength in Severely Stripped Holes
When a hinge screw keeps stripping the cabinet wood, a hardwood dowel plug gives you a permanent, load‑bearing repair. First, remove the hinge and old screws. Choose a dowel material that matches the hole diameter, then drill the stripped hole with a bit slightly larger than the screw, enlarging until the dowel fits tightly. Clean the cavity, apply wood glue—preferably Gorilla Glue for expansion—to the dowel base, and tap it in with a hammer until flush. Wipe excess glue, let glue curing follow the manufacturer’s timing, then trim the dowel with a saw or chisel. Sand the surface smooth, pre‑drill a pilot hole in the dowel using the hinge as a guide, and reinstall the hinge. Avoid overtightening to keep the repair strong. A toothpick can temporarily fill the hole before the dowel is installed. If you notice structural damage such as warped panels, it may be a sign that the entire cabinet should be upgraded rather than repaired. High‑security electronic locks provide superior resistance to forced entry compared to traditional cam locks. For even stronger repair, consider using a metal reinforcement plate to distribute load across a larger area.

8mm Diameter Plastic Dowel Inserts for Cabinet Hinges
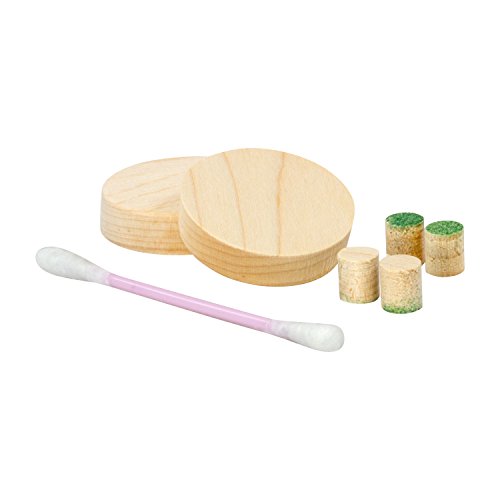
These high quality solid hardwood plugs are true face grain and tapered for easy installation.

The package includes: 20 plastic hinge pins + 20 stainless steel screws (4x8mm)
Adjust Hinge Screws to Realign a Loose Cabinet Door
Even a slightly loose hinge can make a cabinet door sag or misalign, but you can fix it quickly by adjusting the mounting screws. Start by opening the door and locating the two mounting screws on each hinge. Use a Phillips‑head screwdriver to turn each screw clockwise, applying moderate screw torque until the door stops sagging. If the door still sits low, loosen the vertical adjustment screws a quarter‑turn counter‑clockwise, close the door, then shift it to the desired height and hand‑tighten. For side‑to‑side drift, locate the horizontal screw near the front of the box hinge, loosen it just enough, nudge the door left or right, and retighten. Apply a thin layer of hinge lubrication to the screw threads before final tightening to prevent future loosening. Adjust the back screw to set the door‑to‑cabinet gap before tightening the others. Concealed hinges are often preferred for a clean look and can be fine‑tuned using the same adjustment techniques. Ensure the door is properly level by using a small level tool to verify both vertical and horizontal alignment after adjustments. Use a drill guide to keep pilot holes centered and prevent wood splitting.

STRENGTH AND DURABILITY: Made of heat-treated alloy steel

STRENGTH AND DURABILITY: Made of heat-treated alloy steel

LONG-LASTING STRENGTH: Our #8 x 1/2" wood screws are made from black phosphate-coated carbon steel, offering rust and corrosion resistance for durable performance in indoor environments.
Test Door Movement and Gap Consistency After Repairs
After tightening the hinge screws, you’ll want to verify that the door moves smoothly and the gaps stay uniform. Begin a door swing validation by opening and closing the door three times. Listen for creaks, watch for binding, and note any spring‑back. Then conduct a gap uniformity assessment. Use a measuring tape at the top, middle, and bottom on both hinge and opposite sides. Aim for 1/16 to 1/8 inch consistency; record each measurement. Compare the before‑and‑after values to confirm improvement. If any point exceeds the tolerance, adjust the corresponding screw incrementally and retest. Repeat the swing and measurement cycle until the door closes flush, swings freely, and all gaps are even. Adjust the back screw to release tension and prevent the door from springing back.
Maintain Cabinet Hinges to Prevent Future Looseness
If you keep your cabinet hinges clean, lubricated, and checked regularly, you’ll prevent the loosening that leads to sagging doors and noisy operation. Wipe each hinge with a soft cloth or microfiber weekly; for stubborn grime, use a mild soap solution and a damp cloth, never harsh chemicals. Apply a silicone‑based lubricant during preventive lubrication, and every few months add a light spray of WD‑40 for smooth movement. Perform a seasonal inspection of screws, tightening any that have turned loose with a manual screwdriver; fill stripped holes with wood filler or a matchstick for better grip. Look for rust, cracks, or stiffness, and replace worn hinges promptly. Distribute cabinet weight evenly and avoid slamming doors to reduce strain.