First, check the spec sheet for the lock’s required position—usually open, sometimes closed—and grab the correct removal key. Insert it after the standard key, push it fully back to suppress the retaining wafer, then pull the core straight out without turning the key, keeping it aligned with the housing slots. Measure the frame clearance (≥0.5 in) and match the lock type and backset, then insert the new cylinder with the rotor at 6 o’clock, secure the spring clip, and attach the linkage, ensuring the bolt is seated and the clip is torqued to spec. Reinstall the top drawer, test each lock three times, and verify proper engagement; if you keep going, you’ll uncover detailed troubleshooting tips.
Remove the Old Cabinet Core Safely
When you begin removing the old cabinet core, first verify whether the lock must be in its open or closed position—most models, including Steelcase FR/XF, require the open state, while a few demand a closed position to release the retaining pin. Check the lock’s specification sheet to confirm the required position; this step safeguards core safety and prevents wafer damage. Choose the correct removal key (control, pull, or change key) and insert it after extracting the standard key. Push the removal key fully back to suppress the retaining wafer, then pull the core straight out without turning the key. Keep the core aligned with housing slots, using a finger or a dedicated extractor if the key is unavailable. Maintain steady pressure to avoid breaking the wafer or stripping the pin. Core removal is essential for a smooth extraction. Also, consider the material durability of the cabinet to ensure long‑term performance. If the lock is a simple pin tumbler, a basic paperclip lock can be used to manipulate the pins and release the core.
Select the Correct Replacement Lock for Cabinet Lock Replacement
After extracting the old core, you’ll need to match the new lock to your cabinet’s lock type and model. First, verify lock compatibility by measuring the frame’s minimum 0.5‑inch clearance and confirming the lock type—cam, plunger, gang, or spring‑bolt. Identify the cabinet model: HON F26 (2190) uses KD for unique keys or KA for keyed alike; HON F24/F28 (2185) follows the same scheme. If the cabinet features a removable core, select a kit that supports core removal, such as the 2183 key set. For Chicago replacements, check cylinder dimensions against the spec sheet. Choose keyed options that align with your security plan: KA simplifies multiple‑drawer management, while KD provides distinct keys for each lock. This systematic assessment guarantees proper fit and function. Additionally, ensure the new lock’s backset length matches the original to maintain alignment with the drawer latch. Understanding the security rating of each lock helps you balance cost with protection needs.

For files that have HON “One Key” standard locks.

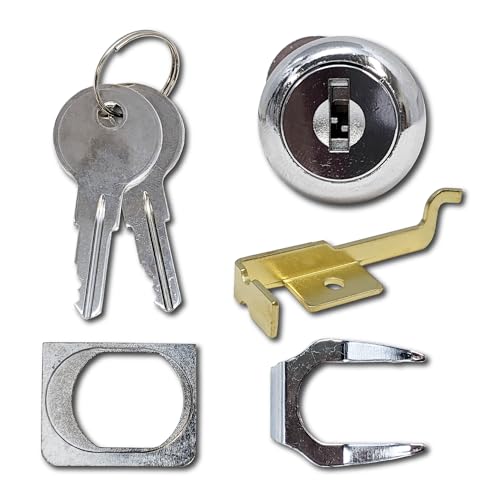
Custom-Fit HON File Cabinet Lock Replacement: Designed to fit HON vertical file cabinets, the F24/F28 style replacement lock offers seamless compatibility, eliminating the need for modifications.
Install New Cylinder and Linkage for Cabinet Lock Replacement
If you’ve cleared the drawers and removed the old cylinder, you can now install the new cylinder and its linkage with a systematic, step‑by‑step approach. First, reinsert the aluminum lock rod with the plastic rotor tab facing down, then align the lock‑rod hole precisely with the new cylinder’s back. Insert the cylinder so the keyhole points at 12:00 and the rotor sits straight at 6:00, confirming square rotor hole matches the rod. Press the cylinder firmly against the interior, slide the spring clip from the side until it clicks, and hold the cylinder steady while the clip sets, ensuring proper cylinder alignment and spring‑clip tension. Next, insert the pointed linkage end into the pre‑drilled lock‑bolt hole, pivot it downward, and bend the square end upward with a screwdriver to create adequate linkage tension. Verify that the linkage connects the cylinder bolt to the cabinet mechanism before proceeding. Insert the retaining clip flush against the inside wall to secure the cylinder. Use a torque wrench to ensure the spring clip is tightened to the manufacturer’s recommended torque specification. Remember to wear protective gloves while handling the spring clip to avoid finger injuries. Choosing a lock with a high-security cylinder can significantly enhance the cabinet’s resistance to tampering.
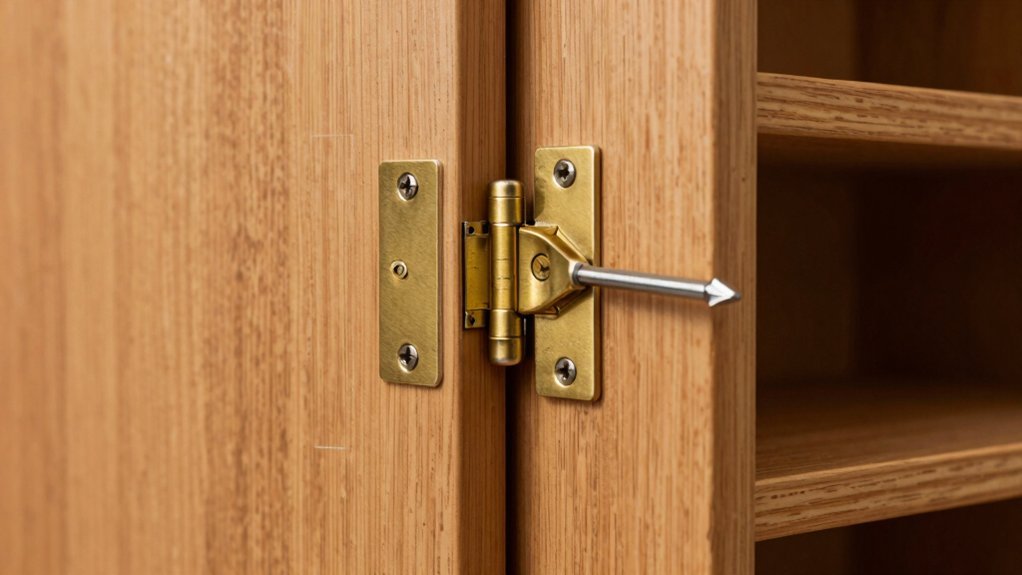
SECURE CABINET DOORS AND DRAWERS – This U 9945 lock can be used to secure cabinet doors, drawers and much morewith the securing hex nut.

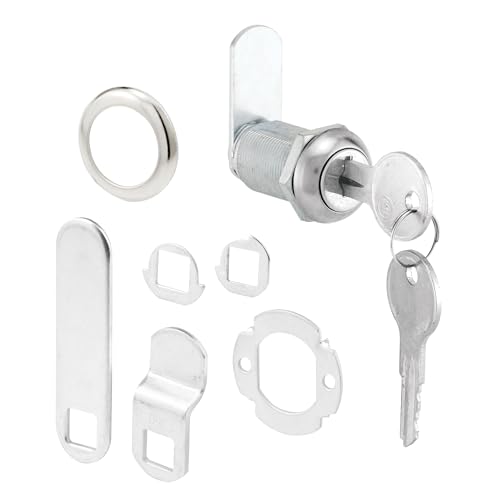
Replacement Kit: File cabinet locks replacement for toolbox. Includes 6 pieces of lock kit which includes nyloc nut, spare offset plate, stop washer, non-slip hex, lock plate, plate cover, lock body and keyed alike.

High Quality Material: This desk drawer lock is made of zinc alloy with screws M4 x 16mm. Soild Construction - Constructed of steel components. Our drawer locks are long-term use and strong
Cabinet Lock: Reinstall Top Drawer & Test All Locks
Although the top drawer’s contents are cleared, you must first remove the drawer completely by opening it, lifting the front about 2.5 inches, and sliding it out of the cradle. Lower the rear into the cradle, ensuring drawer alignment with the tracks and side‑to‑side positioning before sliding the front flush with the cabinet frame. Insert the linkage piece into the bolt hole, seat the retaining clip flush against the wall, and position the bolt upward during cylinder insertion, using a spacer if the knockout exceeds the lock size. Turn the key fully to the locked position, then perform lock testing on each drawer: open and close each drawer three times, verify simultaneous lock engagement, and confirm no movement when loaded. Check for gaps and firm linkage engagement before concluding. Metal cabinets require flattening the sharp pieces for a secure grip. Proper hinge alignment prevents future wear and ensures smooth operation. Understanding lock cylinder helps ensure compatibility with the cabinet’s existing hardware. Always verify that the lock backset matches the cabinet’s pre‑drilled hole depth before installing the new lock.
Cabinet Lock: Troubleshoot Installation Issues
When you encounter lock installation problems, start by confirming that the lock sits squarely in its cradle with the latch pointing upward, then verify that the adhesive has fully cured before testing any movement. First, remove the 3M adhesive cover only after the lock is locked in place. Push the lock firmly into the cradle, ensuring magnet alignment with the latch facing up. Tug the door slightly to confirm secure attachment; if the door thickness interferes, measure the front‑face frame and adjust placement. For thick barriers, employ both magnets and test latch drop before finalizing position. If metal detection triggers false holds, reposition the lock away from nearby metal, retaining enough adhesive for re‑attachment. Finally, replace the battery after removing the lock, then remount to restore full functionality. Optional screws can be used for added security on problematic surfaces. Choosing a lock with high‑grade steel construction enhances durability and overall strength. Consider the security rating of the lock to ensure it meets the protection level required for your cabinet type. Cam lock designs often include tamper‑resistant features that further improve security.

✔SIZE:Overall Diameter : 2.4''/60mm ;Drilling hole: 2''; Handle Length: 2.9''/74mm;Please refer to the left figure for details.

2'' Female NPT x Male Camlock coupling

Min. temp rating -150 F,Max. temp rating 500 F,Maximum working Pressure of 250PSI