Pick the right slide (side‑mount, undermount, or center‑mount) based on load and clearance, then measure the cabinet width, drawer depth, and back‑to‑back gap, rounding as specified and keeping tolerances within 1⁄8 in. Mount the cabinet‑side slides level using a magnetic level and pre‑drilled holes, securing front screws first. Attach the drawer‑side slides, set the cam adjusters to make the drawer sit vertically, and tighten all screws. Test the drawer, fine‑tune vertical, horizontal, and depth adjustments, and verify smooth, flush operation before proceeding further.
Select the Correct Slide Type
Which slide type fits your cabinet’s layout and load requirements? Evaluate side‑mount, undermount, and center‑mount options by measuring clearance, drawer depth, and intended use. Side‑mount slides need a half‑inch gap on each side, provide high slide‑weight capacity, and tolerate heavy loads thanks to robust material durability. Undermount slides hide beneath the drawer, require ¼‑3/16‑inch clearance, and suit lighter duties; they often include soft‑close mechanisms but sacrifice slide‑weight capacity. Center‑mount slides occupy the drawer’s center, demand minimal clearance, and are best for small, decorative drawers with low slide‑weight capacity. Choose roller versus ball‑bearing models based on smoothness and load expectations, and verify that the slide material—steel, stainless, or alloy—meets your durability criteria. Undermount slides require a specific drawer box design that must be tailored to the slide dimensions. Consider the load capacity of each slide type to ensure it matches your intended storage needs. Properly assess the extension length to guarantee the drawer fully opens without obstruction. For wider cabinet doors, three hinges may be necessary to prevent sagging and ensure smooth operation.

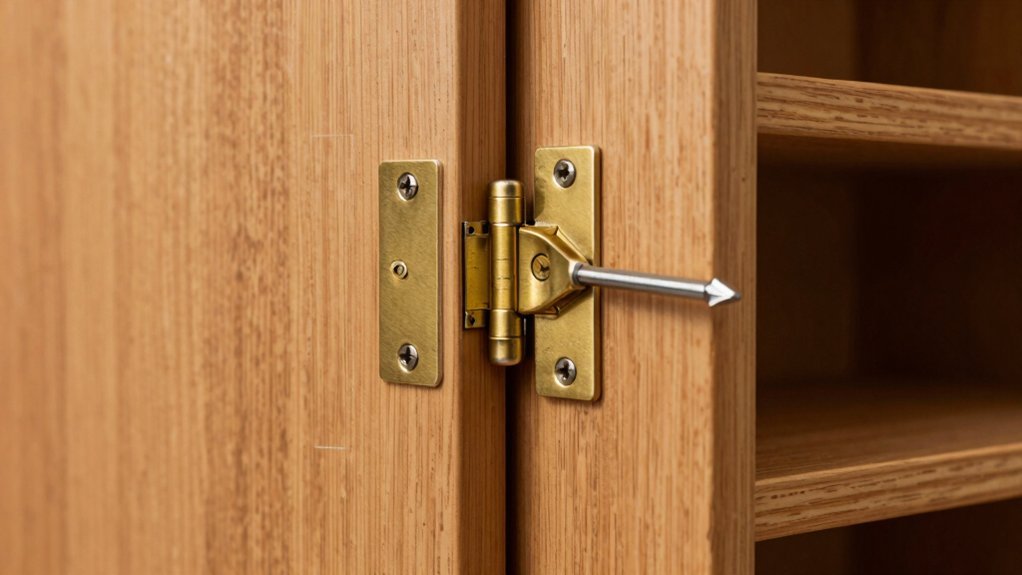
FUNCTION: Install, adjust and remove your drawers easily with the help of this locking device. A silent system guarantees a smooth run without noise that prevents slamming and ensures tidiness within your drawers.
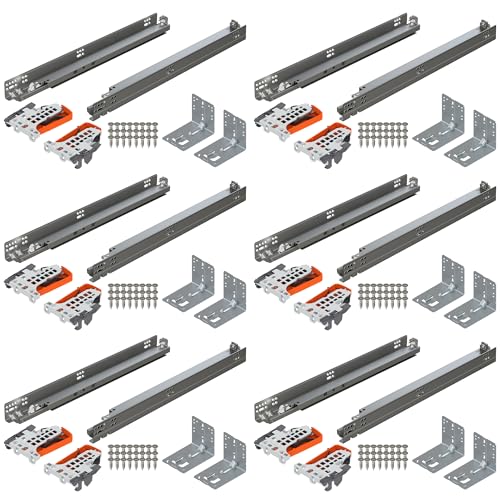
6 Kits Includes 6 pairs of drawer slides + 6L & 6R locking devices + 12 rear mounting brackets + screws; Compatible with face frame and frameless cabinets

4-PACK VALUE - Includes four adjustable rear drawer slide guides - perfect for multiple drawers or keeping spares on hand. Made in the USA - Quality construction and dependable performance.
Measure and Mark the Cabinet and Drawer for Drawer Slides
Before you cut any hardware, grab a tape measure and a straightedge, then record the drawer’s external depth, the cabinet’s interior width, and the clearance needed between the drawer back and cabinet back. Measure the drawer box from front edge to back edge, excluding the front panel, and note the exact length. For side‑mount slides round down to the nearest even inch; for center‑mount use the 2‑inch increment nearest; for under‑mount the inches depth. Measure cabinet opening width separately, keeping the tolerance within 1⁄8 in. Use the straightedge to mark slide placement on the interior surface, ensuring marks are level and parallel for proper slide alignment. Perform a final measurement verification before ordering any slides. Slide rating determines the maximum safe load for the selected slides. Uneven floor can affect the cabinet’s stability, so ensure the base is level before installing slides.
Secure the Cabinet‑Side Slides and Keep Them Level
Once you’ve positioned the slide on the cabinet side, hold it 1/16 in. from the front edge, align its bottom edge with the pre‑marked horizontal line, and use the built‑in slots for initial adjustments. Place a magnetic level on the slide’s surface, secure it with tape if needed, and verify that the slide material sits perfectly horizontal. Check both ends; if either end deviates, loosen the slot, nudge the slide, and re‑level. When the level remains steady, mark the screw holes precisely, then pre‑drill to avoid splitting hardwood. Begin fastening with the front screw, driving it into the cabinet interior until the hardware finish sits flush. Continue tightening each pre‑drilled hole, ensuring the slide stays level throughout the process. Remember to allow a ½ inch clearance per slide for proper installation. For a seamless look, consider using cabinets drawer pulls that match the slide’s finish. A creatively repurposed cabinet can also serve as a compact pantry for kitchen essentials. Adjusting the hinge’s screw tension can further fine‑tune the door alignment after the slides are installed.

SUPPORT DRAWER GLIDES – These rear drawer track back plates are used to support side mounted drawer glides.

Used to support side mounted drawer glides

PROPER ALIGNMENT = SMOOTH OPERATION: These slide spacers help maintain proper alignment and spacing between the drawer slide and the cabinet or furniture frame, ensuring smooth and efficient operation of your drawer.
Fit the Drawer‑Side Slides and Set the Cam Adjusters
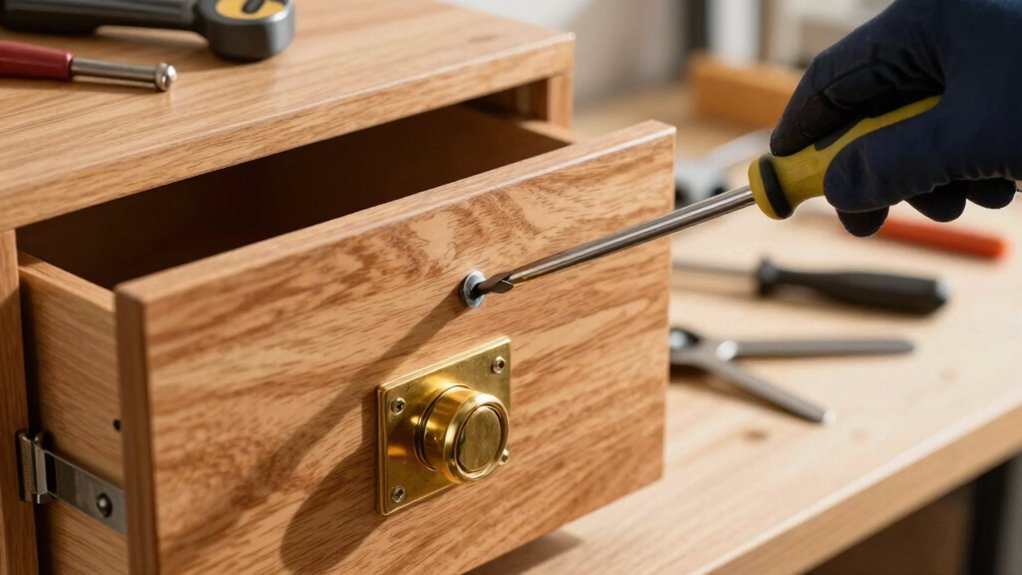
While positioning the drawer‑side slides, align each slide’s front edge flush with the drawer front, center it on the side using the slide’s numbered centerline mark, and verify the height clearance before pre‑drilling pilot holes. Choose #6 × ⅝″ screws appropriate for the slide material thickness, then drill pilot holes to prevent splitting. Secure two to three screws per slide, spacing them evenly along the side. After the drawer is fully extended, add a screw at the rear and middle for added stability. Next, set the cam adjusters: insert the cam screw, rotate with a Phillips or Pozi driver, and apply measured Cam torque until the drawer sits vertically between the cabinet’s top and bottom. Verify alignment through the oval holes, then tighten permanently only after the cam reaches the desired position. Slide alignment must be checked with a level to ensure the drawer does not tilt. Flat‑pack packaging often includes all necessary hardware, making the assembly process more straightforward. Use a laser level to quickly confirm that each slide is perfectly vertical before tightening the final screws. Properly tightened screws help prevent hardware loosening during regular use.

All components constructed of a thick and durable plastic, for sure support

INSTALL OR REPLACE DRAWER TRACK HARDWARE – Whether you are installing new drawers or repairing one that don't work properly, this fits most bottom/side-mounted drawer systems 18 inch deep. The drawer slides are constructed of steel tracks in a white finish and self-lubricating plastic rollers.

🔇 Installation Notes : Slides Length: 14" (350mm)— Fully Extended Length: 28" (700mm)📦— Suitable for Drawers: Internal depth ≥ 15"🧩— Quantity: 1 pair (2 pieces) .💡 Key Tips: ① Choose rail size based on drawer depth → Drawer length ≥ Slide length.Tolerance allowed: 0.7in/20mm - 2in/50mm. ② Space Requirement: 0.5in gap between drawer & cabinet wall (left + right = total 1in). 🔧Easy to install with included hardware – perfect for smooth drawer operation! ✨
Test, Fine‑Tune, and Troubleshoot Slides
Now that the cam adjusters are set, you should test the drawer’s movement to confirm smooth operation and then fine‑tune any vertical, horizontal, or depth discrepancies. Reinsert the drawer, push gently, and feel for slide friction; the drawer should glide without rubbing and close flush with the cabinet face. For vertical fine‑tuning, locate the adjustment screws, turn clockwise to raise the gap, counter‑clockwise to lower it, and use a level to verify even height on both sides. Adjust horizontally by turning interior screws inward or outward, keeping a 3/32″‑1/8″ clearance from the face. For depth, loosen bracket screws, shift the front‑to‑back position, add shims if needed, then retighten. Finally, run a full test cycle, checking back‑glide pin insertion, teeth engagement, and perpendicular alignment. If any binding occurs, realign brackets and repeat verification. Also, verify that the audible click indicates proper guide re‑engagement after adjustments. Selecting a lock with a high security rating can further protect your cabinet contents. Choosing a cabinet with a durable finish helps maintain the look and function of the coffee bar over time. Moisture fluctuations can cause the wood to expand and contract, leading to structural stress that may affect the alignment of the slides.