First identify your cabinet style—framed, frameless, or inset—and note the overlay (full, partial, or inset). Measure the door overlay and the center‑to‑center hinge spacing, then pick matching concealed or exposed hinges with the right cup size and screw length. Gather a #2 Phillips screwdriver, drill, 35 mm Forstner bit, and a hinge pin popper. Remove the old hinges, drill pilot holes, bore the new cups, and secure the plates with low‑torque screws. Align the door, adjust the three‑axis screws for proper gap and tilt, then test the swing. Finally, clean, lubricate, and verify smooth operation—continue for detailed fine‑tuning tips.
Identify Cabinet Type & Overlay Before Cabinet Hinge Replacement
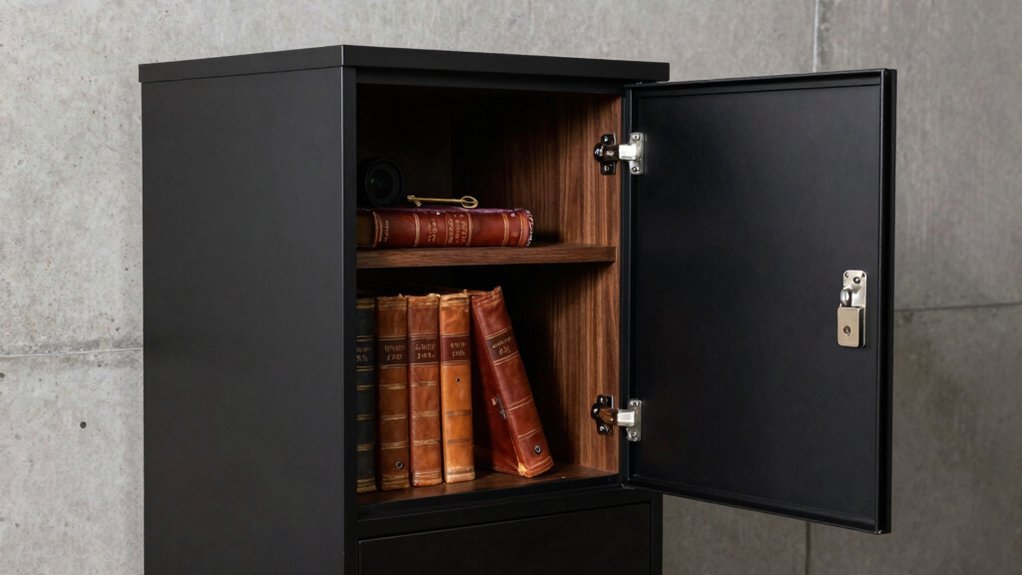
Before you start swapping hinges, figure out whether your cabinets are framed, frameless, or inset and note the overlay style—full, partial, or inset. Determine the casing material; framed cabinets expose a wood or composite frame, while frameless units hide the box edges. This material dictates hinge size and screw length, affecting hardware compatibility. Full‑overlay doors on framed boxes reveal only a thin strip of frame, so choose low‑profile hinges that won’t clash with the visible edge. Partial‑overlay cabinets expose ½–2 inches of frame, requiring hinges that accommodate the wider gap and still clear the adjoining door. Inset doors sit inside a 3/32‑inch opening, demanding precise hinge placement to maintain the clean, flush look. Matching the hinge style to the overlay guarantees smooth operation and a professional finish. Wider doors often need additional support to prevent sagging over time. Selecting the proper hinge type also helps avoid misalignment issues that can arise from using the wrong overlay configuration.

Quantity & Accessories: Each hinge comes with four 15.5mm mounting screws. For easy installation, a installation instructions specifically designed for these cabinet door hinges is also included

Complete Hardware Package:This set includes 2 pair (4 hinges) with four 15.5mm corrosion-resistant screws, accompanied by an illustrated installation guide designed for quick tool-free assembly

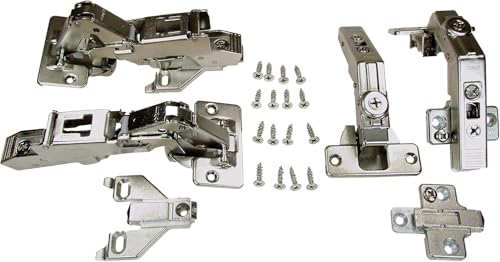
Installation Specification - Cup depth: 13.5mm; Screw holes distance: 45mm; Opening angle: 105 degrees; The range of door thickness is 14-22mm, suitable for most cabinet door styles. Each hinge comes with 2 easy-on dowels and 4 self-tapping wooden screws to ensure a perfect fit and comes with 2 screw covers to hide the screws. Each euro-style concealed kitchen cabinet hinge is fit for full overlay doors on frameless cabinets.
Measure Door Overlay & Boring Pattern for Hinge Replacement
Now that you’ve identified the cabinet type and overlay, the next step is to measure that overlay and map the boring pattern. Use the tape method: close the door, align masking tape with the closed‑edge on the hinged side, open the door, then measure from the tape edge to the cabinet opening’s inner edge. Record this distance as your overlay calibration. Verify with the pencil method for added precision. Next, locate the hinge holes: measure the center‑to‑center distance between existing holes, usually 3 in. or 4 in., and note the depth of each bore. Mark the new hole positions, ensuring they align with the overlay measurement and support proper hinge ergonomics. Double‑check all dimensions before drilling. The minimum overlay requirement of ¼ inch ensures the hinge will function correctly. Properly tightening screws prevents future loosening and maintains alignment. For a smoother operation, consider using a screwdriver torque setting to achieve consistent tightness across all hinge screws. Remember that using a drill guide can help maintain straight, precise holes.

4 Kits Includes = 8 plates + 8 hinges + screws for hassle-free installation; fits door thickness from 16 mm (5/8”) to 26 mm (1”). Blum logo cover caps shown in some images are decorative and not included in this kit.
Self Close at the end of door travel.

10 Kits Includes = 20 hinges + screws; fits door and frame thicknesses of 19 mm (3/4”); for square edge doors. Blum logo cover caps shown in some images are decorative and not included in this kit.
Choose the Right Hinge Size and Style for Your Door
When you’ve measured the overlay and boring pattern, the next step is picking a hinge that matches your door’s thickness, width, and height. Use one hinge per 30 inches of door height, adding extra hinges for taller doors. For a 1‑3/8‑in. thick, 32‑36‑in. wide door, choose a 4‑in. high hinge; a 1‑3/4‑in. thick door over 48 in. wide needs a 6‑in. high hinge. Width follows backset and clearance: a 1‑3/8‑in. door with ¼‑in. backset typically takes a 3‑½‑in. hinge width. Match style to cabinet construction—European concealed hinges for frameless, exposed or semi‑concealed for face‑frame, butt or inset Euro for inset doors. Select a material hinge that complements your finish and explore decorative hardware options for a polished look. Consider the weight capacity of the hinge to ensure it can support the door’s load without sagging. Understanding the load rating helps you choose hinges that prevent long‑term sagging and wear. For precise alignment, consult the adjustment screw guide in the European hinge manual.

Heavy Gauge Black Iron Hinge
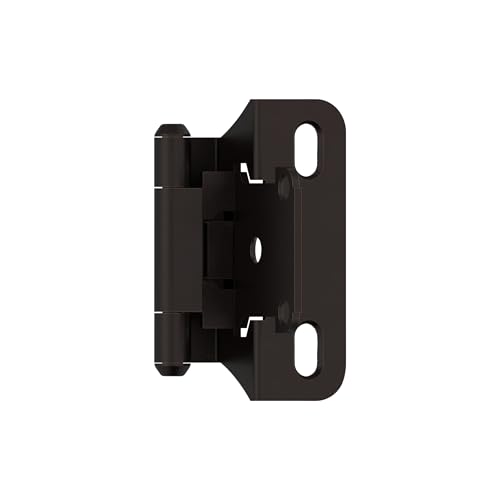
1/4 in (6 mm) Overlay Hinge this means your cabinet door overlays, or overlaps, the cabinet frame, or base. Please measure carefully.

Packaging & Sizes - Appearance color: black; material: cast iron; size: 90 x 37 mm/3.5 x 1.46 inches; hole diameter: 4 mm/0.16 inches; package weight: 125 grams; package content: 4 hinges with mounting screws.
Gather Tools Needed for Cabinet Hinge Removal
Need the right tools before you start removing cabinet hinges? Begin with a screwdriver—Phillips #2 for most concealed hinges, a slotted tip for older models. Keep a power drill with a screwdriver bit handy for tight screws, and a utility knife to clear paint or debris. Add a pry bar and a soft cloth underneath for safe leverage. For measuring, grab a tape, pencil, and combination square to mark exact hinge positions. Include a hinge pin popper or punch with hammer for stuck pins, and a release lever tool for quick‑release hinges. Pack gloves and safety glasses for Safety prep, and lay a sturdy flat surface with a cloth to protect doors. Organize all items in a tool bag for efficient tool organization. Marking and drilling new hinge positions ensures precise alignment and reduces future adjustments. Consider the load capacity of the cabinet to ensure new hinges can support the door weight. Regularly inspect and tighten screws to prevent corrosion damage and maintain smooth operation. Properly aligning the hinge plates can also prevent door sagging and improve the overall aesthetic.

HARDENED PLASTIC - Great for removing hinge pins

𝟮-𝗜𝗡-𝟭 𝗛𝗜𝗡𝗚𝗘 𝗣𝗜𝗡 𝗥𝗘𝗠𝗢𝗩𝗔𝗟 & 𝗜𝗡𝗦𝗧𝗔𝗟𝗟𝗔𝗧𝗜𝗢𝗡 𝗧𝗢𝗢𝗟 – Designed for efficiency, this dual-tipped tool features a spring-actuated hinge pin remover on one end and a steel-faced hammer on the other, making door hinge maintenance quick and effortless.

Easy alignment between striking pin with door hinges for quick removal
Remove Old Hinges Safely During Replacement
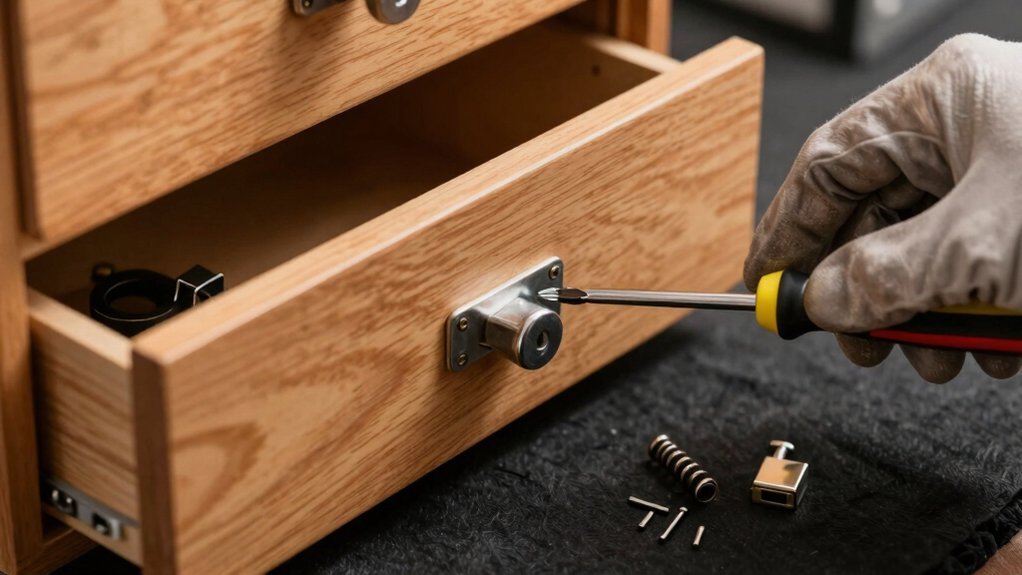
Before you start pulling the old hinges off, fully open the cabinet door so you can see every screw and latch clearly; this prevents the door from swinging shut and gives you a steady grip. Slip on safety gear—gloves and glasses—then organize your tools within arm’s reach. Hold the door firmly, using a helper or a towel beneath the base to keep it from sagging. Press the hinge’s release button or squeeze the tab while lifting the hinge apart. Loosen the back screw with a Phillips driver, then slide the hinge from its slot. If a screw sticks, apply a few drops of lubricant, wait a minute, and tap gently with a punch. Keep the workspace tidy; a well‑organized tool belt speeds each step and reduces mishaps. Two‑screw method simplifies removal and reduces handling. Pilot hole placement is crucial for preventing wood splitting during the installation process. Using a wood filler before re‑drilling can strengthen stripped screw holes. Threaded insert provides a durable solution for repeatedly stripped screw holes.
Drill Pilot Holes, Then Align New Hinge Cups
If you’ve already removed the old hinges, start by drilling the pilot holes so the new hinge cups will sit perfectly. Use a 1/16″ bit to mark each location, then attach the jig with a stop collar. Hold the drill vertically and twist slowly, watching the painter’s‑tape depth guide to achieve the correct pilot hole depth without over‑drilling. After the pilot holes are set, switch to the 35 mm Forstner bit (or 1 3/8″ metric equivalent) and bore the hinge cups, matching the cup depth exactly. Clean the debris, then use the jig to verify hinge cup alignment, measuring three inches down and 15/16″ over from the edge. Square each hinge cup a pilot drilling, then prepare for final screw installation. Maintain a consistent drilling speed and pressure to ensure clean, precise holes. Selecting cabinets made from UV‑resistant polymers helps prevent degradation when the hardware is exposed to sunlight. Properly aligning the lock mechanism ensures smooth operation and enhances security. Understanding load capacity is essential to avoid over‑loading the cabinet during installation.
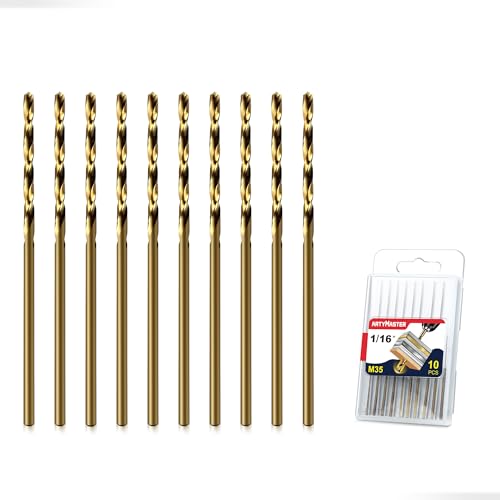
High Quality Drill Bit Material: Manufactured from Industry grade M35 High Speed Steel with 5% Cobalt added, usually giving better Heat, Wear and Chip Resistance and Long Tool Life. Suitable for cutting stainless steel, iron castings, copper, aluminum alloy, plastics and wood

Wide Applications - compatible with power screwdrivers, impact drivers, and other tools that accept 1/4" hex shanks, allowing for quick changing between multiple drill bits and screwdriver bits with just one power tool;

【10pcs 1/16" Cobalt Drill Bits】10pcs - 1/16” Metal Drill Bits.This drill bit fits the majority of power drill currently on the market.
Install New Hinges and Test Opening Angle
Now that the hinge cups are perfectly seated, slide the hinge plates onto the pre‑drilled holes, clear any wood shavings, and secure them with 14 mm screws using a low‑torque setting to avoid stripping. Align the elongated plate holes with the pre‑drilled cabin marks—typically 2¼ in from front corners and 3½ in from openings. Press the door (selected during door selection) onto the mounted plates, ensuring the hinge arms clip firmly. Maintain a 1/16‑in gap around the edges and use a jig or spacer block to hold the door at the proper angle. Then, adjust the three‑axis screws: tighten side‑to‑side and up‑and‑down controls, and set the back screw for depth. Open the door fully; verify the opening angle matches the hinge’s specification and that movement is smooth, without binding. For a clean installation, be sure to remove any wood shavings before tightening the screws. Choosing the right hinge type is essential for achieving a clean aesthetic while supporting the door’s weight. Understanding the differences between cabinet door latch styles can further refine your hardware selection. Selecting hinges made from high‑strength steel ensures maximum durability in heavy‑duty applications.
Fine‑Tune Screw Placement & Tab Distance
When you fine‑tune screw placement and tab distance, start by checking each hinge’s depth, side‑to‑side, and vertical screws for uniform positioning. Adjust the depth screw clockwise to bring the door closer to the frame, counter‑clockwise to pull it away, and test closure after each minute adjustment. Then tweak side‑to‑side screws: clockwise moves the door right, counter‑clockwise left; adjust the top hinge for upward tilt and the bottom for downward tilt, keeping gaps even. For vertical screws, loosen mounting screws a quarter turn, then turn clockwise to raise the door or counter‑clockwise to lower it, tightening hand‑tight after positioning. Guarantee screw alignment across all hinges and set identical tab spacing using a self‑centering drill bit, confirming a consistent door‑to‑cabinet gap and clear clearance. Measure 22.5 mm from the door edge to mark the intersection guide for locating drill bits.
Clean, Lubricate, and Verify Hinge Replacement Success
Before you start adjusting or reinstalling hinges, give them a thorough clean and a light coat of silicone‑based lubricant; this removes dust and grime that can hinder movement, prevents corrosion, and lets you see whether the hinges are still functional or need replacement. Use a soft microfiber cloth or a damp cloth with mild soap to wipe away grime, then dry completely. Apply a thin layer of silicone‑based lubricant with a cotton swab, spreading it evenly across pivot points; avoid petroleum oils that attract dirt. After drying, open and close the door several times, listening for squeaks or clicks. If the motion is smooth, the door stays aligned, and no noise persists, your replacement verification succeeds; otherwise, replace the hinge. Spray high‑performance white lithium grease liberally inside hinge inserts where base meets door.