First, gather a cordless drill, the right screwdriver bits, a putty knife, and safety glasses. Remove the hinge by unscrewing the release lever, then clean out any rust and debris. If the screw holes are stripped, dip a few toothpicks in wood glue, push them into the holes, snap the excess, and re‑drill a pilot hole. Align the new hinge, drill precise pilots with a 1/16″ bit, insert the screws, and tighten until the door moves smoothly. Finally, adjust the front and back screws to set a uniform 1/16‑inch gap; the next steps will show you how to fine‑tune the alignment.
Gather Tools for Cabinet Door Hinge Repair
Gather the essential tools before you start—grab a cordless driver or drill, the right‑size screwdriver bits, a putty knife, and needle‑nose pliers. Choose the largest bit that fits snugly into each screw; this tool selection maximizes grip and prevents stripping. Verify material compatibility: metal screws need steel‑strength bits, while wood‑filled holes accept the putty knife for smooth filler application. Use needle‑nose pliers to pull hinge pins and bend hardware without damaging the cabinet surface. Keep a small container for mixed wood filler and hardener, and have a quick‑set adhesive like Bondo within reach for larger repairs. Align any repair plates with existing holes before tightening, ensuring the new hardware sits flush and the door swings evenly. The metal plate method demonstrated the highest strength in testing. Properly pre‑drilling holes prevents wood splitting and ensures a secure fit. Remember to check the hinge’s adjustment screw for fine‑tuning the door’s alignment before final tightening.

Fix Stripped Wood Screw Holes in Seconds: Gulfmew wood anchor for screws is designed to quickly and easily repair stripped screw holes in wood, door hinge, fittings, fixtures, modern and antique furniture, door locks, anywhere a wood screw hole need repair

1.【Combination List】6 pcs cabinet hinge repair plate set includes: 4 pcs large hinge repair plates (3.54*3.54 inches), 2 pcs small hinge repair plates (3.54*2 inches), 36 pcs self-tapping fixing screws.

【12x Hinge Repair Kit】 -- Small size:1.85x3.54 Inch / 47x90mm. You will get 12 pieces cabinet hinge fixing plate, including 6 pcs hinge cup plate, and 6pcs hinge base plate.Each hinge plate is wrapped with 6 screws.
Remove Old Cabinet Door Hinges Safely
After you’ve got your driver, screwdriver bits, and pliers ready, open the cabinet door fully and support it securely—ideally with a partner or a sturdy prop—to keep it from sagging or falling. First, wear safety glasses and gloves. Locate the hinge release: modern lever, tab, or button for quick‑release styles, or the fixing screw on concealed/European hinges. Press the lever or unscrew the fixing screw with a Phillips head, keeping the door steady. If the screw is tight, use a low‑speed drill for extra torque. For traditional hinges, remove the two plate screws, then the door‑side screws. Apply lubricant to rusted pins, tap gently with a hammer, and use a soft‑cloth‑protected pry bar if needed. Check hinge material styles and hinge durability metrics before discarding the old hardware. Two‑screw removal simplifies the process by allowing you to slide the door out after unscrewing only two screws. Properly aligning the door after removal prevents future misalignment issues and ensures a smooth operation. Adjusting the vertical position of the door can be done by turning the vertical adjustment screw until the gap is even. Selecting a cabinet with the appropriate load capacity ensures the hinges will support the door weight over time.
Fix Stripped Holes for Cabinet Door Hinge Repair
If the hinge screw keeps spinning in a stripped hole, start by clearing out any loose wood and debris, then choose a repair method that matches the cabinet material and screw size. For soft pine, bundle 2‑3 toothpicks, dip them in wood glue, press the bundle into the hole, snap off excess, and drive the original screw. For hardwood, select a dowel of matching diameter, coat it with glue, drill the stripped hole to fit the dowel snugly, let it cure, then drill a pilot in the dowel center before inserting a new screw. When you need stronger wood reinforcement, tap appropriately sized anchors into the cleaned hole, align the hinge, and screw clockwise. Guarantee proper anchor selection for each method. Using a longer screw can increase holding power by engaging deeper wood layers. Regularly inspect the hinge for signs of corrosion to prevent future failure. Ensuring proper alignment of the hinge plates before tightening screws helps maintain a smooth, level door operation.
Drill Pilot Holes for New Cabinet Door Hinges
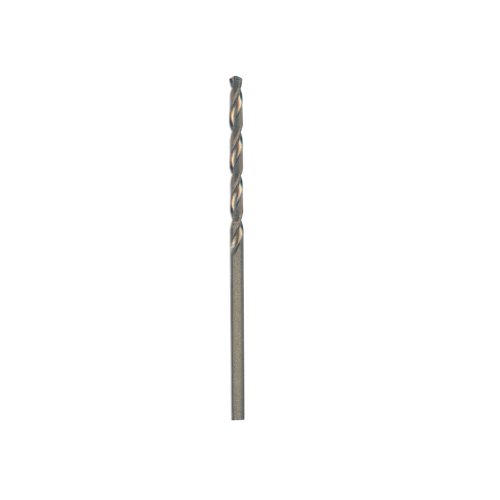
When you’re ready to install new hinges, start by marking the exact screw locations, then use a jig and a 1/16″ drill bit to create shallow starter holes that guide the larger 5/64″ pilot bits. First, tape the 1/16″ bit with painter’s tape to set depth, then clamp the jig so it holds the bit upright. Center‑punch each mark, or tap a nail to leave a tiny dent. Drill slowly, keeping the drill straight; the stop collar prevents over‑drilling. Switch to the self‑centering 5/64″ hinge bit, align it with the starter hole, and drill to the tape depth. This produces a clean pilot that guarantees proper hinge alignment and lets you apply consistent screw torque without stripping the wood. Use a Forstner bit at low speed for controlled cutting when drilling larger hinge bores. Standard door size often dictates the number of hinges required for optimal support. Following these steps ensures a smooth operation that reduces the risk of door misalignment over time. Properly aligning the hinges also helps maintain the overall structural integrity of the cabinet, preventing warping as the doors are used.

Replacement bit for 5/64" quick-change hinge bit. Note: this does not fit the counter sink bit.
Withstands high-temperature applications for extended periods of time (up to 1,100 degreeF)

Drive Shank: Compatible with Festool Centrotec compatible shank
Install New Cabinet Door Hinges
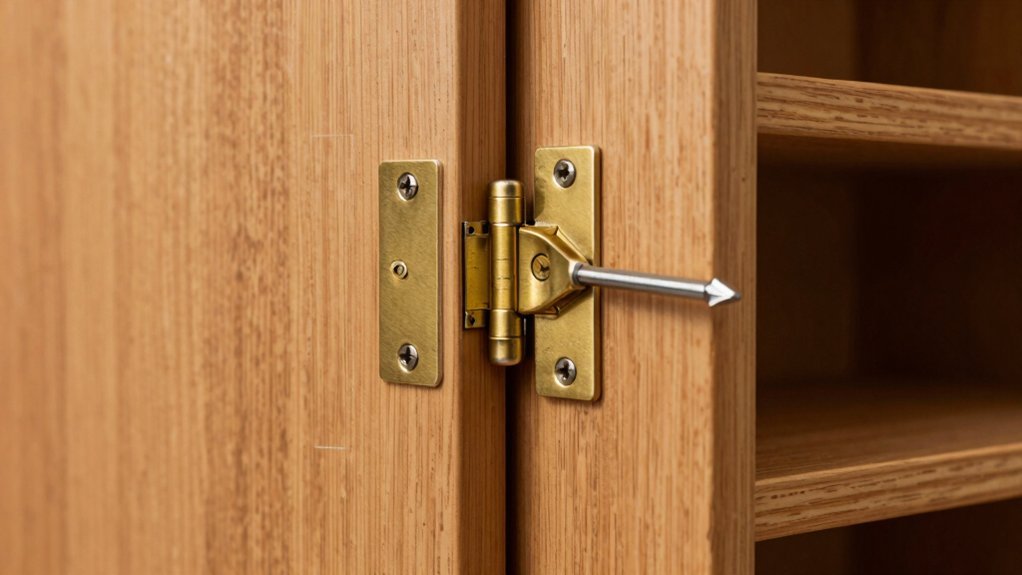
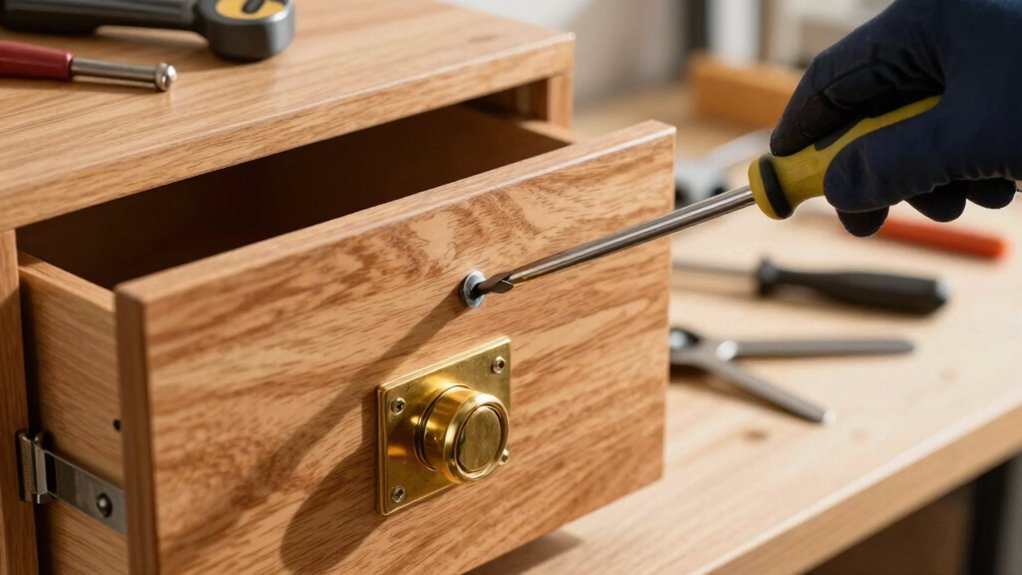
Begin by positioning the hinge plate on the cabinet side, aligning its elongated holes with the pre‑drilled pilot holes you marked earlier. Press the plate snugly, then drive the 14 mm screws through the round‑facing holes, keeping the door finish untouched. Next, take the prepared hinge cups and insert them into the door’s pre‑drilled cup holes; use a low‑torque drill to avoid stripping the wood. Secure each cup with the supplied #6 screws, checking that the cup sits flush against the door. Verify that your hinge selection matches the overlay type—full, half, or inset—so the vertical centers stay 32 mm apart. Finally, close the door, ensuring a 1/16‑inch gap, and tighten all screws until the door moves smoothly without stressing the finish. Ensure the hinge cup is properly seated in the door before tightening the screws.


8mm Diameter Plastic Dowel Inserts for Cabinet Hinges
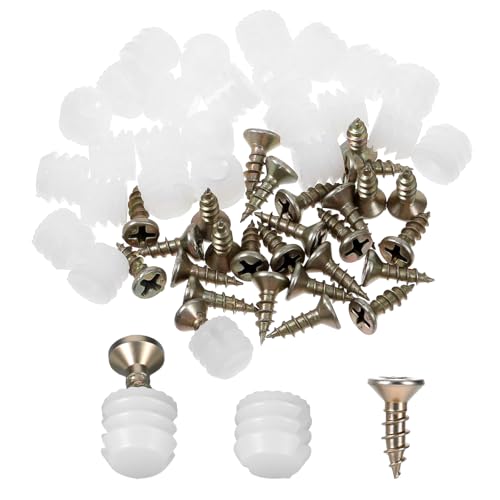
Package Contents: You'll receive a practical set of 25 plastic hinge pin inserts and 25 stainless steel screws. This ample quantity is not only sufficient for a single furniture assembly or repair, but also makes it a great household accessory to easily fix loose or damaged furniture, eliminating the need for frequent stocking.
Test Cabinet Door Hinge Repair and Adjust Alignment
Before you start tweaking the hinge, give the door a quick functional test: open and close it several times, watch for any rubbing against neighboring doors, and check the gaps at the top, bottom, and sides. First, inspect the door hinge for any visual rubbing and then swing the door repeatedly to spot sticking points. Next, locate the back screw on each hinge. Turn it counter‑clockwise a quarter turn to move the door outward and reduce rub, then test the swing again. If the gap is too wide, turn the screw clockwise to pull the door inward. Repeat the adjustment on the top and bottom hinges until the gaps are even and the door moves smoothly. Finally, confirm the self‑closing feature by gently releasing the door. Adjust the front screw clockwise to shift the door toward the wall and achieve a consistent 2–3 mm gap. For a more durable fix, consider using a wood dowel to reinforce the hinge hole before re‑installing the screw. Proper alignment also helps prevent door sagging over time. Understanding the differences between concealed European and other hinge types can guide you in choosing the most suitable hardware for your cabinet style.