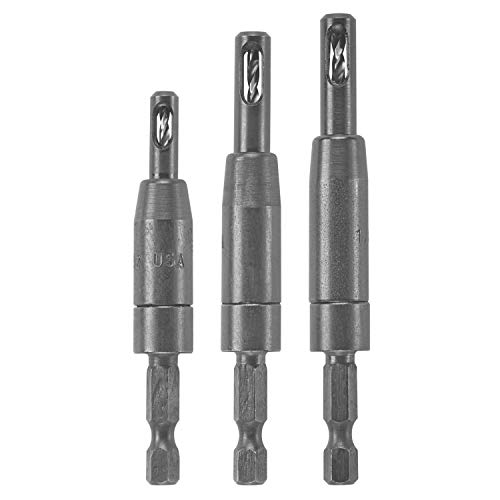
Measure 2 inches from the top edge (or 2–3 inches from both edges on slab doors) and mark the center of the handle, keeping a 2.5‑3 inch gap from corners. Tape a jig with the handle’s screw pattern, punch starter indentations, and drill 1/8‑inch pilot holes using a 3/16‑inch bit as a stop. Flip the door, insert screws from the back, hand‑tighten them, and check level and alignment. Adjust as needed, then verify smooth operation—continue for deeper tips.
Measure and Mark Exact Handle Locations for Cabinet Handle Installation
When you start measuring, grab a reliable tape and a piece of masking tape, then mark the exact spots where each handle will sit. Use the tape to locate 2 inches from the top edge on doors without drawers above, or 2–3 inches from both edges on slab doors. For drawer faces, center the handle horizontally and vertically, or place it one‑third from a side for balance. Align the bottom screw hole at the recessed panel corner, keeping it centered vertically and horizontally. Lightly pencil the marks, check that they’re level, and verify that the spacing creates aesthetic symmetry across all units. Double‑check the placement for handle placement ergonomics, ensuring the height feels natural for the user. Adjust any outliers before drilling. Keep the handle distance from the countertop at least 1 ¼ inches to avoid knuckle impact. Consider material durability when selecting handles to match the cabinet’s overall construction. Selecting the appropriate door style, such as a slab door, can also influence handle placement and overall functionality.

Hole Centers: 5 inch hole centers(128 mm), please measure your cabinet hole centers carefully and then decide which size is what you need

【Enduring & Sturdy 】10 Pack cabinet handles Made of High-precision Quality Stainless Steel finished with classic matte black, durable and strong, elegant addition to any home.

MODERN: Functional & elegant, These brushed nickel pulls suitable for different styles of cabinets, wardrobe, chest and cupboard
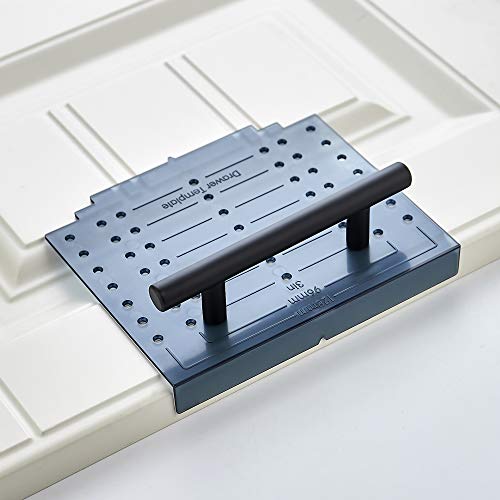
Choose Drill Bit and Set Up Jig for Cabinet Handle Installation
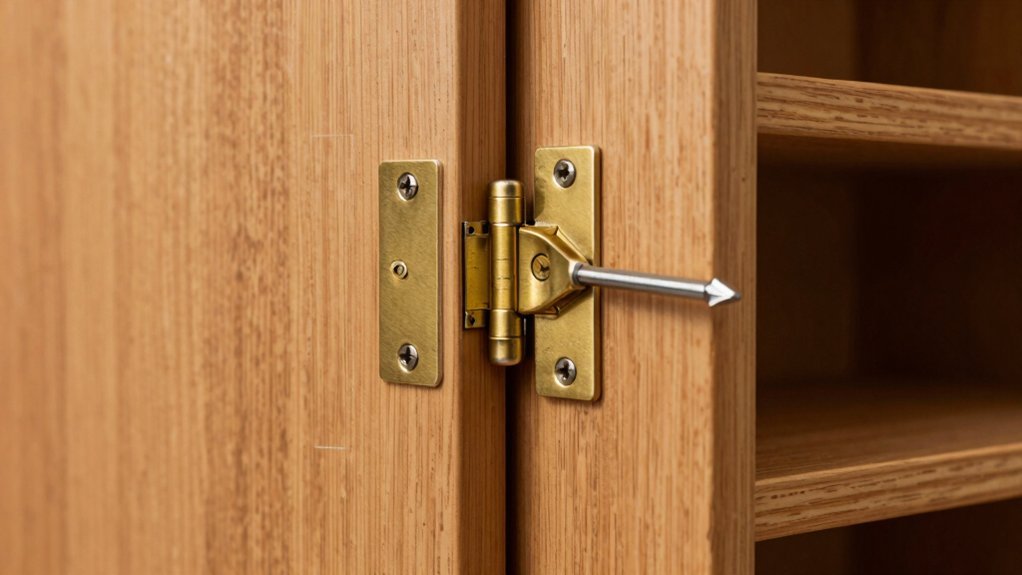
Where do you start? Pick a drill‑bit that’s just a hair smaller than the screw—usually a 3/16‑inch twist bit for standard 8/32‑inch screws. Measure the screw diameter precisely; a snug fit prevents stripping. Next, grab a jig with triangle cutouts or pre‑drilled holes that match the handle’s screw pattern. Tape the jig to the cabinet face, then use an awl or punch to make starter indentations through the jig’s markings. Apply masking tape under the marks to keep splintering at bay. Align the jig horizontally and vertically using your width measurements, double‑checking that each hole lines up with the handle legs. Keep the drill steady, and you’ll have perfectly placed pilot holes ready for the next step. Verify cabinet measurements before beginning to ensure the handle size matches the door thickness. If a hinge is loose, tighten the screws to prevent the door from sagging. Use a level to confirm the jig is perfectly straight before drilling. Check door plumb to guarantee the final installation looks professional.

Application Hole Center:Cabinet hardware with 2.5"(64mm) 3"(76mm) 3.5"(90mm) 3.75"(96mm) 4"(102mm) 4.5"(115mm) 5"(128mm) 6.25"(160mm) hole centers; The wide size scope of application can satisfied what you different needs.

⭐【King&Charles Unique Kit】- In order to avoid drilling directly with an electric drill will cause the jig to shake, we provide an "Automatic Center Punch". Use jig finded the location, you just need to use the "hole punch" to directly punch the small holes, and then use the electric drill to punch the big holes on have already been punched small holes. It is a very ingenious way by King&Charles. Perfect suit, Only need to buy once, In one step.

⭐【Unique Advantages】- In order to avoid drilling directly with an electric drill will cause the jig to shake, we provide an "Automatic Center Punch". Use jig finded the location, you just need to use the "hole punch" to directly punch the small holes, and then use the electric drill to punch the big holes on have already been punched small holes. It is a very ingenious way.
Drill Pilot Holes to Proper Depth Without Splintering
Even if you’ve already marked the spots, you still need to control the drill depth to keep the wood from splintering. Begin with a 1/8‑inch or 3 mm pilot bit. Place a piece of masking tape on the bit at the exact depth you want—this acts as a simple depth‑control stop. Clamp the door to a scrap plywood backer, then press the bit straight down, using a slow initial spin to center it. Keep steady pressure, avoid side load, and let the bit cut naturally; this prevents drift and splintering. When the tape reaches the wood surface, stop. The pilot hole now guides the larger clearance bit, ensuring accurate placement and protecting the veneer from blowout. Test‑fit one handle before drilling the rest. Proper torque on the hinge screws prevents loosening over time. Accurate hinge placement is essential for smooth door operation. For a secure fit, consider using a metal cabinet lock as an alternative hardware option.
WORKS FOR DRAWER & DOOR: Knob and Pulls with 3" (76mm), 3-3/4" (96mm), 5-" (128mm) hole center
CONVENIENCE: Change Bits Without Re-Chucking

🏠【Time Saver Quick Drilling】TBVHOMM cabinet hardware Jig is easy to set up. It only take one time for setting up, and then repeat for the rest. It is a good punch locator drill guide and helper for woodworking or DIY.
Position Handles and Insert Screws From the Back
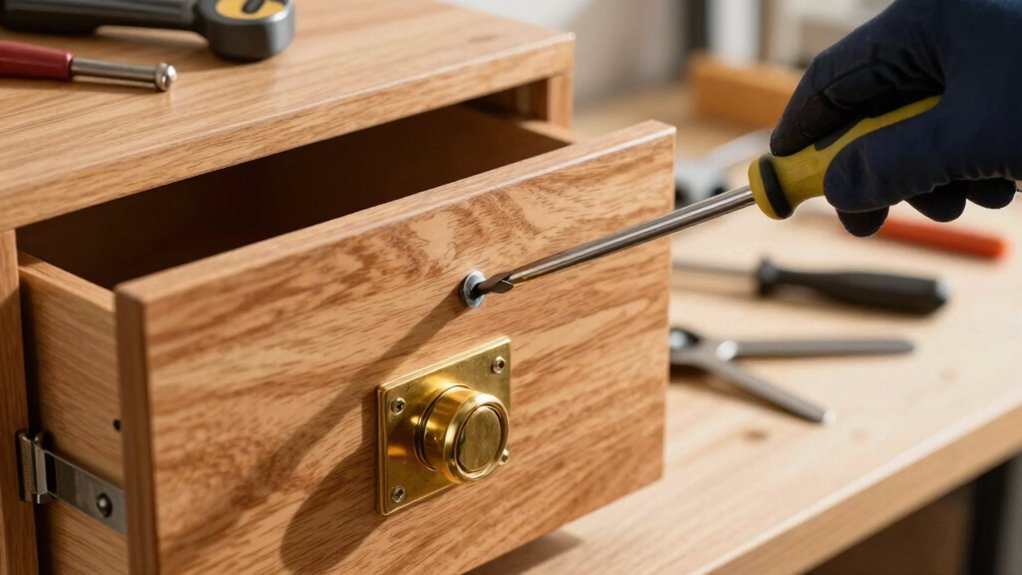
If you’ve already marked the center and vertical distance, flip the door over, drill the pilot holes from the back, and then drive the screws straight into the pre‑drilled holes, making sure the screw heads sit flush with the interior surface. Align the two screw holes with the hardware’s center‑to‑center spacing; this keeps the handle centered on the stile and preserves back design aesthetics. Use a drill bit that matches the screw diameter to avoid splitting the wood. As you tighten, feel the ergonomic grip of the handle settle into place, confirming the vertical placement is within the 2‑½‑inch standard from the edge. Double‑check that the screws are snug but not over‑tightened, so the handle remains stable and the door’s appearance stays clean. Ensure the 3‑inch reference is accurately measured from the door edge before drilling. Properly securing the knob also prevents future wear on the cabinet door. Adding magnetic catches to the cabinet can further deter curious children from opening it. Organizing the interior with clear containers helps maintain a tidy appearance and makes it easier to locate items.

Standard #8-32 machine screws used for knobs, pulls & cabinet door decorative hardware

【M4 Screw Assortment】This set includes 120PCS M4 screws, available in M4×25/30/35/40/45/50mm sizes. Each size is adequately supplied, ensuring you have the right length for any task. which are the common sizes used at home for cabinet drawer cupboard and closet. Notes: if the screws are too long to lock tightly, we suggest you use some washers through the screws to make it lock well.

UPGRADED UNBREAKABLE STORAGE CASE - NO MORE BROKEN PACKAGING Upgraded case with built-in latch, thickened material to 0.084" (2x thicker than old 0.04"), weighs 102g (double the old 51g). Solves the pain of broken screw boxes during shipping and keeps screws organized - moisture-proof for long-term storage at home/office.
Hand‑Tighten Screws & Verify Cabinet Handle Alignment
After drilling the pilot holes and inserting the screws, hand‑tighten each one gradually and evenly. Apply modest screw torque, turning a half‑turn at a time, and alternate opposite sides if the handle has multiple mounts. This prevents cross‑threading and over‑tightening that could crack the door. As you tighten, keep the handle flush against the surface; any gap signals mis‑alignment. Perform alignment verification by opening the door and checking that the pull sits straight and level, both horizontally and vertically. Use a template or jig to confirm the hardware is centered, and re‑check after each pass. Consistent pressure and visual inspection guarantee a secure, properly aligned cabinet handle. Use a mounting template to ensure uniform placement across all doors. For older hinges, you may need to adjust the hinge to eliminate door sag before installing the handle. Consider using a longer screw when the original fasteners are stripped to improve holding strength. Selecting the proper number of hinges, such as three hinges for wider doors, helps maintain door stability during handle installation.

★【What You will Get】: You will receive 12 pcs vintage drawer pulls and 30 pcs mounting screws. Total length is 2.96 inch. Handle wide is 0.47 inch. Mounting hole distance is 2.2 inch.

Sturdy Construction: Made from durable steel, these screws ensure long-lasting performance for various applications.

📍 [SIZE]: The retro cabinet handles size is approx. 45mm/1.77" x 10mm/0.39" ( L x W), hole spacing: 34mm(1.34"), Screws Size: 10 x 2.5 mm(0.39"x 0.10").
Fix Common Problems and Do a Final Quality Check
When you finish installing the handles, run through each cabinet a few times to spot any misalignment, wobble, or looseness, then lock everything down before moving on. Test opening and closing each door and drawer repeatedly; a level will reveal any alignment issues. If a handle tilts, loosen the screws, reposition, and tighten with a quarter‑turn. Fill oversized holes with wood putty before re‑drilling, and use a jig for consistent spacing. Check that all hardware finish matches the surrounding cabinets, and that the placement respects the 2.5‑3‑inch rule from corners. Finally, verify uniform alignment across units, guarantee smooth operation, and confirm no wobble before declaring the job complete. Handles should be installed before cabinet painting to ensure proper alignment and avoid costly rework. Also, consider reinforcing hinge plates to prevent future loosening of the cabinet door. Align the hinge plates using a drill alignment technique to achieve precise vertical and horizontal positioning. Different cabinet door latch types can affect how securely the doors stay closed, making latch selection a key factor in overall cabinet performance.