Your cabinet hinges fail when rust spots, moisture, or low‑grade metal cause corrosion and weakened pivots; over‑tightening cracks particle‑board anchors, and uneven load distribution bends the metal, leading to sagging, binding, or squeaking doors. Fixes include cleaning and lubricating with light oil, reinforcing stripped screw holes using toothpicks or wood filler, swapping plastic anchors or dowels, adjusting screws with a torque‑controlled driver, and replacing severely corroded hinges. Follow proper drilling, humidity control, and regular inspections to prevent recurrence, and the next section shows how each repair step works.
How to Spot a Failing Cabinet Hinge
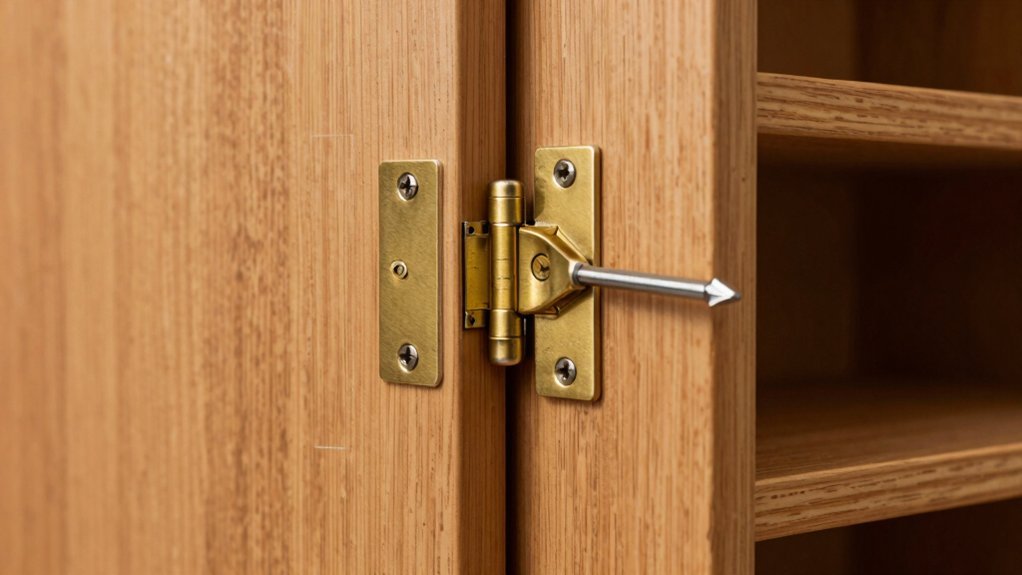
Ever notice a rust spot on a hinge? You should treat that rust as a warning sign of material degradation that can compromise hinge alignment and load distribution. Inspect each hinge surface for corrosion; even a small patch can indicate moisture intrusion that weakens the metal. Check that the hinge pins sit flush and that the knuckles remain parallel—misalignment often follows rust‑induced wear. Verify that the cabinet door swings evenly; uneven resistance suggests uneven load distribution, which accelerates wear. Use a torque wrench to confirm that mounting screws are tightened to specification; loose fasteners exacerbate misalignment. Document any irregularities, then prioritize cleaning, lubrication, or replacement to restore proper hinge function before failure escalates. If you notice bent metal on the hinge, it indicates structural fatigue that cannot be corrected by simple adjustments. Adjusting old‑style hinges often requires a screwdriver to fine‑tune the hinge placement without removing the door. Applying a thin layer of lubricating oil can reduce friction and extend hinge lifespan. Choosing the correct overlay type ensures optimal load distribution and minimizes stress on the hinge.

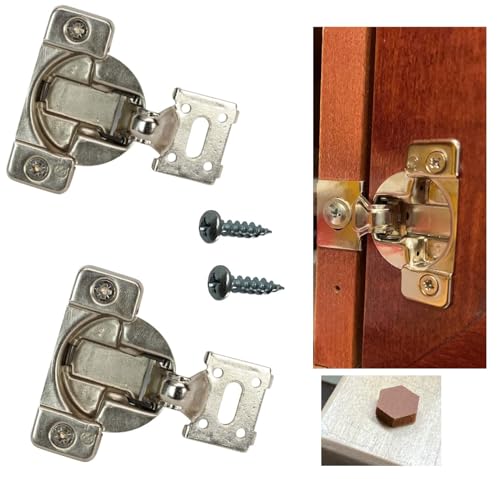
1.【Combination List】6 pcs cabinet hinge repair plate set includes: 4 pcs large hinge repair plates (3.54*3.54 inches), 2 pcs small hinge repair plates (3.54*2 inches), 36 pcs self-tapping fixing screws.
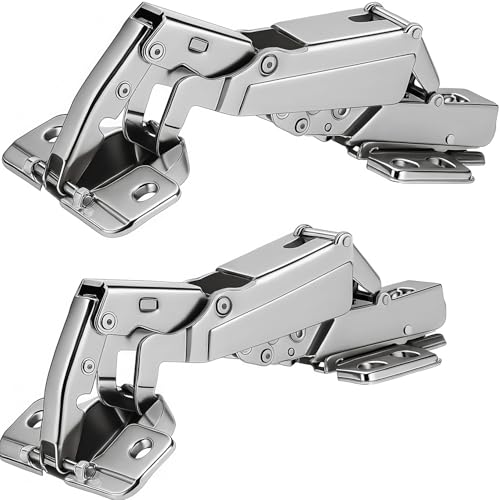
COMPATIBILITY: Specifically designed repair kit for Grass TEC 861 self-close hinges with 7/16" overlay for face-frame applications

Quantity & Accessories: Each hinge comes with four 15.5mm mounting screws. For easy installation, a installation instructions specifically designed for these cabinet door hinges is also included
Typical Hinge Failure Types and What They Look Like
Typical hinge failures fall into a handful of distinct patterns, each with recognizable visual cues. You’ll see sagging doors when screws loosen or hinges wear, producing a downward tilt and uneven gaps that compromise design aesthetics. Binding hinges reveal themselves as stiff, jerky motion and wobbling, often caused by poor installation ergonomics or mis‑aligned mounting plates. Loose installation shows crooked, unstable doors because stripped or under‑tightened screws fail to hold the hinge securely. Rust and corrosion appear as pitted, discolored metal and stiffen operation, especially in humid environments. Visible wear and tear manifest as cracked or deformed pivots, warped doors, and damaged mounting plates, indicating that the hinge material has reached its service limit. Recognizing these patterns lets you diagnose the exact failure type quickly. Selecting the right hinge type, such as a soft‑close hinge, can also prevent many of these issues. Properly pre‑drilling holes ensures accurate alignment and reduces stress on the new hinges. Using a torque‑controlled screwdriver helps maintain consistent screw tightness and avoids over‑ or under‑tightening.
Step‑by‑Step Fixes for Each Cabinet Hinge Problem
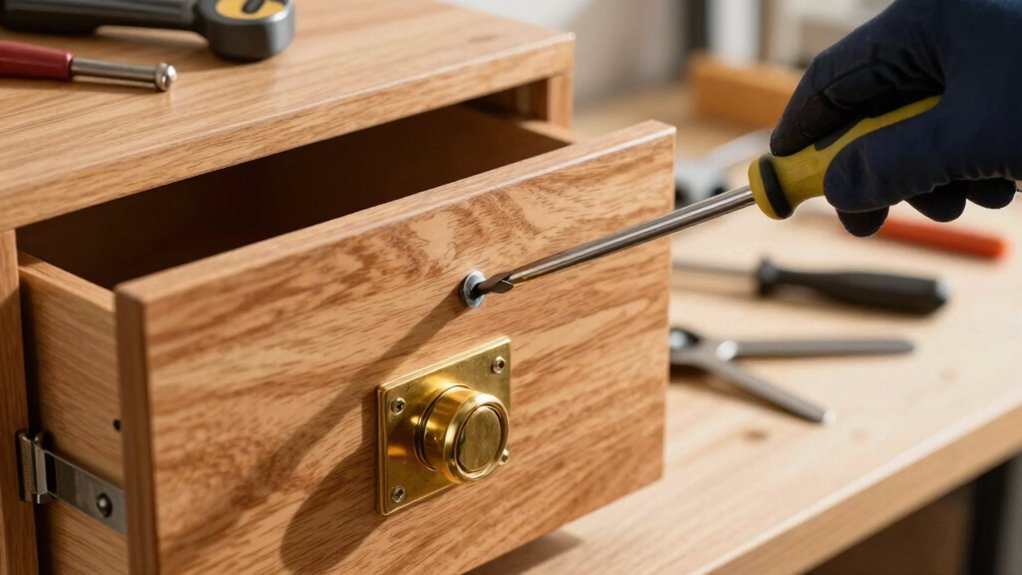
When a cabinet hinge fails, you can restore its function by matching each symptom with the appropriate repair method—whether it’s reinforcing a stripped screw hole with the toothpick or wood‑filler technique, installing a plastic anchor for soft wood, inserting a dowel for severe damage, or fine‑tuning the hinge alignment with the adjustment steps. For minor loosening, apply hinge lubrication to reduce wear and corrosion; then tighten the alignment hinge screws. If the screw hole is stripped, use the toothpick method or wood filler to create a solid base before reinstalling the hinge. Soft wood benefits from a plastic anchor, while severe damage requires dowel reinforcement. Finally, perform hinge adjustment: turn the front and back screws to achieve proper hinge alignment, testing door closure after each tweak. If wear or corrosion persists, replace the hinge entirely. Adjust the front screw clockwise to shift the door toward the wall and reduce the left‑hand gap. European cabinet hinges also feature vertical and horizontal adjustment screws that allow precise alignment without removing the door. Two‑hinge doors typically need only two hinges, but wider doors may require three for added support. Use a level and plumb check to verify that the door sits evenly after adjustments.

【12x Hinge Repair Kit】 -- Small size:1.85x3.54 Inch / 47x90mm. You will get 12 pieces cabinet hinge fixing plate, including 6 pcs hinge cup plate, and 6pcs hinge base plate.Each hinge plate is wrapped with 6 screws.

Fix Stripped Wood Screw Holes in Seconds: Gulfmew wood anchor for screws is designed to quickly and easily repair stripped screw holes in wood, door hinge, fittings, fixtures, modern and antique furniture, door locks, anywhere a wood screw hole need repair

Premium Material: These cabinet hinge repair plates are made of excellent stainless steel material with smooth surfaces and edges, which are corrosion and rust resistant, not easy to break, no burrs, sturdy and durable for long-term use.
Why Over‑Tightening Cracks Cabinet Hinges
Over‑tightening cabinet hinges creates excessive torque that strips screw threads in particle board, turning a solid mount into a weak, cavity‑filled anchor. When you apply torque beyond the material’s capacity, the particle board fibers compress, then fracture, forming a hollow cavity that cannot sustain the hinge’s load. The over‑tightened screw then pulls outward, and the mounting plate experiences shear forces that exceed the metal’s yield strength, producing a hinge crack. That crack propagates quickly under repeated door swings, misaligning the door and causing sagging. Because particle board lacks continuous fibers, the stripped holes lose grip, allowing the hinge to wobble and the crack to widen. The result is a permanently compromised hinge that must be replaced. The outward pull on the hinge during door opening further stresses the compromised threads. Selecting a cabinet with the appropriate load capacity helps prevent over‑tightening damage. Choosing hinges made from high‑strength steel can significantly increase durability in heavy‑duty applications.

Premium Material: The piano hinges heavy duty is made of 304 stainless steel, with a fine and smooth surface, rust proof and long-lasting
REPLACEMENT FOR DAMAGED HINGES - These high-quality hinges perfectly replace broken or worn-out ones and fit many classic hinge styles. Features 48mm center-to-center hinge cup hole spacing – please check your size before purchase

Flat Head Phillips Design – Features a flat head for a flush finish and a Phillips drive for easy, secure installation with standard screwdrivers or power drills.
Moisture, Rust, and Cabinet Hinge Degradation
If you install cabinet hinges in a high‑humidity environment—such as a bathroom, kitchen, or coastal area—the constant exposure to moisture will accelerate oxidation, leading to rust that weakens the metal and compromises the hinge’s structural integrity. Moisture condenses on the metal, especially where temperature swings cause rapid cooling, and hard‑water minerals or soap residues create electrolytic pathways that speed corrosion. Chloride‑rich air, salt spray, and chemical cleaners erode protective coatings, exposing the base alloy. Even 304 stainless steel succumbs within months under persistent humidity, while 316 or PVD‑finished hinges resist longer. Implement humidity control with exhaust fans and sealed cabinets, and conduct humidity‑corrosion testing during design validation to guarantee durability and prevent premature hinge failure. Properly applying a rust‑inhibiting primer before painting can significantly extend the hinge’s lifespan. Proper ventilation also helps to reduce moisture buildup, which is essential for preventing mold growth inside cabinets. Regularly clean hinges with a soft‑brush to remove dust and debris that can trap moisture.
Low‑Quality Materials Speed Up Cabinet Hinge Wear
Why settle for cheap alloys when your cabinet hinges could fail months early? Low‑quality metals lack the tensile strength needed to resist repeated stress cycles, so material fatigue sets in quickly. You’ll notice loosened pivots, audible creaks, and eventual breakage—often within a quarter of the expected service life. Though the upfront cost seems attractive, the long‑term expense of replacements and downtime outweighs any short‑term savings. Opt for hardened steel or bronze alloys that meet industry standards for wear resistance. These materials maintain dimensional stability, distribute loads evenly, and sustain smoother operation under frequent opening and closing. Prioritizing durability enhances cost efficiency by reducing frequent maintenance and extending hinge lifespan. Selecting the right material can also improve overall cabinet durability material choice. Consider the fire‑resistant properties of metal hinges when safety is a priority. Solid hardwood cabinets often outlast metal hinges, highlighting the importance of choosing robust materials for long‑term performance.
Preventive Maintenance Tips to Extend Cabinet Hinge Life
When you keep cabinet hinges clean, lubricated, and properly tightened, you dramatically cut wear and prevent premature failure. Use a microfiber cloth or soft brush to wipe dust daily, then apply a mild detergent solution for grease near stoves. Dry thoroughly to avoid corrosion. Perform season lubrication with light machine oil, silicone spray, or graphite twice a year, or when squeaking occurs; open and close doors repeatedly, then wipe excess to keep dust from gathering. Conduct a seasonal inspection of screws, checking for looseness, cracks, or rust. Tighten with the correct screwdriver, avoiding over‑tightening, and repair stripped holes with wood glue or larger screws. Keep the environment dry, use exhaust fans, and avoid slamming doors to minimize stress on hinges. Measure hinge placement before drilling to ensure consistent alignment across all doors. Understanding the different cabinet latch types helps you choose the right hardware for each application.