First, measure the door or drawer face and mark the exact spot for the lock’s cylinder, checking level and clearance. Choose a brad‑point bit matching the hole size, tape the mark, and drill a pilot hole, then finish the hole from the back to avoid splintering. Slide the cylinder in, add the washer and nut, tighten by hand then with a wrench, and keep the face flush. Install the cam or striker plate, align it so the cam engages only when fully closed, and test the lock for smooth operation. Continue for you’ll uncover finer adjustments and finishing tips.
Measure and Mark the Lock Position
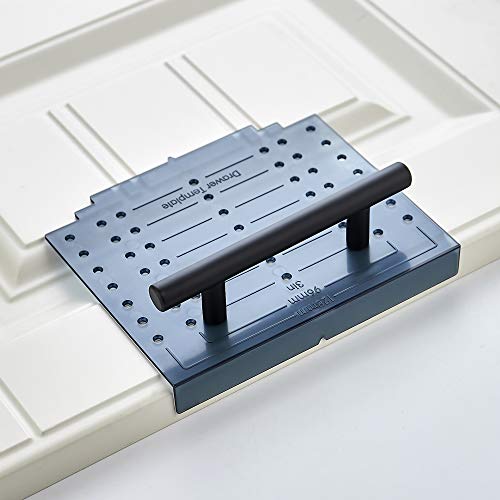
Before you start drilling, grab a tape measure and locate the door’s edge, then measure 2.5–3 inches toward the center to find the lock’s mounting point. Mark the spot with a sharp pencil, then double‑check the mark for level and lock placement. Use a ruler or laser level to confirm the mark aligns with the opposite hinge side and any overlapping door for double‑door setups. Verify the solid frame or strike plate sits behind the spot, ensuring at least a ¼‑inch clearance for the cylinder. For drawers, pull the drawer out, measure the horizontal center, and mark just below the top edge, confirming space for cam movement. A quick alignment verification before you drill prevents mis‑placement and saves time. The True Position Tool ensures consistent hole placement across multiple doors. Properly clean the surface before drilling helps prevent splintering and ensures a tight fit for the lock hardware. Selecting a cabinet with high load capacity can also affect the durability of the lock installation. Installing a lock on a cabinet with a reinforced back panel further enhances security and reduces the risk of tampering.
Choose the Right Drill Bit for Cabinet Lock Installation
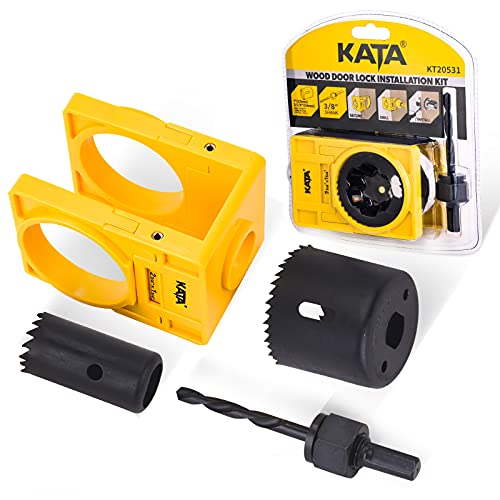
When you pick a drill bit for a cabinet lock, match the bit’s shape and material to the wood type and hole size you need. Brad point bits give clean entry and exit, ideal for soft or hardwoods, but run them at slower speeds to avoid splintering. For flat‑bottomed holes, use a Forstner; it stays true on a drill press and handles angled cuts for hinges. Twist drill bits cover routine holes up to one inch, especially in high‑speed steel or titanium‑coated versions for durability. Auger bits excel in deep, heavy‑duty holes, pulling material in with less pressure. Specialized kits—like the KATA 1‑3/8 to 1‑3/4‑inch set—provide precise lock‑hole dimensions and downcut edges to minimize blowout. Choose the right bit options, set appropriate torque settings, and you’ll drill confidently without waste. Properly aligning the lock’s latch plate with the cabinet frame prevents binding and ensures smooth operation. Lock alignment is critical for maintaining long‑term functionality. Understanding load capacity helps prevent over‑loading the cabinet during installation. Installing drawer slides correctly requires precise measurement to avoid misalignment.

Protect important papers! The Guardianite Brand 4 Drawer File Cabinet Lock is constructed with solid 16 gauge steel with a durable beige powder coat finish.
Protect important papers! The Guardianite Brand 5 Drawer File Cabinet Lock is constructed with solid 16 gauge steel with a durable beige powder coat finish.

Protect Your Important Papers with this Guardianite Brand 3 drawer File Cabinet Lock; Solid construction; Constructed of 16-gauge steel with durable beige powder coat finish.
Drill the Cabinet Lock Hole Without Splintering
If you want a clean, splinter‑free lock hole, start by masking the drill spot and then make a tiny starter hole before using the full‑size bit. Apply a couple of layers of masking tape over the pencil mark; the tape shields the wood and prevents tearout when the bit exits. Use a small pilot bit or an awl to create a starter hole that guides the larger bit and stops it from wandering. Align the drill squarely, press gently, and drill from the visible side only. Once the pilot breaks through, flip the cabinet and finish the hole from the back, letting the larger bit exit through the tape. Remove the tape carefully to reveal crisp edges. This method keeps the wood intact and the lock opening perfect. Pilot bit ensures the larger bit does not cause material breakage. Properly tightening screws after drilling prevents future sagging of the lock hardware. Selecting the correct hinge type ensures the lock aligns with the door’s movement and weight. Choosing a lock with a high key control rating can further enhance security for shared spaces.
![[12-Pack] Invisible Baby Proofing Cabinet Locks - No Drill Child Safety Drawer Latches - Adhesive Childproof Latch for Cabinets, Kitchen & Furniture - Secure Toddler & Infant Safety No Tools Required](https://m.media-amazon.com/images/I/31eZCkmpTfL._SL500_.jpg)
INVISIBLE PROTECTION FOR YOUR HOME: Keep your kitchen and bathroom looking beautiful while keeping curious toddlers safe. These child safety locks install completely inside your cabinets and drawers, staying hidden from guests and out of reach of children—no ugly external straps or plastic latches to ruin your home’s aesthetic.
WORKS FOR DRAWER & DOOR: Knob and Pulls with 3" (76mm), 3-3/4" (96mm), 5-" (128mm) hole center
Fit the Cabinet Lock Body and Tighten Hardware
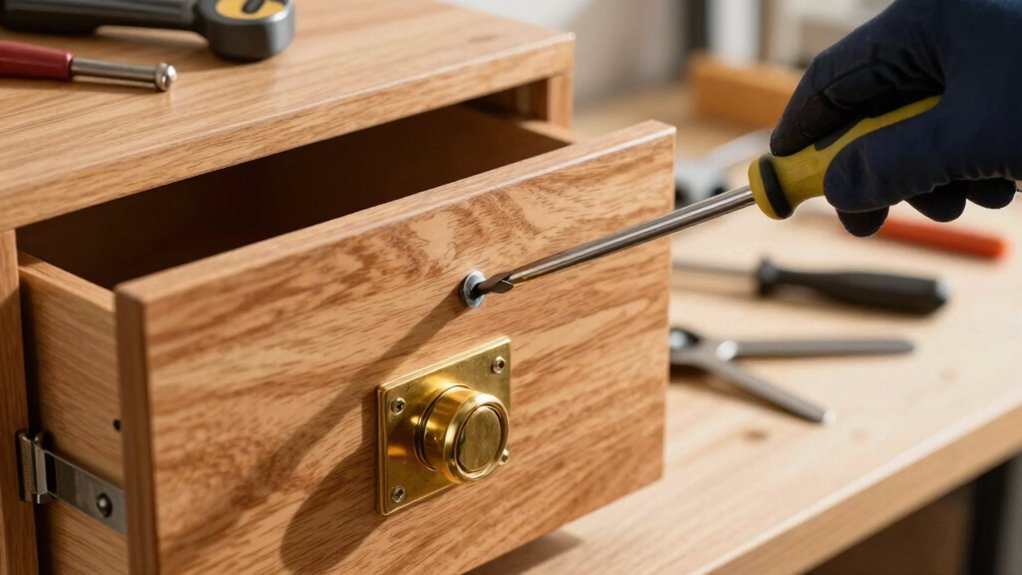
Once the cylinder is sliding smoothly into the pilot‑drilled hole, slide the interior mounting washer over it, thread the retaining nut or clip, and tighten everything by hand before finishing with a wrench—making sure the lock face stays level and the hardware sits flush against the cabinet wall. Grip the nut firmly, turn it a quarter turn by hand, then use a small wrench to snug it without stripping threads. Keep the lock aesthetics in mind; a level face prevents unsightly gaps. Check that the washer and clip sit evenly for good installation ergonomics. Periodically verify the lock face remains straight as you tighten. Stop when the nut feels firm but the cylinder still rotates freely, ensuring a clean, functional finish. Ensure the knockout hole is properly sized before inserting the cylinder. Select high‑quality locks to maximize resistance against tampering. Commercial‑grade locks often include reinforced steel bodies for added durability. Follow the step‑by‑step guide to avoid common mistakes during installation.

Stand for Long Term Usage: the cabinet latches are mainly made of galvanized cold rolled steel, reliable and sturdy, not easy to deform or break, resistant to corrosion, with smooth surface, can stand for your long term usage

Premium Material: The safety padlock hasp is made of 304 stainless steel, durable and rust-free, with a polished surface and no sharp edges,ensuring quality and longevity.

Full-Length Mirror Armoire – Stylish full-size 47"H x 14.5"W x 3.9"D glass mirror provides a clear, wide reflection while keeping jewelry and accessories hidden inside a sleek modern cabinet
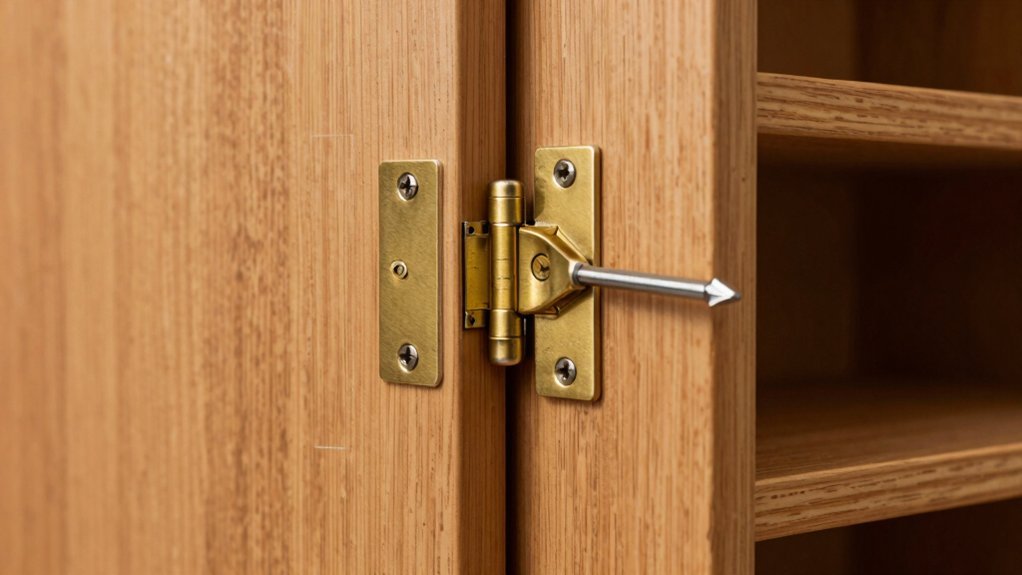
Attach the Cam or Striker Plate for Cabinet Lock Alignment
First, close the drawer or door fully, then mark the exact spot where the cam meets the cabinet body with a pencil; this reference point guarantees the striker plate will line up perfectly when the drawer shuts. Slide the cam onto the cylinder shaft, aligning it per the lock‑kit diagram and checking cam compatibility with the strike plate. Drill shallow pilot holes at the pencil, then secure the striker plate with the supplied screws, using enough to make certain a firm hold without over‑tightening. Verify that the cam engages only when the drawer is fully closed; if it hits too high or low, adjust the plate vertically. Add hinge reinforcement if the frame flexes, then re‑check alignment by slowly closing the drawer. Use case‑hardened screws to prevent latch pull‑out under normal use. Consider magnetic lock options for a tamper‑resistant solution that requires no drilling. Choose a cabinet with adjustable shelves to maximize storage flexibility after installation. For high‑traffic office use, prioritize locks with tamper‑resistant features to deter unauthorized access.

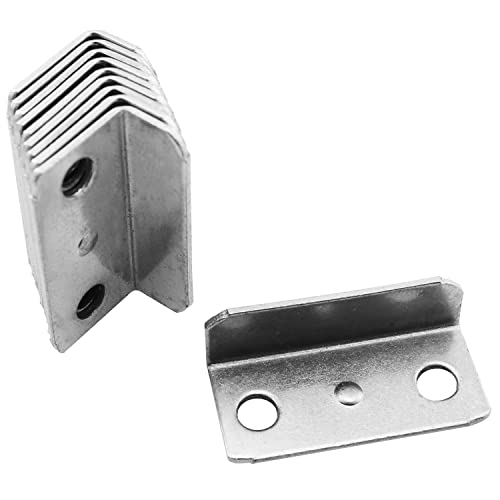
🚪【What You Get】12 Pcs L-shaped Drawer Lock Strike Plate. With our products, you'll experience a heightened sense of security, as they offer excellent value for money.
Packing: 10 pieces, Material: Metal.

Thickened material is stronger, delicate workmanship, no fear of deformation.
Test the Cabinet Lock for Smooth Operation
After securing the striker plate, give the lock a quick spin to confirm everything moves smoothly. Turn the key several times; it should rotate with minimal force, no grinding, and a clean click each time. Check that the latch engages the strike plate flush, leaving no gaps and no resistance. Run at least three full cycles, noting any sticking or uneven tension—these indicate misalignment or friction that need adjustment. Observe the lock aesthetics while testing; a well‑aligned mechanism maintains its visual finish without sagging or mis‑placement. Consistent smooth operation proves key durability and that the lock will hold up under regular use. If any issue appears, realign or lubricate before moving on. The two front levers must be lifted to different heights to align gaps with the stump for proper operation. Consider the impact of adjustable shelving when selecting a cabinet lock to ensure compatibility with varied interior configurations. Evaluate the lock’s resistance to forced entry to ensure it meets high‑security standards. Parallel task planning can reduce overall installation time by allowing you to measure and cut multiple shelves before assembling the lock.
Finish Cabinet Lock Installation: Sand, Clean, Seal
Need to surface looking flawless before the lock’s final reveal? Grab 220 grit sandpaper and give the cabinet a light scuff. Keep the touch gentle so you don’t cut through the existing finish, especially around drilled holes and edge plates. After sanding, wipe the dust away with a tack cloth—its static grabs fine particles that would ruin a smooth coat. Next, spray or wipe on a kitchen cabinet cleaner, avoiding hand oils, and let it dry completely. When the surface is dry, apply a clear‑coat finish. Give each coat 1.5–2 hours to cure, then sand lightly with the same surface grit before the next layer. Repeat until you have two or three coats for a durable, matte luster that protects the lock and wood alike. Final Touch should be used for cleaning to preserve the restored finish. Regularly checking for loose hinges can prevent damage and keep the cabinet stable. Use a chemical stripper to remove old finish when sanding alone isn’t enough.

Ideal for protecting items without glossiness including on wood, metal, wicker, plastic, glass, plaster, ceramic and paper

Ideal for use on interior/exterior surfaces including wood, plastic, plaster, metal, masonry and unglazed ceramic

Krylon COLORmaxx GLOSS CRYSTAL CLEAR