First, warm the adhesive latch with a hair dryer held a few inches away for 5‑8 minutes until it softens. Gently pry a corner using a blunt butter knife or ruler, then roll off the remaining glue with a spoon shielded by cardboard. Let the new bond cure for 24 hours, checking with a spirit level that the cabinet stays vertical. After the latch snaps back to its green‑triangle locked state, you can safely release the push‑n‑snap lock and operate the secret button flex lock. Continue for more detailed troubleshooting steps.
Release the Safety‑First Adhesive Latch Safely
When you begin releasing the Safety‑First adhesive latch, start by softening the bond with focused heat; a hair dryer set to a medium temperature, held a few inches from the latch, should be moved around the adhesive for five to eight minutes. After the adhesive warms, test its looseness by gently prying a corner with a blunt‑pointed tool such as a butter knife or ruler. Insert the tool under the edge, wiggle lightly, and assess resistance; this is a key step in your tools selectionuse. Apply steady pressure with a small spoon or fingertip, working from one side to the other. Keep a cardboard shield between the surface and your tool to protect the finish. Continue heating any remaining spots before rolling off residual adhesive with your finger. This methodical approach guarantees safe release while minimizing surface damage. Heating duration should be monitored to avoid overheating the surrounding area. Properly assess the load capacity of the cabinet to ensure the latch can support the intended weight. Use a spirit level to confirm the cabinet remains perfectly vertical after the latch is removed. Proper storage environments reduce rust risk by controlling ambient humidity levels.
Confirm the Safety‑First Latch Is Fully Cured
After you’ve softened and removed the adhesive, you must let the new bond cure for a full 24 hours before testing the latch. Begin cure verification by inspecting the latch for any peeling or movement; a fully cured bond stays firmly attached with no gaps. Perform a gentle tug test after the 24‑hour period—press the latch arm downward to expose the red unlocked symbol and pull lightly. If the latch resists detachment and the symbol functions smoothly, the adhesive timing is complete. Guarantee the latch sits flush against the cabinet frame, with no residue or stickiness. Only once these criteria are met should you proceed, confident that the latch will remain secure for child‑resistant use. The device’s built‑in alignment guide ensures perfect positioning before the adhesive cures. Adhesive strength is a key factor in maintaining a reliable lock over time. Selecting a lock with a high security rating further enhances protection against forced entry. High‑quality locks provide an additional layer of defense against tampering.
Unlock the Safety‑First Push‑n‑Snap Lock
Press the bottom button firmly until you feel the internal snap disengage, then rotate the latch arm downward so the red released symbol appears. You’ll notice the latch arm lock the cabinet, but it stays locked until you press down on the latch with your finger and then rotate it fully. The red symbol confirms the unlocked position, and the arm’s downward orientation signals the cabinet is ready to open. Verify that the front edge of the catch aligns precisely with the cabinet edge; any gap may indicate misalignment. When selecting material design alternatives, prioritize those compatible with the SecureTech system to avoid installation issues. Finally, review warranty considerations to guarantee the lock remains covered after this operation. Secure drawer cabinets offer enhanced durability and tamper‑resistant features that complement the lock’s safety mechanisms. Ensure the magnetic lock is properly aligned with the cabinet frame before tightening the screws. Consider the holding strength of the lock to match the cabinet’s usage frequency.
Simple to install

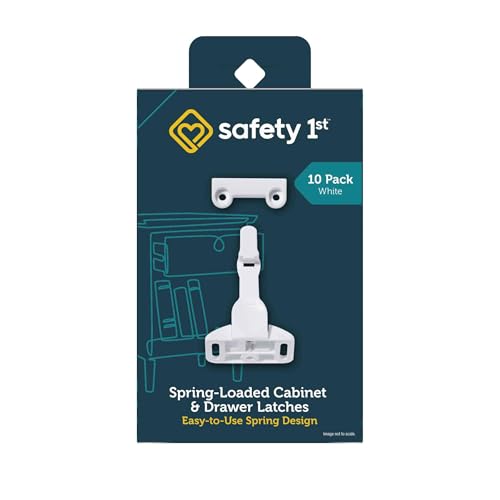
SAFETY 1ST CABINET LOCKS FOR BABYPROOFING Secure cabinets to create a child-friendly space where your little one can explore with the Safety 1st Double Door Cabinet Locks.

2X STRONGER THAN THE INDUSTRY STANDARD: Our patent-pending baby locks for cabinets are designed to be twice as strong as the industry standard, providing top-notch security with child proof cabinet latches for child-friendly spaces.
Operate the Safety‑First Secret Button Flex Lock
How do you release the Safety‑First Secret Button Flex Lock? Position your hands so the concealed top and bottom buttons sit under your fingertips. Apply a firm, evenly distributed squeeze, leveraging the lock’s Grip ergonomics to maintain steady pressure. As you compress, watch the Cable tension in the adjustable straps; it should stay constant, confirming the lock is engaged correctly. Simultaneously press the decoy button to distract any child observer, then release the squeeze. The mechanism will separate, allowing the door to open. Make sure you keep your fingers aligned with the hidden buttons to avoid slipping. When you close the cabinet, the lock clicks back into place, restoring full tension and securing the lock until the next operation. The installation requires no drilling and can be completed in minutes. The lock’s durability is comparable to high‑grade commercial cabinet locks, offering long‑term security with minimal maintenance. Selecting the appropriate lock type based on security level helps ensure the cabinet meets your specific protection needs. Understanding the differences between deadbolt and cam lock designs can guide you to the most durable solution.

Prominent decoy button can be pushed by child, with no effect

Prominent decoy button can be pushed by child, with no effect

Prominent decoy button can be pushed by child, with no effect
Adjust and Use the Safety‑First Handle Flex Lock
Where can you find the sweet spot for a perfect fit? Begin by sliding the adjustable straps through the cabinet knobs or handle pulls, ensuring the hardware distance falls between three and eight inches. Pull the strap firmly to tighten the loop, then use the lever to release it for repositioning if needed. After the strap adjustment, reinsert the lock components so the lock sits securely between the side‑by‑side doors; the SecureTech indicator will confirm proper installation. Test lock durability by applying moderate finger pressure on the concealed top and bottom buttons; they should release simultaneously without slipping. Keep the lock hanging out of the way when not in use, yet remain easily accessible for future adjustments. The decoy button distracts users onto an incorrect path, reducing the likelihood of discovering the proper operation. Selecting a cabinet with a fire‑rated steel construction helps ensure the lock assembly remains functional even in high‑temperature environments. For heavy‑duty applications, consider a cabinet built from high‑gauge steel to maximize load capacity and durability. Proper cable management enhances both safety and aesthetics.

【Childproof Locks】You will get 6 packs of sliding cabinet locks in total. A sufficient quantity of safety locks can protect your baby or child from getting hurt through cabinets and drawers.

Complete Baby Proofing Solution - Secure your home with Infinno cabinet locks baby proofing set—ideal for cabinets, drawers, and cupboards to keep toddlers safe from household hazards.

IMPROVED CHILD SAFETY LOCKS 4-PACK with lots of advanced features. This is super easy to install, very effective at keeping out babies and toddlers, and fast for adults to open. They give you peace of mind while making your home more enjoyable with less fussing with hard to use baby latches.
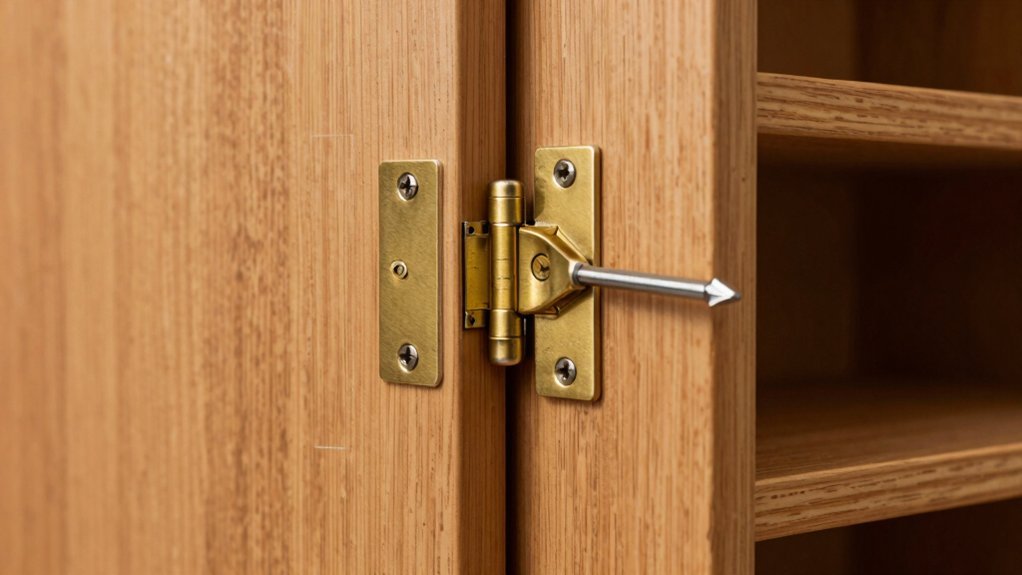
Troubleshoot Sticking or Mis‑alignment of the Safety‑First Lock
If the Safety‑First lock sticks or mis‑aligns, start by checking the adhesive cure and the catch alignment before blaming the hardware. Verify that the adhesive has cured for at least 24 hours; a partially cured bond will cause resistance. Inspect the hinging alignment of the front edge of the catch against the cabinet edge, ensuring it sits flush as illustrated in Figure A. Next, examine latch positioning: press the latch firmly, rotate it to the unlocked position, and watch the red symbol. If the latch does not return to the green‑triangle locked state, look for obstruction or an installation error. Confirm that the space between drawer and frame matches the specifications for framed or unframed cabinets. Adjust the latch or re‑align the catch until motion is smooth and the lock seats correctly. Use a plastic scraper to gently lift any adhesive residue that may be causing the lock to stick. Properly securing the cabinet also helps prevent theft by restricting unauthorized access to valuable or hazardous items. Consider regulatory compliance when selecting a lock to ensure it meets industry safety standards. Follow the step‑by‑step guide to ensure each phase is performed correctly.

3M adhesive provide a powerful, secure hold while making it easy to install

Easy installation: just peel and stick

2X STRONGER THAN THE INDUSTRY STANDARD: Our patent-pending baby locks for cabinets are designed to be twice as strong as the industry standard, providing top-notch security with child proof cabinet latches for child-friendly spaces.
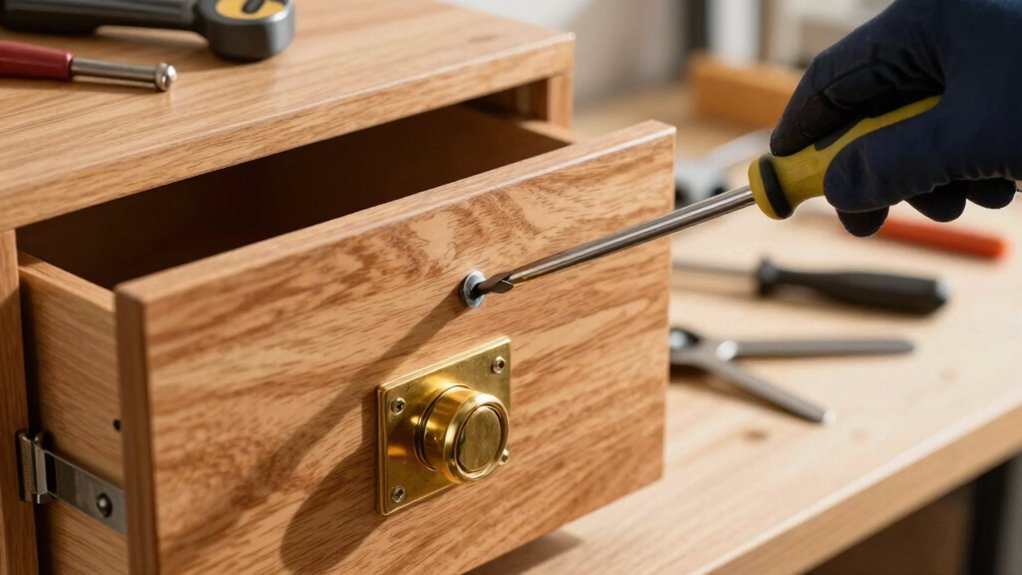
Remove the Safety‑First Lock and Clean Residual Adhesive
When you’ve loosened the Safety‑First lock, start by softening the adhesive with targeted heat—apply a hair‑dryer’s hot air to one mount for 5‑8 minutes, then test the lock’s movement before proceeding. Next, choose your Tool selection carefully: a blunt butter knife or a ruler slides under the edge, while a small spoon maintains steady pressure on wood. Gently pry from the corner, repeat on the opposite side, and lift the mount once the adhesive yields. If heat isn’t viable, consider Adhesive alternatives such as fish line or dental floss, sawing back‑and‑forth to cut the bond. After removal, roll off residual glue with your fingers, re‑heat if needed, then wipe the surface with a warm, soapy soft cloth. Avoid scrubbing to prevent scratches. Moderate heat helps soften the adhesive for easier removal. Choosing hinges made from high‑strength steel ensures the cabinet can support heavy loads over time. European cabinet hinges can be adjusted using a small screwdriver to fine‑tune the alignment after the lock is removed.

【5-in-1 Removable】Unlike a common bathroom hair dryer holder, our hairdryer holder for wall mount includes two removable Metal storage cups. They sit on the sink counter for razors, cosmetics, or toothbrushes. The hair tools organizer mounts to the wall without drilling, cups can be used separately. If left on the wall, they hold curling irons, straighteners, and other styling tools – multifunctional, removable, space-saving.
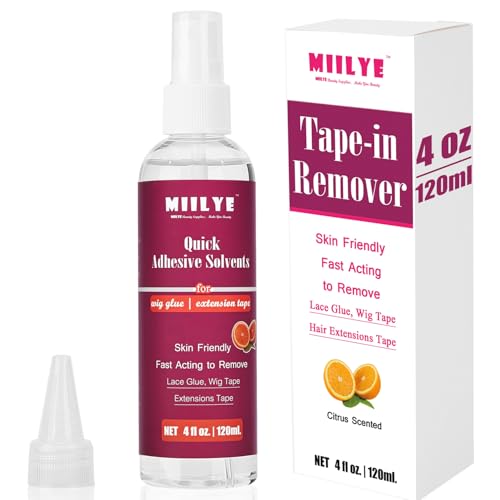
[Fast Acting Tape in Extension Remover] MIILYE tape in remover is designed for damage-free removal of lace front wigs and painless taking off tape in hair extensions, our upgraded tape in extension remover formula facilitates fast removing wig glue adhesive in 60 seconds and tape in extensions as little as 3 minutes;

【Widely Application】 Hair tool organizer meet your different demands. 10.62 x 4.33 x 6.69 inches, large capacity for holding shampoo, conditioner or lotion, etc. Ideal for bathrooms, guest bathrooms and powder rooms etc.