First, gather a cordless drill with a #2 Phillips bit, a Forstner 35 mm bit, and safety gear. Measure the door overlay, then mark hinge cup centers 100 mm from the top and bottom edges, spacing any extra hinges evenly. Drill 1/16″ starter holes with a self‑centering jig, followed by 35 mm cup holes to 13 mm depth, and press the hinge cups flush. Mount the base plate on the cabinet wall, drill the 32 mm screw holes, and secure it. Adjust vertical, side‑to‑side, and depth screws until the door sits level, square, and gaps are uniform, then tighten all fasteners to the specified torque. Continue for more detailed steps.
Gather Tools for Cabinet Hinge Installation
Before you begin, gather every tool you’ll need for a clean, repeatable hinge install. Organize your kit by category: electric drills and drivers, screwdrivers and bits, marking instruments, and optional jigs. Choose a cordless drill with a #2 Phillips bit, an impact driver for non‑stripping screw insertion, and a Forstner bit (35 mm) for cup mortises. Include a #2 Pozi screwdriver, self‑centering Vix bit, and spring center punch for precise hole placement. Equip yourself with a tape measure, pencil, straight edge, level, and rafter square to verify alignment. Add safety gear—gloves, safety glasses, and hearing protection—and a tarp to shield the work surface. Proper tool organization and safety gear guarantee efficiency and protect both you and the cabinet during installation. Self‑centering drill ensures all hinge holes are perfectly aligned. Selecting the right storage cabinet also involves considering material durability to ensure long‑term performance. Understanding the load capacity of a hinge helps prevent sagging over time. European concealed hinges provide a sleek, invisible look while allowing full overlay door installation.

ADVANTAGE OF DYRECELVE: Professional quality authentic tools, an international tool brand, joins 2 million + powered by our leading technology

The product is 25PK #2 Phil Bit Tip

Milwaukee Shockwave Impact Duty driver bits are engineered to be the most durable, best fitting driver bits on the market.
Measure and Mark Precise Cabinet Hinge Locations
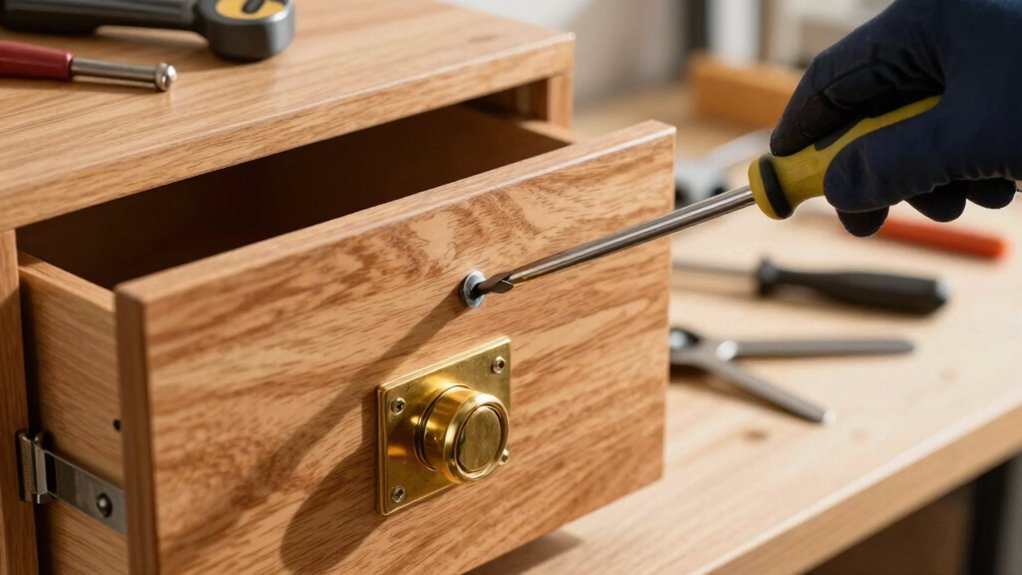
With your tools assembled, start by confirming the cabinet type—frameless or face‑frame—because the hinge overlay and mounting slots differ. Measure the door overlay by pulling the door open, hooking a tape measure to the frame, and noting the distance from the frame to the outer door edge; this measurement governs overlay alignment and hinge torque. Next, mark the hinge cup centers. From the top edge, measure 100 mm down for the upper hinge, then again 100 mm up from the bottom edge for the lower hinge; for three or four hinges, divide the vertical span evenly, marking each center with a fine‑point pencil. Guarantee each mark respects the hinge torque‑overlay alignment, confirming that the cup holes will sit precisely within the mounting brackets. Double‑check all marks before proceeding. The pilot mark indicates the hinge position and ensures accurate measurement of hinge location. Additionally, use a torque‑rated screwdriver to apply consistent force when tightening the hinge screws, preventing over‑tightening that could strip the wood. Properly aligning the hinges can prevent door sag and extend the cabinet’s lifespan.

Precise & Adjustable Design: The Yakamoz 35mm Concealed Hinge Jig Kit ensures accurate and clean hinge installation every time. Features a fully adjustable depth (15-40mm) and positioning guide for flawless results on cabinet doors and furniture.

【High Precision】 All metal cabinet hinge jig made of high quality aluminum alloy,The bottom surface is very flat, Is more durable and accurate than plastic jigs. The all metal concealed hinge jig bulit-in double bearings ,the lateral shaking is reduced, and the drilling is more stable and accurate.provides continuous hinge hole drilling and much easier, making drilling more accurate.

The hinge drill guide can help you quickly drill the perfect concealed hinge hole. Suitable for furniture door cabinet hinge positioning and installation
Drill Pilot Holes for Cabinet Hinges
If you’ve already marked the hinge cup centers, the next step is to drill the pilot holes with a jig‑mounted, self‑centering hinge bit. Fit the 1/16″ starter bit into the power drill, insert it into the jig, and use the chamfered guide to locate each hole. Choose a self‑centering bit that matches the screw types: 5/64″ for 3‑ or 4‑screw hinges, 9/64″ for 8‑ or 10‑screw hinges. Clamp the jig, align the drill vertically, and watch the painter’s‑ depth indicator to stop at the proper hinge depth. The stop collar prevents over‑drilling, ensuring each pilot hole is shallow enough for precise screw seating without penetrating the door. Verify fit before proceeding. Use a ruler or tape measure to confirm the hinge cup center distance is consistent across all placement. Properly aligning the hinge cups also helps prevent door sag over time. Remember to check the screw torque specifications to avoid overtightening and damaging the wood. Following the step‑by‑step guide for cabinet pull installation can improve overall alignment and durability.

Always Centered: Our self centering drill bit set guarantees perfect alignment every time. No crooked holes, no wasted effort—ideal for hinges, handles, and all hardware installs.

High Quality: The 16pcs self-centering drill bit set is made of high-speed steel and a quenching treatment shell. High hardness, strong and durable, rust-proof, excellent drilling performance.
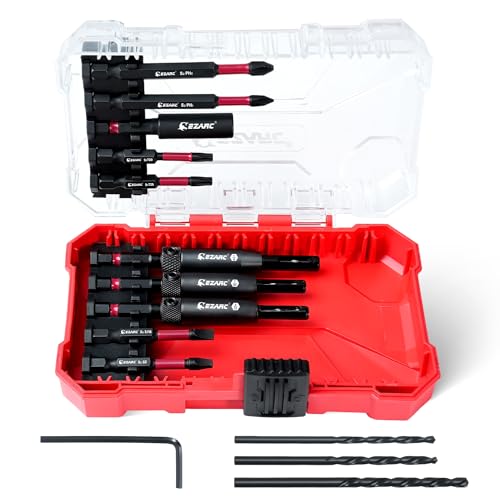
【New Upgraded Set】EZARC 14pc self centering drill bit set includes everything you need for precise woodworking and hinge installation: 3pcs self centering drill bits – #6 (3/32"), #8 (7/64"), #10 (1/8"); 3pcs HSS replacement drill bits (3/32", 7/64", 1/8"); 1pc 2.5mm hex key; 4pcs 2" S2 screwdriver bits (T20, T25, SL3/16, SQ2); 2pcs 3" S2 screwdriver bits (PH1, PH2); and 1pc CRV magnetic bit holder – all organized in a durable storage case.
Install Hinge Cups in the Door
After you’ve bored the 35 mm cup holes to a 13 mm depth, clean out the shavings and insert the hinge cups, making sure the cups sit flush against the door surface and the ears align with the pre‑drilled pilot holes. Vacuum the mortises, then drop each cup in, confirming that the ears sit level with the door face. Use a scrap‑wood template to verify full insertion; any gap compromises cabinet aesthetics and hinge durability. Press the cups gently until they seat fully, then rotate the door to check for unrestricted movement. If the hinge binds, re‑clean the cavity and reseat the cup. Once the cups are secure, proceed to pilot‑hole preparation for the mounting screws. Drill guide support ensures consistent depth across all cup holes. Parallel task planning can speed up the installation by preparing all holes before inserting any cups. Properly tightening the adjustment screws after installation helps prevent door sag over time. Selecting hinges with appropriate load capacity is crucial for maintaining alignment in high‑traffic cabinets.

Installation specification: Cup diameter is 35mm; Cup depth is 11.3mm, Screw holes distance is 45mm; Opening angle is 105 degrees

Concealed Hinge Jig: Dedicated jig for drilling precise 35mm cup holes for European-style concealed cabinet door hinges using any hand drill

Soft Close Cabinet Door Hinges——Concealed Kitchen Cabinet Hinges the soft closing feature prevents all disturbing noises from the kitchen and extends the lifetime of the doors, cabinets, and hinges.
Mount Cabinet Hinge Base Plate
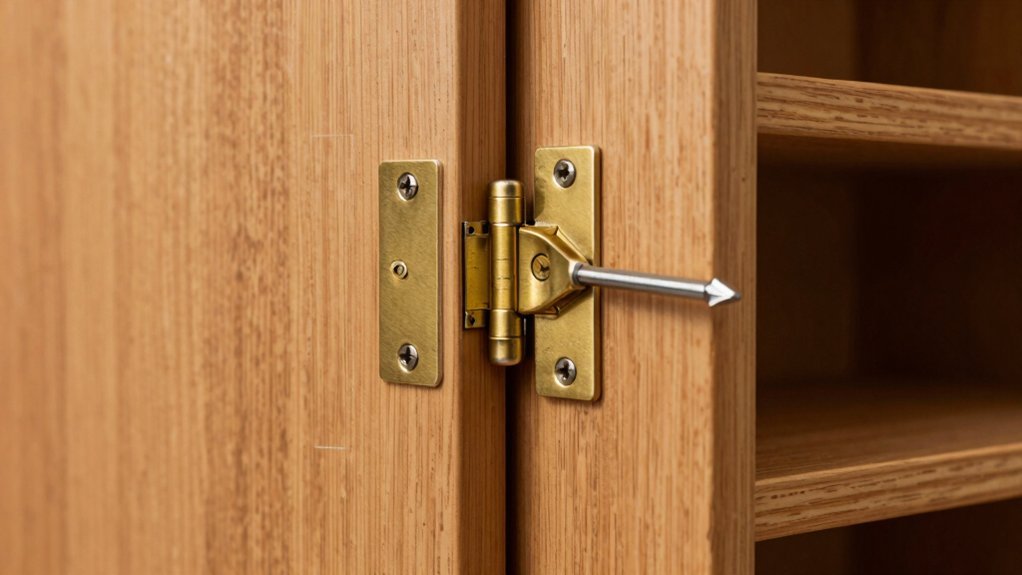
Now that the hinge cups are flush and the door moves freely, you can mount the hinge base plate. Begin with material base selection: choose a steel or aluminum plate that matches the hinge material compatibility, ensuring the same corrosion resistance and strength. Place the Rockler hinge plate template on the cabinet wall, align it with the pre‑drilled pilot holes, and mark the 32 mm system locations. Drill 3 mm spacing for full‑overlay hinges unless the specification differs. Insert two pilot holes for each screw, then align the plate with those holes. Secure the plate with the supplied screws, driving them directly into the cabinet box. Clip the hinge arm onto the installed plate, confirming that the three‑way adjustability is free to slide side‑to‑side for future fine‑tuning. Double‑check that the screw spacing is exactly 32 mm apart to maintain proper alignment. Properly tightened screws prevent door sag and keep the hinge aligned over time. Selecting the appropriate hinge size ensures the load capacity matches the cabinet door’s weight. Verify that the magnetic lock’s holding force is sufficient for the door’s weight before final installation.

1.【Combination List】6 pcs cabinet hinge repair plate set includes: 4 pcs large hinge repair plates (3.54*3.54 inches), 2 pcs small hinge repair plates (3.54*2 inches), 36 pcs self-tapping fixing screws.

12 x Hinge Repair Kit -- Small size: 1.85x3.54 Inch / 47x90mm. You will get 12 pieces cabinet hinge fixing plate, including 6 pcs hinge cup plate, and 6 pcs hinge base plate. Each hinge plate is individually wrapped with 6 screws.

【High Quality Stainless Steel】Cabinet Hinges Repair Plate is made by high quality brushed stainless steel material which is rust resistant, attractive and durable.The items can help repair damaged hinges on the surface and convert the original fixed stress point into a force-bearing area to make it stronger.
Fine‑Tune Cabinet Door Alignment
Where exactly should you begin when fine‑tuning a cabinet door? Start by loosening the top and bottom mounting screws a quarter turn counter‑clockwise. Close the door, then adjust the vertical screws: turn clockwise to raise, counter‑clockwise to lower, repeating on both hinges until the door sits level. Tighten to the specified s‑t torque and verify with a level. Next, open the door and locate the side‑to‑side screw on the horizontal arm nearest the door. Turn clockwise to shift the door right, counter‑clockwise to shift left, adjusting both hinges simultaneously until the gaps match the hinge‑clearance tolerance. Finally, adjust depth by loosening the rear center screw, sliding the door forward or back, and setting the front screw to achieve the proper front gap. Retighten all screws to the s‑t torque and re‑check alignment. Use the rear screw for precise depth control. For wider doors, consider adding an extra hinge to ensure smooth operation. Regularly inspect the hinges for corrosion to prevent premature failure. When repairing a damaged hinge hole, you can reinforce the area with a wood dowel before re‑installing the hinge.
Finish Cabinet Hinge Installation and Test Door
With the door aligned, you can secure the hinges and test the door’s functionality. First, tighten each hinge screw into the cabinet frame using the correct size and a slight countersink for a flush fit; avoid overtightening. Then, tighten the corresponding screws on the door after the final hinge clips have locked in place. Verify that all screws are snug before proceeding. Next, open and close the door repeatedly to test function; the motion should be smooth, free of binding, and the door must sit flush with consistent reveals on top, sides, and bottom. Listen for a clean engagement click and confirm that no internal obstructions interfere. Finally, adjust any misalignment, re‑tighten, and repeat the test function until performance meets specifications. The full‑overlay design ensures the door completely covers the side walls when closed. Properly aligning the drawer slides during installation helps prevent binding and ensures smooth operation. If the hinge screws continue to loosen, consider inserting a toothpick filler to reinforce the screw holes before re‑driving. Choosing a lock with high key control can further enhance the security of the cabinet.