First clean the cabinet surface with isopropyl‑alcohol wipes and let it dry, then mark the lock and magnet positions about an inch from the edge, avoiding screw heads. Peel the adhesive backing from the cradle and locking plate, press them firmly into place, and let the adhesive cure for 24 hours. Insert the #6 × 1/2” screws, tighten to the specified torque, and attach the magnetic key to its child‑safe holder with the 3M pad. Finally, test the lock, adjust the armature plate float if needed, and verify the release force meets safety standards; the next steps will show you how to fine‑tune the fit and troubleshoot any issues.
Magnetic Lock Installation: Tools & Components You’ll Need
When you begin installing a magnetic cabinet lock, gather the essential tools and components first: a variable‑speed power drill with appropriate bits for wood, metal, concrete, or brick; a screwdriver set with Phillips and socket heads; a measuring tape, pencil, and level for precise positioning; and safety goggles and gloves. Next, lay out the electromagnet housing, armature plate, mounting brackets, baseplate, and power supply unit. Verify that the machine‑screw torque specs match the manufacturer’s recommendation, typically 0.5–0.8 Nm for wood and 1.0–1.2 Nm for metal. Choose wiring gauge that meets voltage and current requirements; a 22‑AWG copper run is common for 12 V systems. Install terminal strips, connect the access control module, and route cables through drilled passages, securing them with zip ties. Guarantee spacers maintain the specified gap between electromagnet and armature plate. Ensure the unit is secured with the two rear pins and the nut with rubber washers to prevent movement after mounting. Selecting the appropriate magnetic holding strength based on door weight and material ensures reliable operation. Consider the material durability of the cabinet to match the lock’s specifications and avoid premature wear. For optimal performance, reference the holding strength ratings when choosing a catch for heavier doors.
Preparing the Surface for Magnetic Lock Installation
Before you start fastening the lock, clean the cabinet surface with isopropyl‑alcohol wipes until it’s completely dry and free of oil, residue, or dust, because any contaminant will compromise the adhesive bond. Perform surface prep methodically: wipe the latch area and the magnet location, then inspect for flatness. Verify material thickness and absence of hidden metal that could interfere with the field. Measure roughly one inch from the frame edge, mark the lock and magnet positions with a fine‑point pencil, and double‑check that marks avoid screw heads. After marking, peel the adhesive backing from each component, then pull back the protective film just before placement. Allow the adhesive to cure for the manufacturer‑specified time before proceeding to the next step. Ensure the lock fits between the frame bottom and drawer top before installation. Adding a tamper‑resistant feature can further enhance safety for high‑traffic households. For optimal adhesion, consider using a surface‑prep solution recommended by the catch manufacturer. Selecting a lock with a high shear strength rating ensures long‑term durability.
Attach the Magnetic Lock Using the Cradle
After cleaning and marking the cabinet, you’ll place the cradle on the interior surface, aligning it level with the frame edge using the supplied ruler. Hold the cradle firmly for several seconds to let the ergonomic design settle into its optimal position. Remove the backing paper from the locking plate adhesive, then peel the film off the magnetic lock adhesive backing, taking care not to touch the sticky surfaces. Press the locking plate onto the cradle, ensuring the adhesive spreads evenly for maximum longevity. Insert the prepared magnetic lock into the guide slot, then close the cabinet door fully to transfer the lock into the cradle slot. Apply steady pressure for a few seconds, and let the assembly cure for 24 hours before removing the cradle. This method guarantees precise placement, reliable Cr, and long‑term adhesive performance. Ensure the cabinet door area is free of dust before applying the adhesive. The concealed hardware design also contributes to a clean aesthetic while maintaining strong support. For maximum protection against unauthorized entry, consider using a high‑quality lock that meets industry security standards. Choosing a cam lock with a high security rating can further enhance the cabinet’s resistance to forced entry.
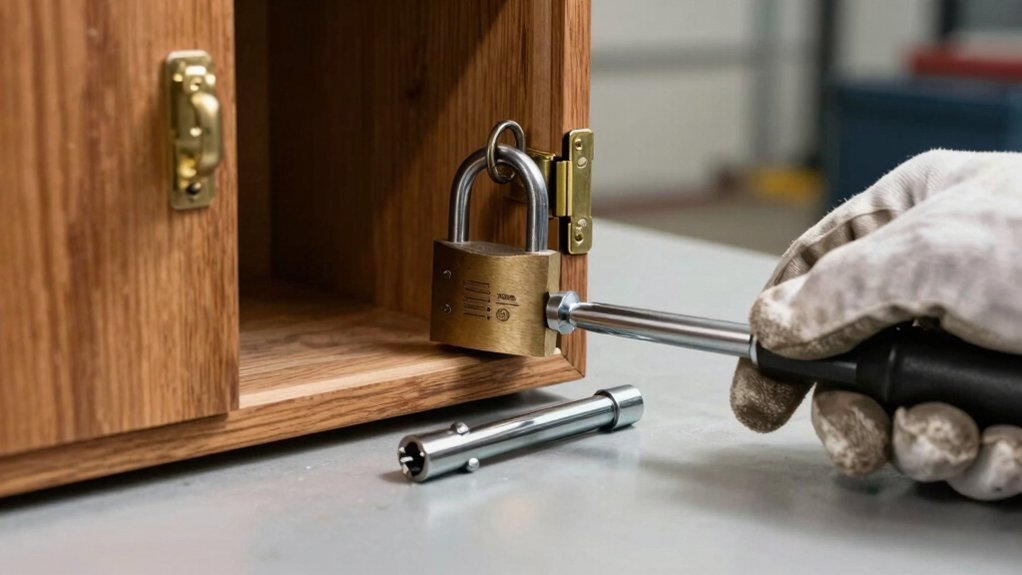
Secure the Locking Plate With Screws
If you’ve already positioned the locking plate, the next step is to secure it with the appropriate screws. Begin by confirming plate alignment using the parallel ridges and pre‑marked locations; the plate must sit flush against the cabinet frame. Insert a #6 × 1/2” screw through each aligned hole, holding the plate steady with protective gloves. Use a Phillips head screwdriver to drive the screw clockwise until the head engages the plate’s internal thread. Switch to a torque wrench for torque control, tightening each screw to the manufacturer’s specified torque—typically 90 ° with a locking wrench for T‑screw engagement. Verify that the plate does not shift, and that all screws are snug but not over‑tightened, ensuring a stable, tamper‑resistant installation. Using longer screws further enhances security by distributing force over a larger area. Selecting a lock with appropriate holding strength ensures it can withstand daily use without slipping. When installing any hardware, it is essential to follow the tool checklist to avoid damaging the cabinet surface. Always wear protective eyewear to shield your eyes from stray debris while tightening the.
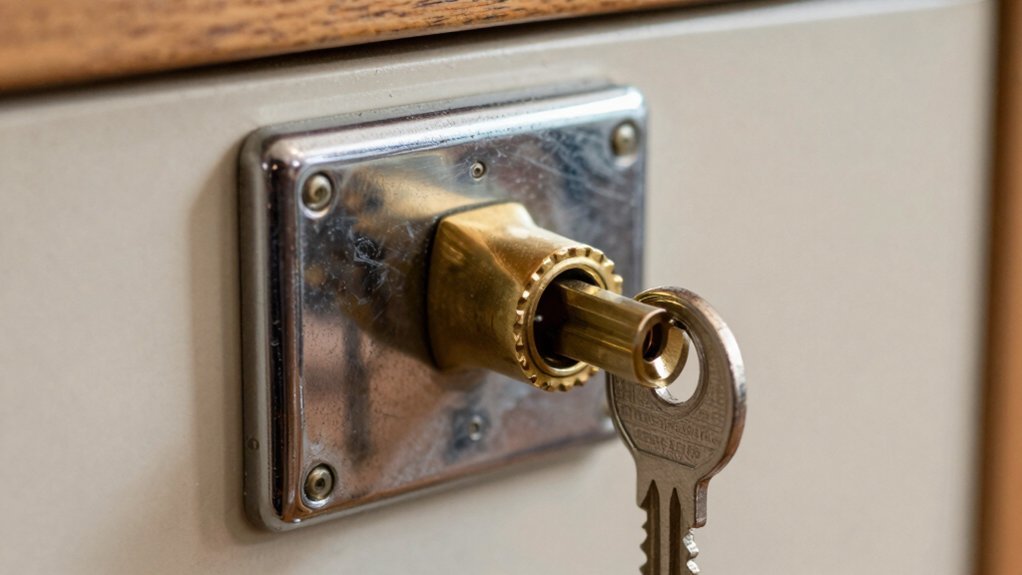
Install the Magnetic Key & Child‑Safe Holder for Your Lock
Once you’ve secured the locking plate, you can install the magnetic key and its child‑safe holder by first preparing the surface, applying the adhesive, positioning the holder, and finally placing the key—each step performed methodically to guarantee a reliable, tamper‑resistant setup. Clean the chosen spot with a damp cloth, dry it thoroughly, then select a flat, stable location out of a child’s reach to preserve the childproof design. Remove the holder’s backing, expose the 3M adhesive pad, and press it onto the surface for 15‑30 seconds, squeezing out air bubbles. Hold the holder for at least 30 seconds, wait one hour, then snap the magnetic key onto the holder. This sequence maintains installation aesthetics while ensuring a secure, child‑safe configuration. Use the provided screws to fully secure the magnetic lock in place. Adjusting the hinge screws can fine‑tune the door alignment if the lock causes slight misalignment.
Test the Lock and Fine‑Tune the Fit
You’ll verify the lock’s operation before finalizing its position by checking power activation, indicator lights, magnetic key response, and force requirements. Begin with a 24‑hour cure, then engage the red release icon and confirm it illuminates correctly. Switch to the green locked state, ensuring indicator calibration reflects latch engagement without lag. Use a force gauge to pull the door; record the force needed to release the latch and compare it to the target range for child safety. Repeat the pull test three times, checking force consistency across cycles. If the magnetic key fails to trigger, adjust the armature plate float or reposition the strike plate, then retest until the magnetic response and force readings remain uniform. The lock’s metal detection can be misled by the magnet, causing the latch to stay engaged. Always wear protective gloves when handling the lock to prevent hand injuries. Consider the lock’s picking resistance when evaluating overall security. Follow the manufacturer’s torque specifications to avoid over‑tightening the mounting screws.
Troubleshooting Magnetic Lock Installation Issues
A weak or unstable power supply is often the root cause of reduced holding force, so start by measuring the voltage at the lock’s 12 V or 24 VDC terminals and verify it stays within spec under load. Check that the Power supply can deliver the rated current; undersized or shared supplies cause intermittent holding and LED dimness. Inspect cabling for thin sections or damage that sag voltage. Next, address Alignment issues: guarantee the magnet and iron plate sit flat and square, free of debris, paint, rust, or residue. Tighten the armature plate screws just enough to allow a slight float; overtightening creates rattles and vibration. If the latch misaligns, relocate hidden metal that interferes. Re‑test after each adjustment to confirm stable holding force. Surface preparation is essential when applying the 3M adhesive to ensure a strong bond. Use a spirit level to verify the cabinet is perfectly vertical before final tightening. Properly securing the lock also helps meet safety regulation requirements for hazardous material storage. Consider the tamper‑resistant design of the lock to further enhance security against unauthorized access.